Zum Hauptinhalt wechseln

Kodak EasyShare M2008 Lens Replacement

Was du brauchst

  1. Kodak EasyShare M2008 Lens Replacement, Battery: Schritt 1, Bild 1 von 2 Kodak EasyShare M2008 Lens Replacement, Battery: Schritt 1, Bild 2 von 2
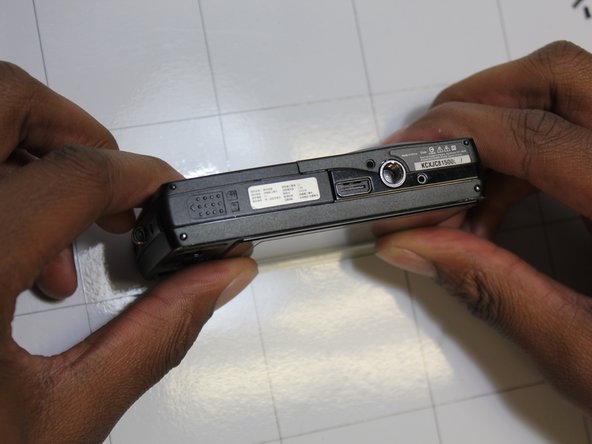
    • Place thumb firmly on battery cover.

    • Slide thumb right, the cover should follow and pop up.

  2. Kodak EasyShare M2008 Lens Replacement: Schritt 2, Bild 1 von 2 Kodak EasyShare M2008 Lens Replacement: Schritt 2, Bild 2 von 2
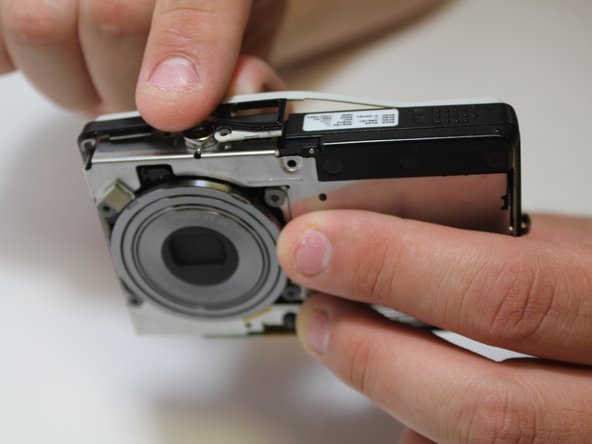
    • Place thumb on orange tab and pull back towards screen.

    • The battery should pop up.

    • Gently lift battery out.

  3. Kodak EasyShare M2008 Lens Replacement, Device Casing: Schritt 3, Bild 1 von 3 Kodak EasyShare M2008 Lens Replacement, Device Casing: Schritt 3, Bild 2 von 3 Kodak EasyShare M2008 Lens Replacement, Device Casing: Schritt 3, Bild 3 von 3
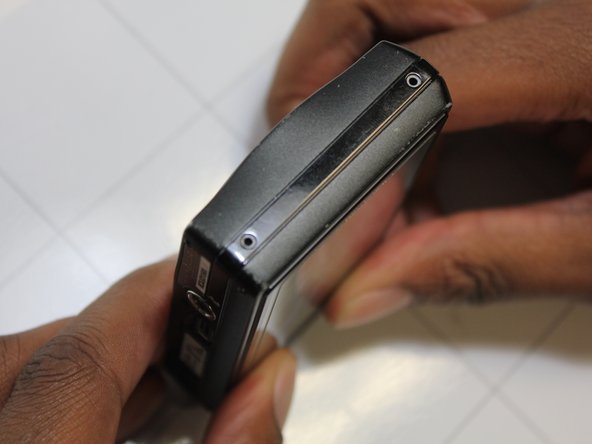
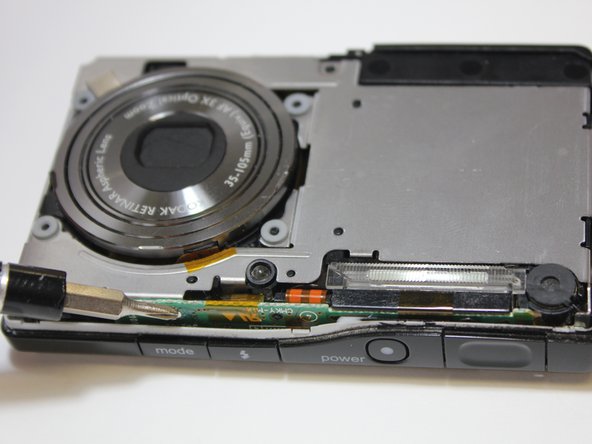
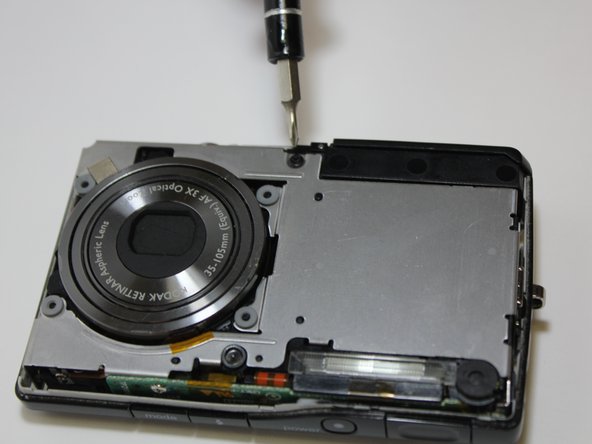
    • Remove screws from along outer edge of casing.

    • There are 6 screws in total.

    • Righty tighty, lefty loosey!

  4. Kodak EasyShare M2008 Lens Replacement: Schritt 4, Bild 1 von 3 Kodak EasyShare M2008 Lens Replacement: Schritt 4, Bild 2 von 3 Kodak EasyShare M2008 Lens Replacement: Schritt 4, Bild 3 von 3
    • Gently lift off front and back casing.

  5. Kodak EasyShare M2008 Lens Replacement: Schritt 5, Bild 1 von 3 Kodak EasyShare M2008 Lens Replacement: Schritt 5, Bild 2 von 3 Kodak EasyShare M2008 Lens Replacement: Schritt 5, Bild 3 von 3
    • Remove screws along side.

    • Gently peel off side casing.

  6. Kodak EasyShare M2008 Lens Replacement, Lens: Schritt 6, Bild 1 von 3 Kodak EasyShare M2008 Lens Replacement, Lens: Schritt 6, Bild 2 von 3 Kodak EasyShare M2008 Lens Replacement, Lens: Schritt 6, Bild 3 von 3
    • Remove screws from front silver panel.

  7. Kodak EasyShare M2008 Lens Replacement: Schritt 7, Bild 1 von 3 Kodak EasyShare M2008 Lens Replacement: Schritt 7, Bild 2 von 3 Kodak EasyShare M2008 Lens Replacement: Schritt 7, Bild 3 von 3
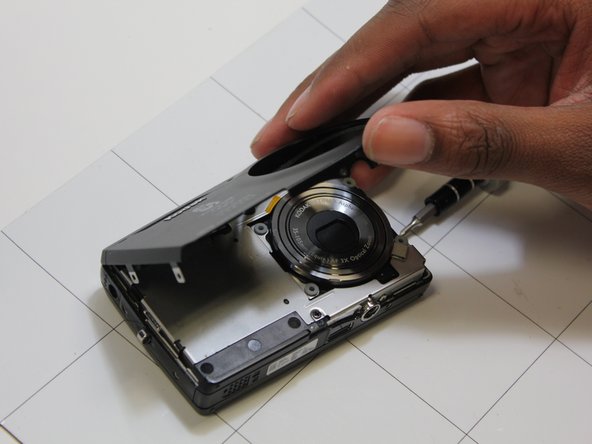
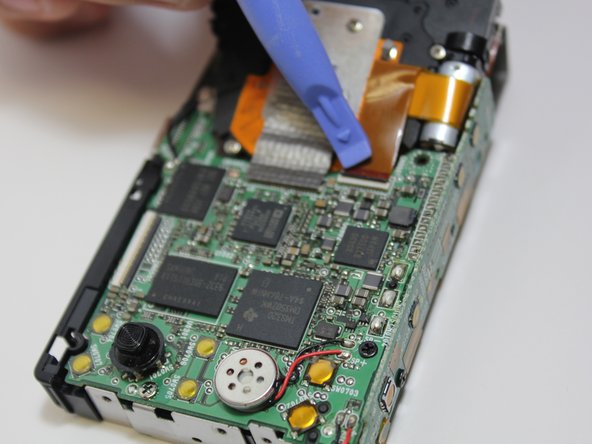
    • Lift up ribbon cable fastener with blue plastic opening tool.

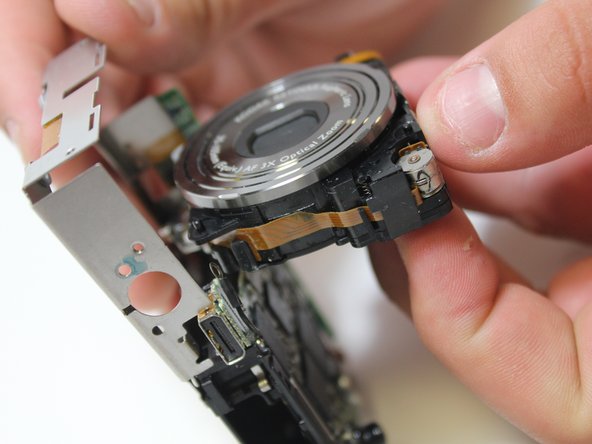
    • Gently pull out lens.

  8. Kodak EasyShare M2008 Lens Replacement: Schritt 8, Bild 1 von 1
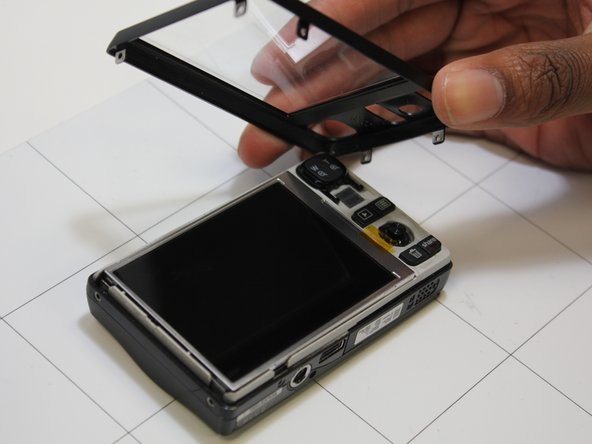
    • To place new lens, peel off silver tape before inserting ribbon cable into proper slot.

Abschluss

To reassemble your device, follow these instructions in reverse order.

Ein:e weitere:r Nutzer:in hat diese Anleitung absolviert.

Brian

Mitglied seit: 03/13/14

252 Reputation

2 Anleitungen geschrieben

Team

New Mexico State, Team 1-2, Easley Spring 2014 Mitglied von New Mexico State, Team 1-2, Easley Spring 2014

NMSU-EASLEY-S14S1G2

5 Mitglieder

10 Anleitungen geschrieben

0 Kommentare

Kommentar hinzufügen

Seitenaufrufe:

Letzte 24 Stunden: 0

Letzte 7 Tage: 0

Letzte 30 Tage: 2

Insgesamt: 271