Einleitung
- Check out our Troubleshooting page here Kodak Easyshare M530 TroubleShooting
Was du brauchst
-
-
Front and Back view of camera. Use a Philips Head screw driver to unscrew the sides of the camera. There are six screws total.
-
-
-
Use a Philips Head screw driver to unscrew the sides of the camera. There are two screws on each side except for the top of the camera. Carefully remove face plate of camera. Place alongside near screws.
-
-
-
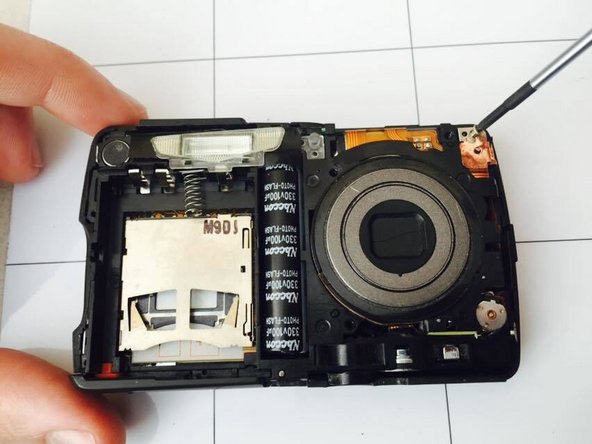
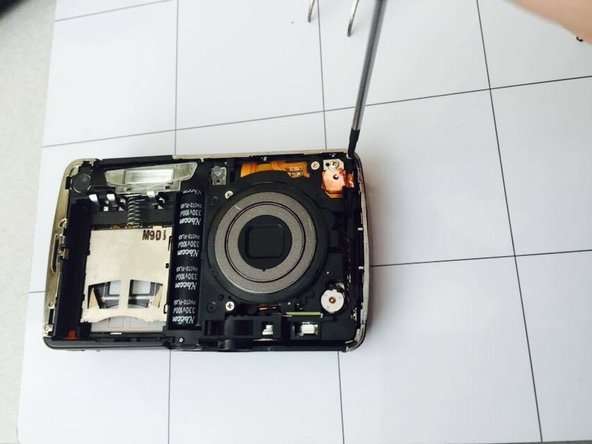
To get to control buttons, use a Phillips Head screw driver to unscrew the three screws near lens.
-
-
-
-
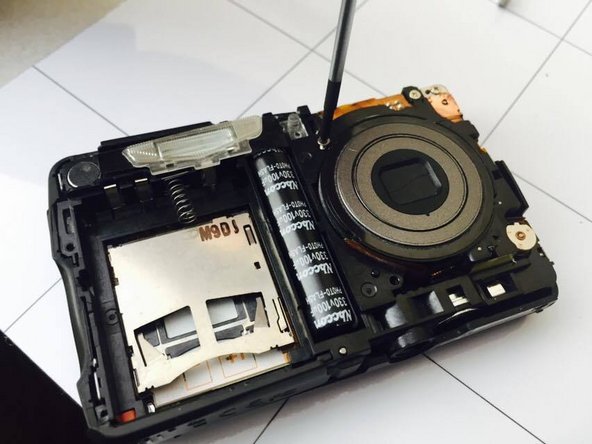
Unscrew the screw near the rechargeable battery compartment. The metal piece then can be removed.
-
-
-
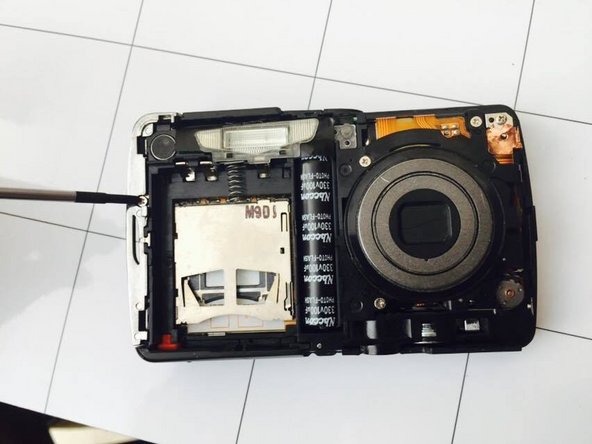
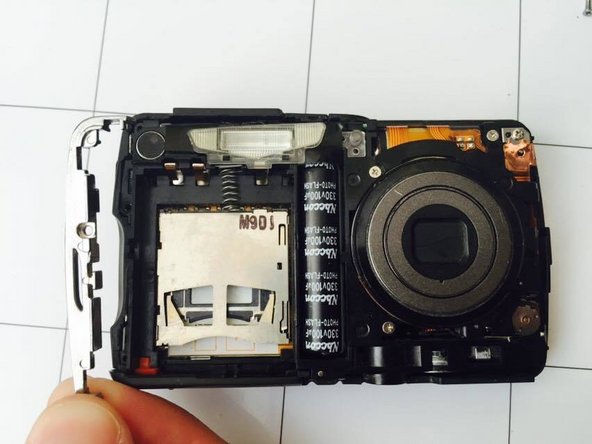
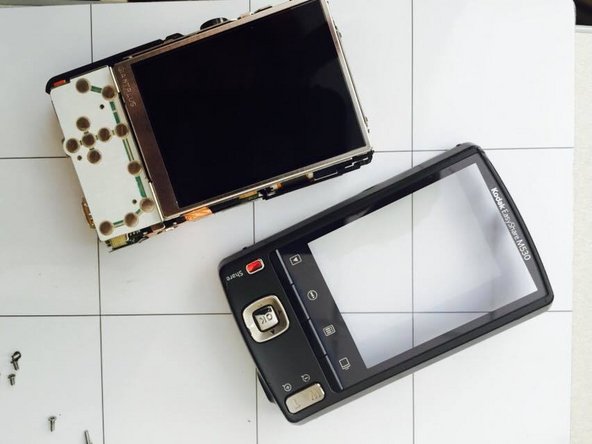
This is what the camera should look like with all screws are removed. Flip camera over to carefully remove the screen cover.
-
-
-
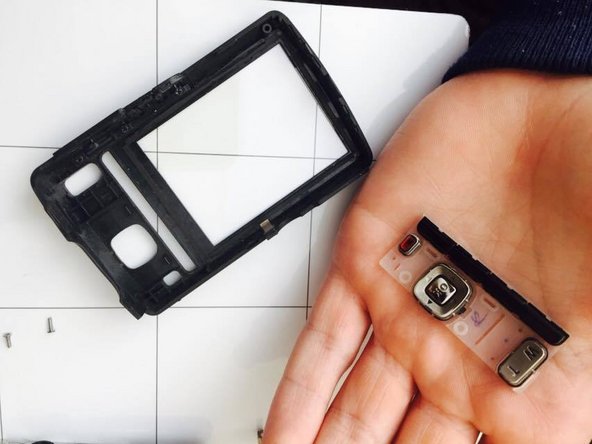
Remove buttons from back case of screen cover. Replace with new set of buttons.
-
-
-
Follow the steps in reverse order to reassemble the camera. Now you can take beautiful pictures again!
-


Once you purchase these parts, follow the given instructions. To reassemble your device, follow these instructions in reverse order.
Once you purchase these parts, follow the given instructions. To reassemble your device, follow these instructions in reverse order.
Rückgängig: Ich habe diese Anleitung nicht absolviert.
3 weitere Nutzer:innen haben diese Anleitung absolviert.
Team

Penn State, Team 1-2, Kaschak Winter 2015 Mitglied von Penn State, Team 1-2, Kaschak Winter 2015
PSU-KASCHAK-W15S1G2
1 Mitglied
4 Anleitungen geschrieben