Zum Hauptinhalt wechseln

Kyocera Event Rear Assembly Replacement

Was du brauchst

  1. Kyocera Event Rear Assembly Replacement, Battery: Schritt 1, Bild 1 von 3 Kyocera Event Rear Assembly Replacement, Battery: Schritt 1, Bild 2 von 3 Kyocera Event Rear Assembly Replacement, Battery: Schritt 1, Bild 3 von 3
    • Locate the small notch on the bottom right side of the phone.

    • To remove the cover, hook your thumb or fingernail into the slot. Then, gently lift the cover up and off.

    • The back cover may flex slightly as you remove it. This is normal, but avoid applying excessive force.

  2. Kyocera Event Rear Assembly Replacement: Schritt 2, Bild 1 von 1
    • Locate the small notch below the battery. You may see a white plastic notch sticking out of this space; if so, grasp that tab to pull the battery out of its compartment. If you do not see a white plastic tab, then place your fingernail in the notch and pull upward to release the battery from its compartment.

    • The plastic prying tool can be used to help remove the battery.

  3. Kyocera Event Rear Assembly Replacement, Locate the SIM card: Schritt 3, Bild 1 von 1
    • The SIM card slot can be seen in the middle left of the photograph.

  4. Kyocera Event Rear Assembly Replacement, Open slot and remove card: Schritt 4, Bild 1 von 2 Kyocera Event Rear Assembly Replacement, Open slot and remove card: Schritt 4, Bild 2 von 2
    • The SD card slot can be opened and closed, as depicted by the tool.

    • The SD card itself slides into and out of the metal cover.

    • The gold tipped tines are what read the SD card along its bottom.

  5. Kyocera Event Rear Assembly Replacement, Remove the screws.: Schritt 5, Bild 1 von 2 Kyocera Event Rear Assembly Replacement, Remove the screws.: Schritt 5, Bild 2 von 2
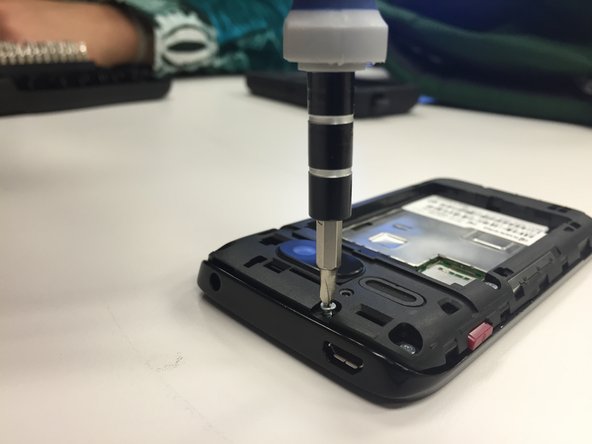
    • Remove seven of the 4.9mm tri-head screws. Keep them in a secure location.

  6. Kyocera Event Rear Assembly Replacement, Remove the back assembly: Schritt 6, Bild 1 von 3 Kyocera Event Rear Assembly Replacement, Remove the back assembly: Schritt 6, Bild 2 von 3 Kyocera Event Rear Assembly Replacement, Remove the back assembly: Schritt 6, Bild 3 von 3
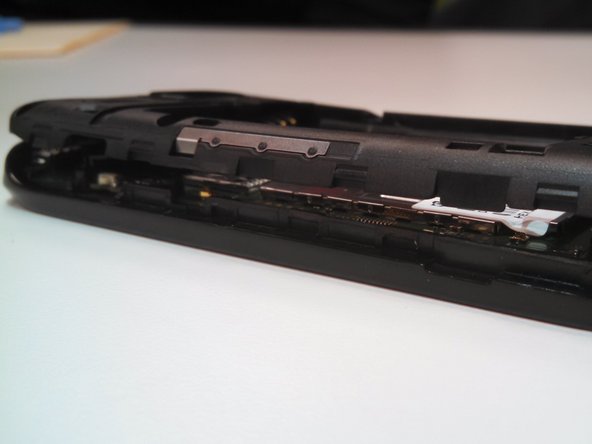
    • Pry the back assembly away from the body on all four sides of the phone.

    • Start prying at the top and work around.

    • Remove the buttons for the volume and power-this will allow for easier disassembly.

    • The back assembly is firmly attached to the body of the phone so removing it will require some force.

Abschluss

To reassemble your device, follow these instructions in reverse order.

Philip

Mitglied seit: 02/13/15

7 Reputation

1 Anleitung geschrieben

Team

Ohio State, Team 1-4, Michaels Spring 2015 Mitglied von Ohio State, Team 1-4, Michaels Spring 2015

OSU-MICHAELS-S15S1G4

3 Mitglieder

4 Anleitungen geschrieben

0 Kommentare

Kommentar hinzufügen

Seitenaufrufe:

Letzte 24 Stunden: 0

Letzte 7 Tage: 1

Letzte 30 Tage: 1

Insgesamt: 778