Einleitung
Remove the camera button and replace it.
Was du brauchst
-
-
Look for a small indentation on the bottom of the phone.
-
Insert the plastic opening tool into the indentation and lift off the back casing.
-
-
-
The large white component is the battery. Look for a small indentation under the arrow that says "LIFT."
-
Place the plastic opening tool in the indentation and lift the battery out of the socket.
-
-
-
-
Locate the screws holding the trim which are the four side screws on each corner.
-
Remove each screw with a Phillips screw driver #J00. The screws are 5mm Phillips.
-
-
-
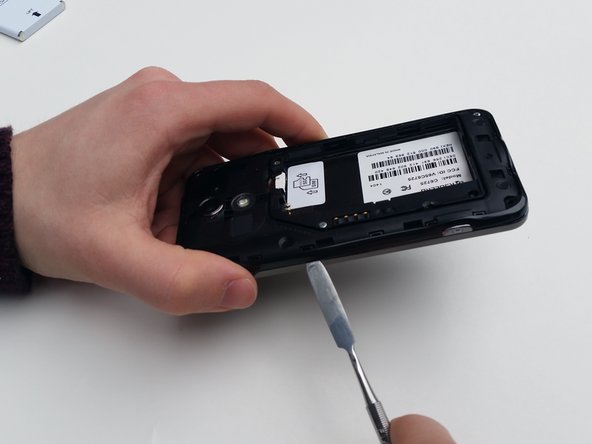
Locate the clasps holding the trim in place.
-
You will need to insert the metal spudger through the bottom of the trim and slowly push upwards to release the clasps.
-
-
-
Now that you have taken apart the trim, the camera button should be easily removable.
-
Locate the camera button. When looking at the back side (battery side), the camera button will be on the left side.
-
Take the camera button out with tweezers.
-
To reassemble your device, follow these instructions in reverse order.
To reassemble your device, follow these instructions in reverse order.


