Einleitung
You will learn how to disassemble the phone and remove the speaker safely.
Was du brauchst
-
-
When looking at the back of the phone, you will see a horizontal line and three raised segments of plastic in the form of a triangle.
-
Place thumb on top of the triangle and press into the phone while sliding your thumb towards the bottom of the phone.
-
In 5 mm it will stop sliding.
-
-
-
Grab the bottom of the back cover with your other hand and pull the cover the rest of the way off.
-
Turn the phone over slowly. The battery will fall out on its own.
-
-
-
-
Rotate the phone so the bottom is facing you. There is a small indent on the plastic face.
-
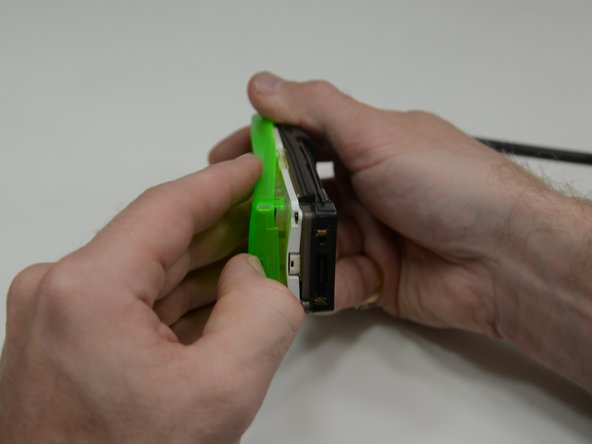
Using the tip of your fingernail or a spudger, pry the cover away from the rest of the phone.
-
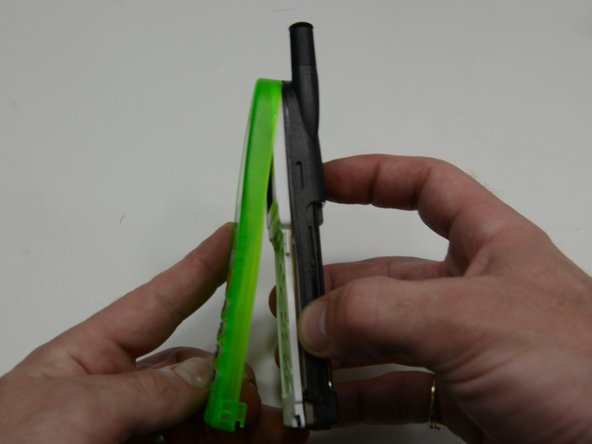
Once the cover starts to part, keep separating until the top notches detach.
-
-
-
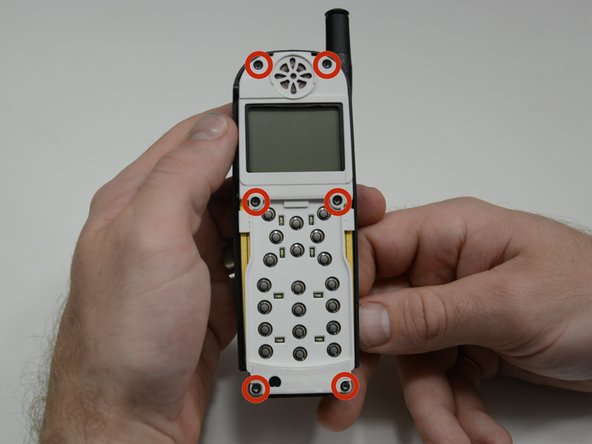
With the cover plate separated, you will see (6) T6x11mm torx screws recessed in the white plastic.
-
Remove screws.
-
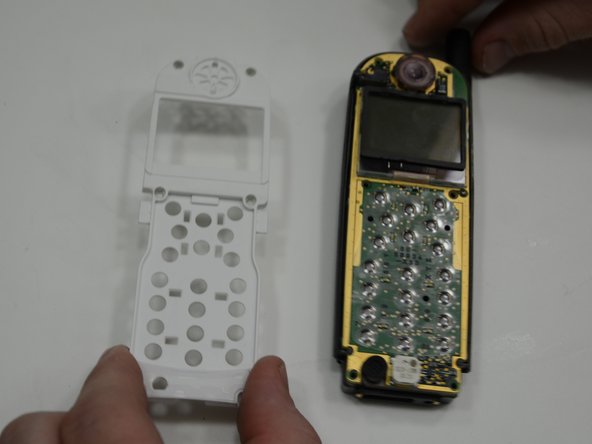
The white plastic face plate lifts right off, exposing the main board.
-
-
-
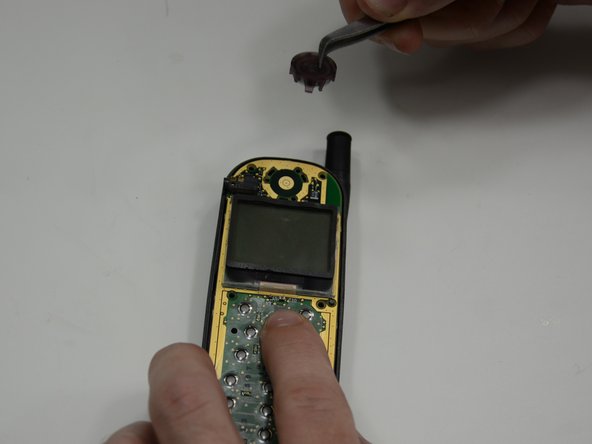
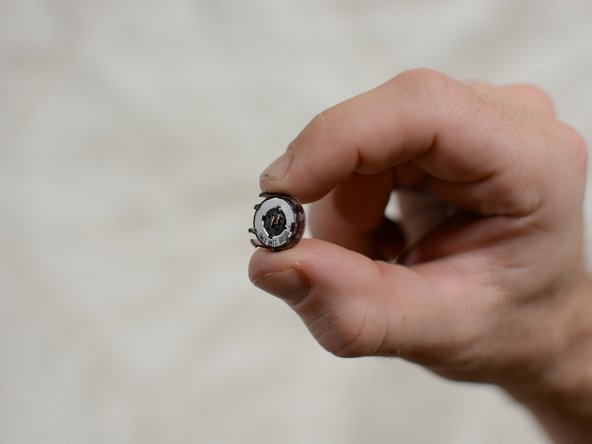
Locate the speaker at the top of the phone right above the screen.
-
Using a spudger or pair of tweezers, gently rock and pry from between the speaker and the main board.
-


To reassemble your device, follow these instructions in reverse order.
To reassemble your device, follow these instructions in reverse order.
Rückgängig: Ich habe diese Anleitung nicht absolviert.
Ein:e weitere:r Nutzer:in hat diese Anleitung absolviert.
Team

USF Tampa, Team 5-3, Brown Winter 2015 Mitglied von USF Tampa, Team 5-3, Brown Winter 2015
USFT-BROWN-W15S5G3
4 Mitglieder
12 Anleitungen geschrieben