Zum Hauptinhalt wechseln
Gemeinsam reparieren - Jetzt registrieren

LCD X2gen Display disassembly

Was du brauchst

    1. LCD X2gen Display disassembly, Display: Schritt 1, Bild 1 von 1
      • X2gen 22 lcd Screen repair guide

      Frag FixBot

      Kommentar hinzufügen

    2. LCD X2gen Display disassembly: Schritt 2, Bild 1 von 1
      • Power board displaying the capacitors to be replaced

      Frag FixBot

      Kommentar hinzufügen

    3. LCD X2gen Display disassembly: Schritt 3, Bild 1 von 1
      • Display viewed laying face down on the working table (my dining table)

      • Remove the 6 screws. 4 on the corners and 2 middle bottom.

      Frag FixBot

      Kommentar hinzufügen

    4. LCD X2gen Display disassembly: Schritt 4, Bild 1 von 1
      • Remove front bezel by lifting softly starting from the middle and moving out to the corners.

      Frag FixBot

      Kommentar hinzufügen

    5. LCD X2gen Display disassembly: Schritt 5, Bild 1 von 1
      • Top middle

      Frag FixBot

      Kommentar hinzufügen

    6. LCD X2gen Display disassembly: Schritt 6, Bild 1 von 1
      • Front bezel removed.

      • Observe: the control board, bottom right.

      • exposed screws on both sides (4 left, 4 right) holding the LCD to the back cover.

      Frag FixBot

      Kommentar hinzufügen

    7. LCD X2gen Display disassembly: Schritt 7, Bild 1 von 1
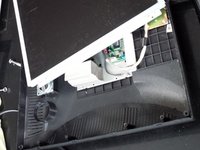
      • Prepare to remove the 4 screws on each side to lift the LCD. Do not try to remove it after unscrewing the 8 screws. There are cables connected on the back.

      • This pic shows the right side

      Frag FixBot

      Kommentar hinzufügen

    8. LCD X2gen Display disassembly: Schritt 8, Bild 1 von 1
      • This pic shows the left side

      Frag FixBot

      Kommentar hinzufügen

    9. LCD X2gen Display disassembly: Schritt 9, Bild 1 von 2 LCD X2gen Display disassembly: Schritt 9, Bild 2 von 2
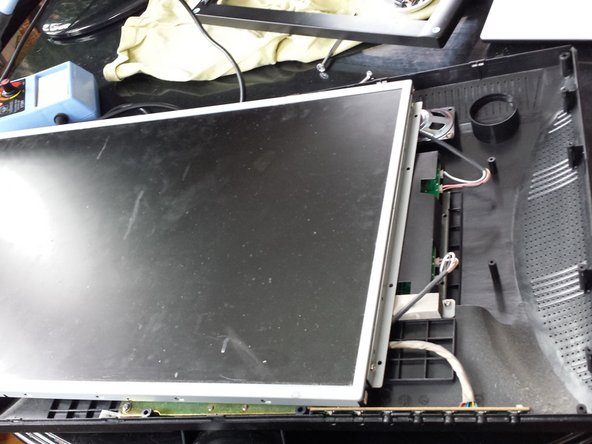
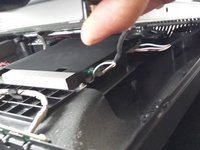
      • Lift carefully about 2 inch to expose the back light connections, 2 pink and 2 white.

      • Slide the monitor to the left about 3-4 inch. to have access to the connections.

      Frag FixBot

      Kommentar hinzufügen

    10. LCD X2gen Display disassembly: Schritt 10, Bild 1 von 1
      • Carefully, unplug both connectors

      Frag FixBot

      Kommentar hinzufügen

    11. LCD X2gen Display disassembly: Schritt 11, Bild 1 von 2 LCD X2gen Display disassembly: Schritt 11, Bild 2 von 2
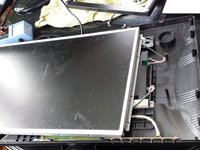
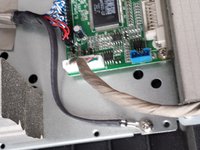
      • After removing the connectors, slide it about 3-5 inches to the right to have access to the data connector and ground

      Frag FixBot

      Kommentar hinzufügen

    12. LCD X2gen Display disassembly: Schritt 12, Bild 1 von 1
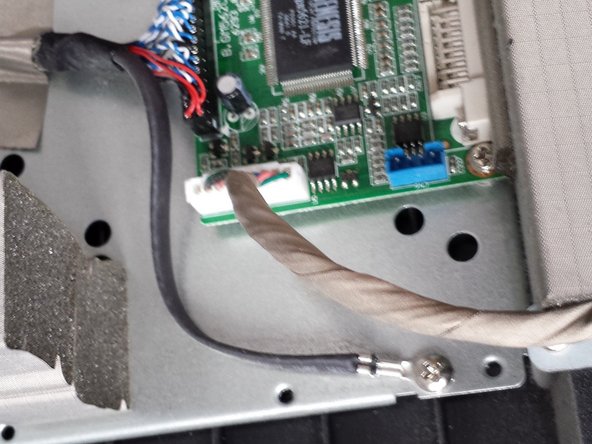
      • Remove the data connector and ground.

      Frag FixBot

      Kommentar hinzufügen

      • Lift display. Is now completely free

      Frag FixBot

      Kommentar hinzufügen

Abschluss

To reassemble your device, follow these instructions in reverse order.

Rückgängig: Ich habe diese Anleitung nicht absolviert.

2 weitere Personen haben diese Anleitung absolviert.

Aleks

Mitglied seit: 02/11/14

201 Reputation

1 Anleitung geschrieben

0 Kommentare zur Anleitung

Kommentar hinzufügen

Seitenaufrufe:

Letzte 24 Stunden: 2

Letzte 7 Tage: 33

Letzte 30 Tage: 88

Insgesamt: 2,621