Diese Version enthält möglicherweise inkorrekte Änderungen. Wechsle zur letzten geprüften Version.
Was du brauchst
-
Dieser Schritt ist noch nicht übersetzt. Hilf mit, ihn zu übersetzen!
-
First you will need to remove the back cover of the device.
-
You can do this with either a spudger or your fingers.
-
Carefully pry along the edges of the device until the cover pops off.
-
-
Dieser Schritt ist noch nicht übersetzt. Hilf mit, ihn zu übersetzen!
-
Simply use the provided tab to lift the battery our of it's housing and set it aside.
-
-
Dieser Schritt ist noch nicht übersetzt. Hilf mit, ihn zu übersetzen!
-
Use your screwdriver to gently unscrew the back part of the case.
-
Then use a spudger or your fingers to lift the case off of the motherboard housing.
-
-
-
Dieser Schritt ist noch nicht übersetzt. Hilf mit, ihn zu übersetzen!
-
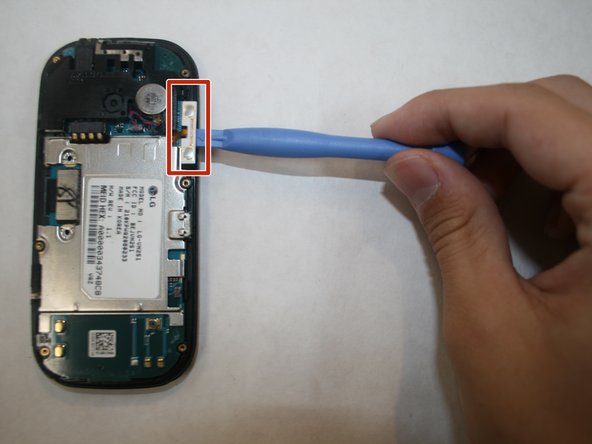
Use a spudger to carefully detach the volume buttons.
-
-
Dieser Schritt ist noch nicht übersetzt. Hilf mit, ihn zu übersetzen!
-
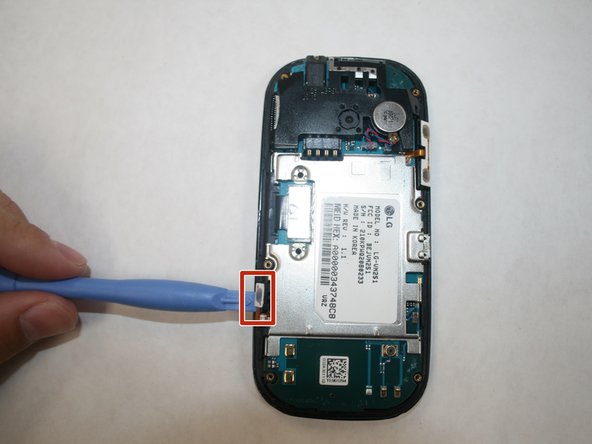
Use a spudger to carefully detach the camera button.
-
-
Dieser Schritt ist noch nicht übersetzt. Hilf mit, ihn zu übersetzen!
-
Use a spudger or your finger to detach the motherboard from it's housing. Slowly pry along the edges to free it from the plastic grips that hold it in place.
-
-
Dieser Schritt ist noch nicht übersetzt. Hilf mit, ihn zu übersetzen!
-
Use a spudger to detach the small red and blue cable from the motherboard. Do this by slowly lifting up each side until it pops out of it's housing.
-
-
Dieser Schritt ist noch nicht übersetzt. Hilf mit, ihn zu übersetzen!
-
Use your fingers to remove the black cover on the top of the motherboard. It simply pops off.
-
-
Dieser Schritt ist noch nicht übersetzt. Hilf mit, ihn zu übersetzen!
-
Carefully use a soldering iron to heat the bolts and then use a desoldering pump to pull the bolts out.
-
Then simply lift out the old headphone jack and fit in the new one.
-


Team

Central Coast New Tech High, Team 7-1, Rushing Spring 2016 Mitglied von Central Coast New Tech High, Team 7-1, Rushing Spring 2016
CCNTH-RUSHING-S16S7G1
1 Mitglied
2 Anleitungen geschrieben