Einleitung
This guide will show you step by step how to access the internals of a LG G Pad 7.0(LG-V410) and replace the battery.
Was du brauchst
-
-
First things first, use the handy pick iFixit sells on their online store. Carefully pry the frame apart in between the screen assembly an back cover. Be extremely careful, you don't want to damage the motherboard..
-
-
-
Vuala! We're in! Carefully slide the screen assembly away from the back cover.
-
-
-
Here's the inside of the tablet. Pretty straight forward, nothing to spectacular.
-
-
-
-
Grab your * Tweezers, the best tweezers you can get!
-
-
-
Carefully pry up the charging port connection from the bottom left with your Tweezers.
-
-
-
Grab your iSesamo Opening Tool and break the adhesive around the edges of the battery.
-
-
-
After removing the faulty/dead battery, make sure you properly dispose it.
-
-
-
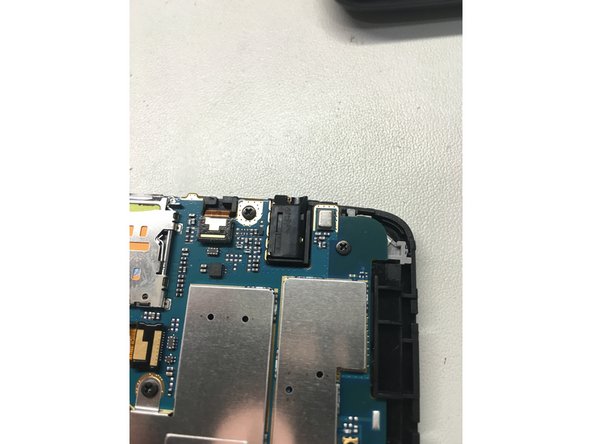
After reconnecting the new battery and charging flex cable, make sure you put the headphone jack back into place.
-
-
-
There you go! A quick battery replacement on your LG G-Pad.
-


To reassemble your device, follow these instructions in reverse order.
To reassemble your device, follow these instructions in reverse order.
Rückgängig: Ich habe diese Anleitung nicht absolviert.
2 weitere Nutzer:innen haben diese Anleitung absolviert.

Team

Minnesota Repair Techs Mitglied von Minnesota Repair Techs
Community
3 Mitglieder
2 Anleitungen geschrieben
2 Kommentare
Big thanks to the Author for this, I used it on my v410, worked perfect !
My G pad 7.0 wont turn on. Do I have to do some kind or re-boot or restart it? Cause one time when I changed mi iPhone 5c's battery I had to restart it the phone.