Diese Version enthält möglicherweise inkorrekte Änderungen. Wechsle zur letzten geprüften Version.
Was du brauchst
-
Dieser Schritt ist noch nicht übersetzt. Hilf mit, ihn zu übersetzen!
-
Locate the right and left side speaker where the hidden screw is located and remove the rubber piece covering the screw.
-
-
Dieser Schritt ist noch nicht übersetzt. Hilf mit, ihn zu übersetzen!
-
Using a Philips #00 screwdriver, remove the hidden screws from both sides.
-
-
-
Dieser Schritt ist noch nicht übersetzt. Hilf mit, ihn zu übersetzen!
-
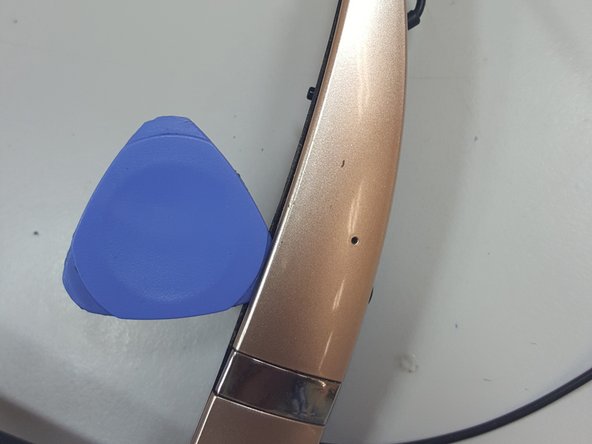
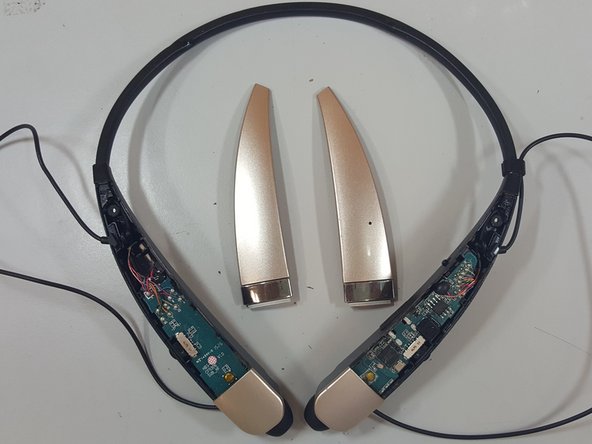
Use a guitar pick or any opening tool to pry open the housing for the side you want to replace the speaker.
-
-
Dieser Schritt ist noch nicht übersetzt. Hilf mit, ihn zu übersetzen!
-
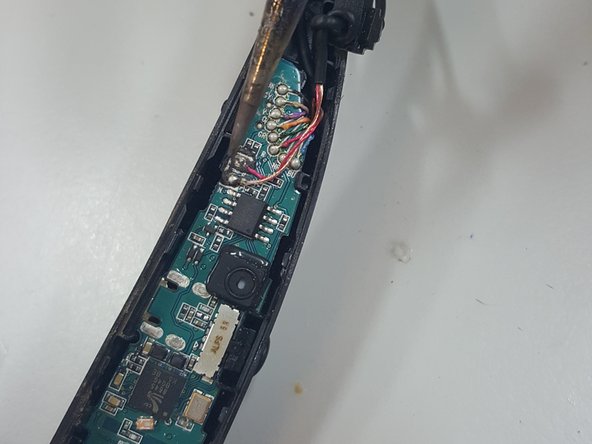
Right side can be de-soldered right away but the left side speaker solder connection to the board is covered by rubber material which needs to be removed first before it can be de-soldered.
-
-
Dieser Schritt ist noch nicht übersetzt. Hilf mit, ihn zu übersetzen!
-
Once the speakers have been de-soldered, replace with new ones.
-


Rückgängig: Ich habe diese Anleitung nicht absolviert.
2 weitere Nutzer:innen haben diese Anleitung absolviert.

Team

Mobile Device Repair Factory Mitglied von Mobile Device Repair Factory
Business
1 Mitglied
16 Anleitungen geschrieben