Einleitung
The rear facing camera on the LG Tribute is a fairly simple component to replace. The phone takes only a couple minutes to break down, and the camera can be replaced without any soldering.
Was du brauchst
-
-
-
Remove eight 4mm screws using a Phillips head 000 screwdriver (PH000).
-
-
-
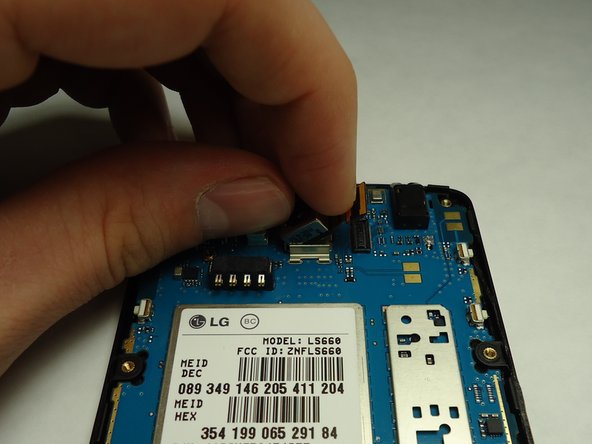
Disconnect the rear facing camera from the motherboard using a plastic opening tool.
-
Lift the rear facing camera out of its housing.
-


To reassemble your device, follow these instructions in reverse order.
To reassemble your device, follow these instructions in reverse order.
Rückgängig: Ich habe diese Anleitung nicht absolviert.
2 weitere Nutzer:innen haben diese Anleitung absolviert.
Team

University of Wisconsin Stout, Team 1-1, Schneider-Bateman Spring 2016 Mitglied von University of Wisconsin Stout, Team 1-1, Schneider-Bateman Spring 2016
UWSTOUT-SCHNEIDER-BATEMAN-S16S1G1
3 Mitglieder
16 Anleitungen geschrieben