Zum Hauptinhalt wechseln

Lenovo 300e Chromebook Left and Right Click Buttons Replacement

Was du brauchst

  1. Lenovo 300e Chromebook Left and Right Click Buttons Replacement, Back Cover: Schritt 1, Bild 1 von 3 Lenovo 300e Chromebook Left and Right Click Buttons Replacement, Back Cover: Schritt 1, Bild 2 von 3 Lenovo 300e Chromebook Left and Right Click Buttons Replacement, Back Cover: Schritt 1, Bild 3 von 3
    • Remove eleven 5 mm screws from the back of the computer using a Phillips #2 screwdriver.

  2. Lenovo 300e Chromebook Left and Right Click Buttons Replacement: Schritt 2, Bild 1 von 3 Lenovo 300e Chromebook Left and Right Click Buttons Replacement: Schritt 2, Bild 2 von 3 Lenovo 300e Chromebook Left and Right Click Buttons Replacement: Schritt 2, Bild 3 von 3
    • Use a spudger along the edge of the Chromebook to gently remove the back cover of the laptop.

  3. Lenovo 300e Chromebook Left and Right Click Buttons Replacement, Battery: Schritt 3, Bild 1 von 3 Lenovo 300e Chromebook Left and Right Click Buttons Replacement, Battery: Schritt 3, Bild 2 von 3 Lenovo 300e Chromebook Left and Right Click Buttons Replacement, Battery: Schritt 3, Bild 3 von 3
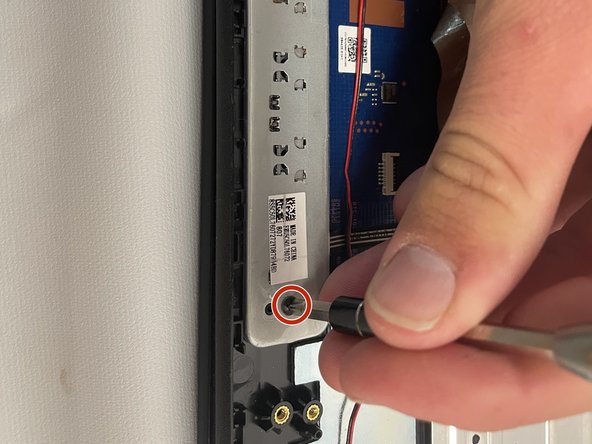
    • Remove six 3 mm screws from the battery with a Phillips #2 screwdriver.

  4. Lenovo 300e Chromebook Left and Right Click Buttons Replacement: Schritt 4, Bild 1 von 3 Lenovo 300e Chromebook Left and Right Click Buttons Replacement: Schritt 4, Bild 2 von 3 Lenovo 300e Chromebook Left and Right Click Buttons Replacement: Schritt 4, Bild 3 von 3
    • Disconnect the wiring harness that connects the battery to the motherboard.

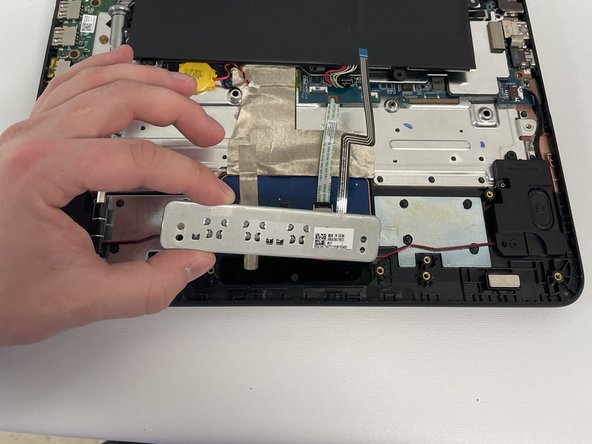
    • Lift the battery up and out of the laptop.

  5. Lenovo 300e Chromebook Left and Right Click Buttons Replacement, Left and Right Click Buttons: Schritt 5, Bild 1 von 3 Lenovo 300e Chromebook Left and Right Click Buttons Replacement, Left and Right Click Buttons: Schritt 5, Bild 2 von 3 Lenovo 300e Chromebook Left and Right Click Buttons Replacement, Left and Right Click Buttons: Schritt 5, Bild 3 von 3
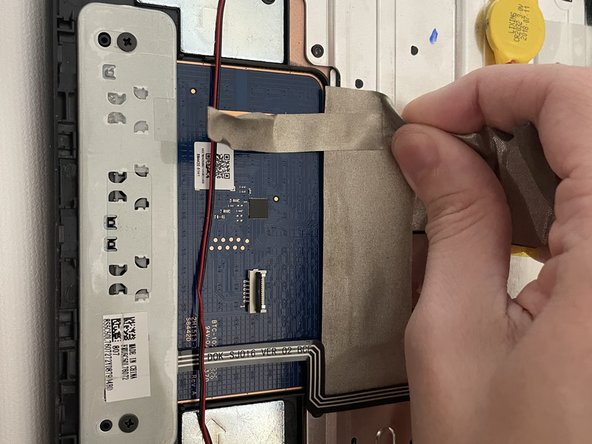
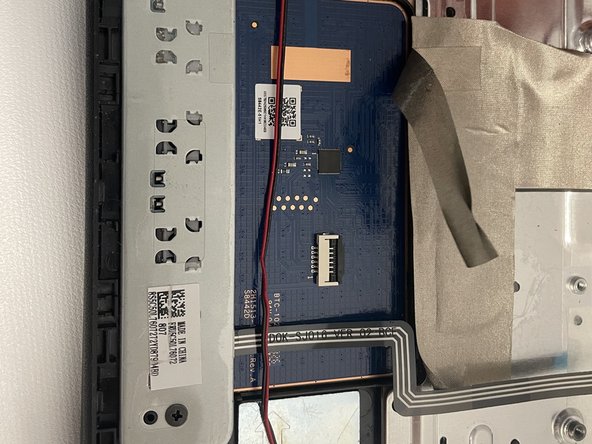
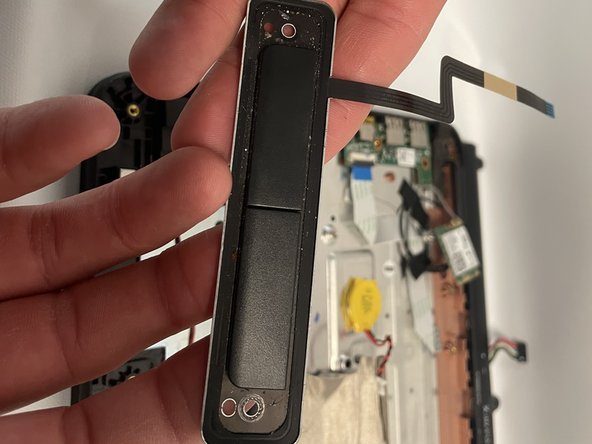
    • Disconnect the metallic electrical tape by gently pulling back away from the keypad.

  6. Lenovo 300e Chromebook Left and Right Click Buttons Replacement: Schritt 6, Bild 1 von 2 Lenovo 300e Chromebook Left and Right Click Buttons Replacement: Schritt 6, Bild 2 von 2
    • Remove two 5 mm screws from the metal plate using a Phillips #2 screwdriver.

  7. Lenovo 300e Chromebook Left and Right Click Buttons Replacement: Schritt 7, Bild 1 von 3 Lenovo 300e Chromebook Left and Right Click Buttons Replacement: Schritt 7, Bild 2 von 3 Lenovo 300e Chromebook Left and Right Click Buttons Replacement: Schritt 7, Bild 3 von 3
    • Remove the left and right click buttons from the laptop.

Abschluss

To reassemble your device, follow these instructions in reverse order.

0 Kommentare

Kommentar hinzufügen

Seitenaufrufe:

Letzte 24 Stunden: 0

Letzte 7 Tage: 2

Letzte 30 Tage: 8

Insgesamt: 252