Einleitung
If your Lenovo Flex 6-11IGM (model #: 81A70005US) has a back panel that is cracked or dented, use this guide to replace the back panel (bottom panel).
The back panel keeps the inner components of the laptop from foreign liquids and hard surfaces the laptop may encounter that could cause damage to the device. A damaged back panel could compromise the protection and safety of the inner components, therefore making it easier for the device to break.
Before beginning, make sure you power off the device, and make sure the laptop is closed for an easier and safer replacement.
Was du brauchst
-
-
Flip the device over and lay it down with the underside facing upwards.
-
-
-
-
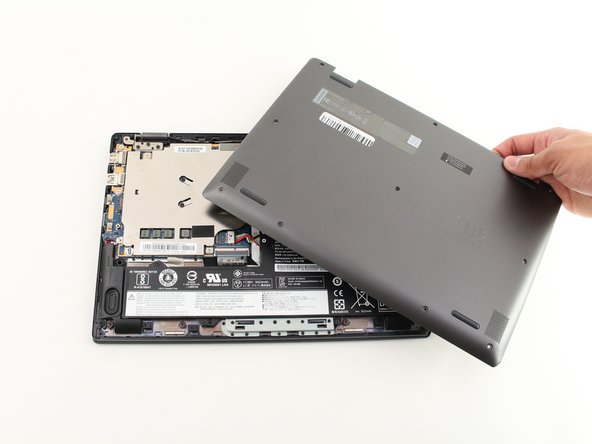
After making sure the back panel is completely free from the body, remove the back panel.
-


To reassemble your device, follow these instructions in reverse order.
To reassemble your device, follow these instructions in reverse order.
Rückgängig: Ich habe diese Anleitung nicht absolviert.
Ein:e weitere:r Nutzer:in hat diese Anleitung absolviert.

Team

Cal Poly, Team S2-G4, White Winter 2020 Mitglied von Cal Poly, Team S2-G4, White Winter 2020
CPSU-WHITE-W20S2G4
3 Mitglieder
4 Anleitungen geschrieben