Einleitung
If your Lenovo Flex 6-11IGM (model #: 81A70005US) can not boot or crashes regularly and you have eliminated all other possible causes, you can attempt to fix the problem by following this guide on replacing the motherboard.
The motherboard contains all the computing components of your device and their power distribution infrastructure. Damage to this part of the computer is usually non-reparable for even moderately skilled users, so the main way to fix problems caused by this component is through replacement.
Before beginning make sure you power off the device and make sure the laptop is closed for an easier and safer replacement.
Was du brauchst
-
-
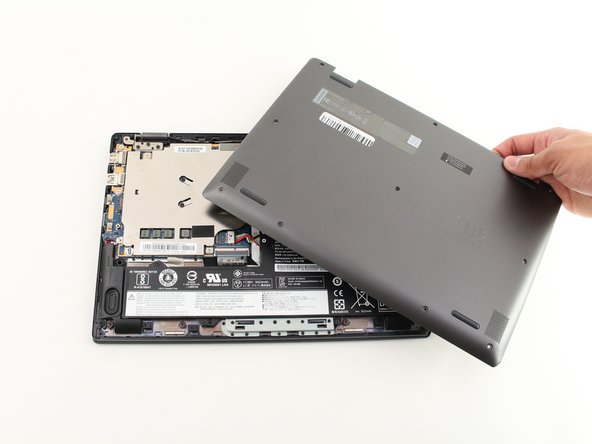
Flip the device over and lay it down with the underside facing upwards.
-
-
-
After making sure the back panel is completely free from the body, remove the back panel.
-
-
-
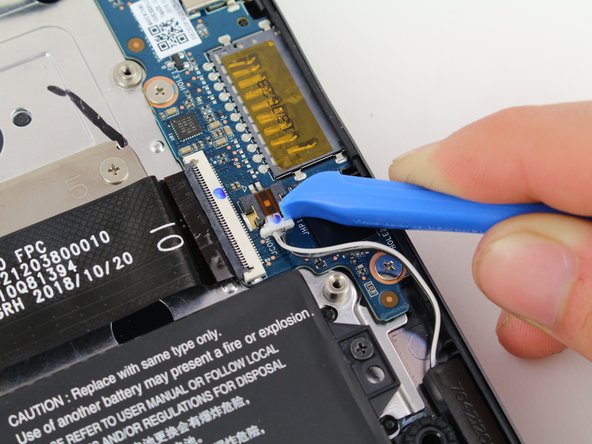
For the right speaker, disconnect the wire using the iFixit opening tool.
-
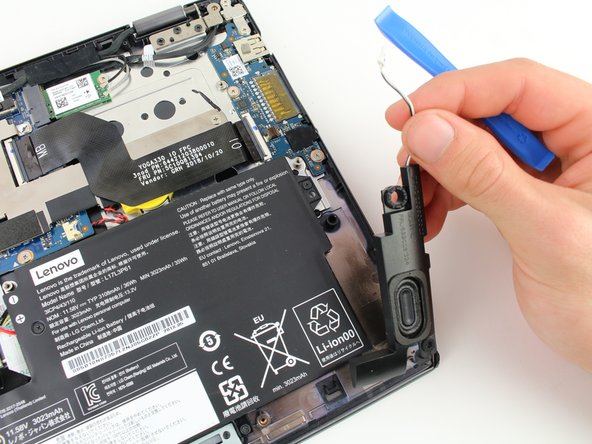
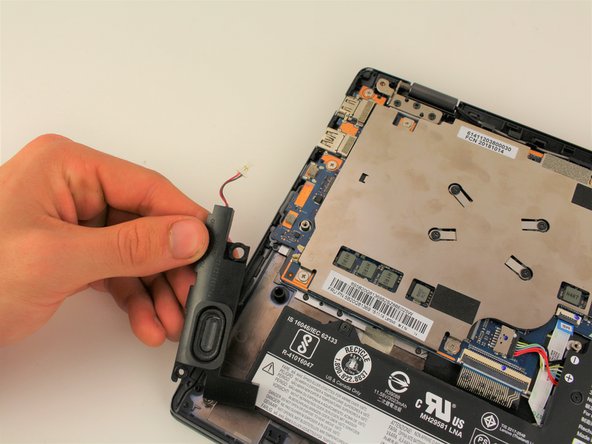
Pull the speaker out.
-
-
-
For the speaker on the left, disconnect the wire using the iFixit opening tool.
-
Pull the speaker out.
-
-
-
-
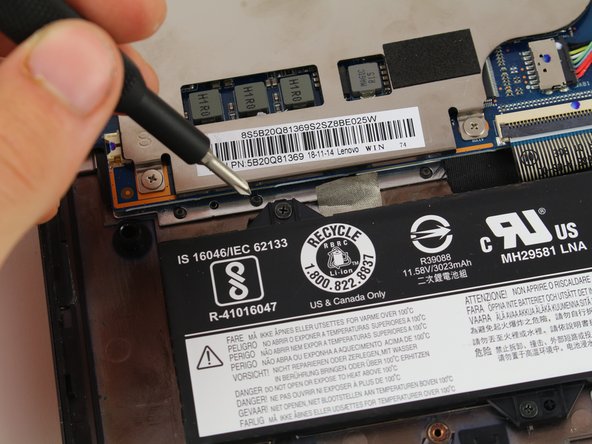
Remove the five 3.9 mm Phillips #00 black screws holding the battery in place.
-
-
-
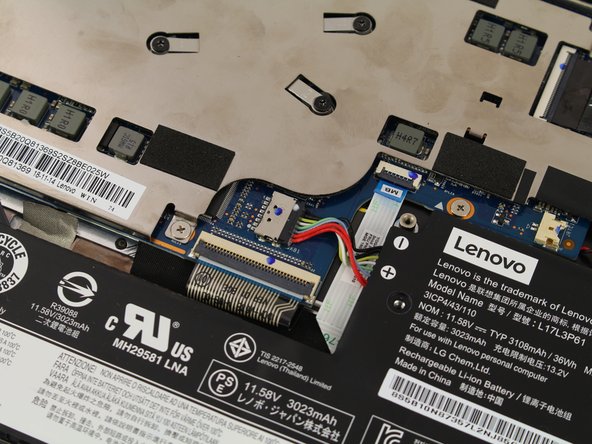
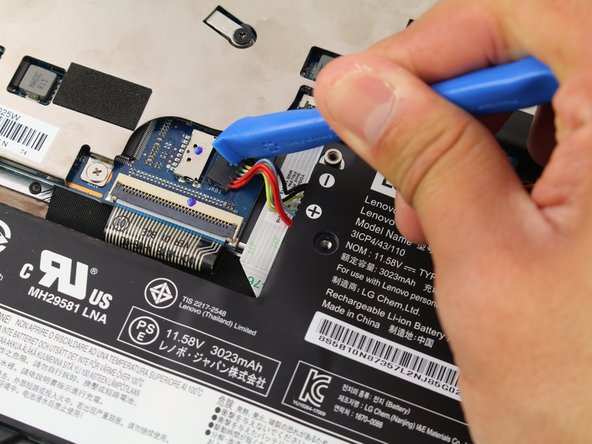
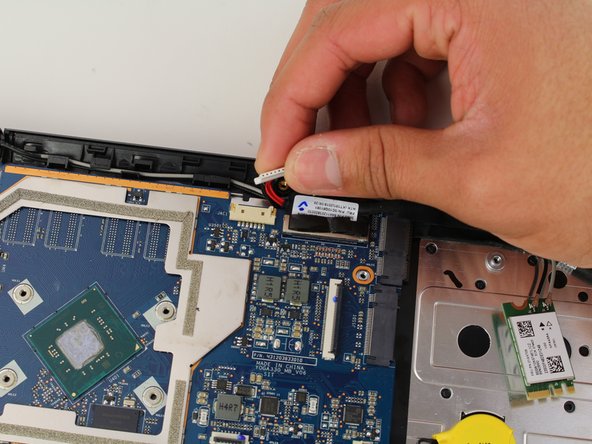
Disconnect the ribbon connector from both ends by disengaging the black latch and pulling it directly from its port.
-
-
-
Remove the 3.5 mm length screws in the numbered order from 1-10 using the Phillips #00 screwdriver (not all are shown in the first image).
-
Remove the heat sink.
-
-
-
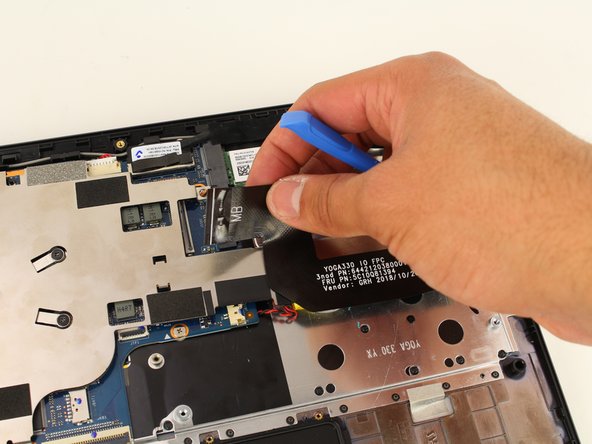
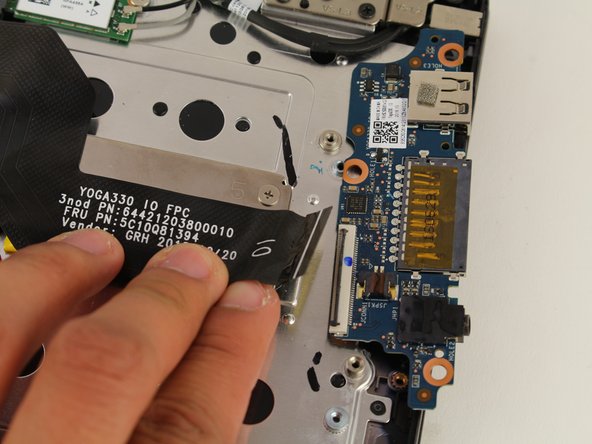
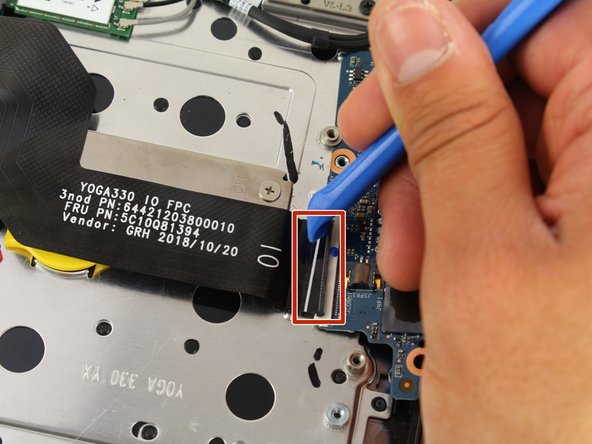
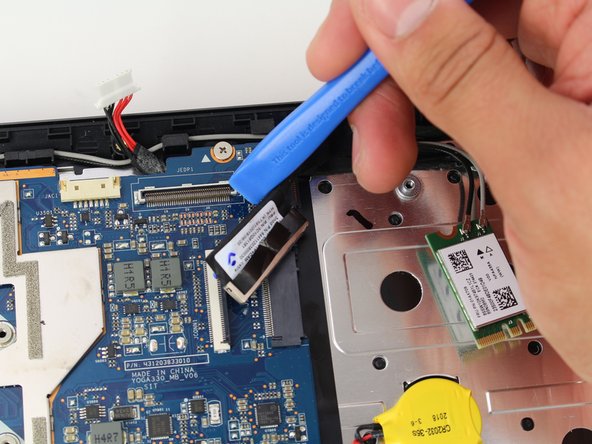
Disconnect the ribbon connector using the iFixit opening tool tool by flipping up the black flap and pulling the ribbon out.
-
-
-
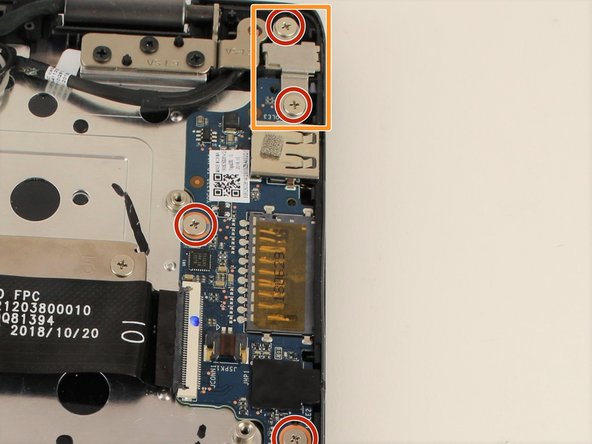
Take the three 3.5mm silver screws out using the Phillips #00 screwdriver.
-
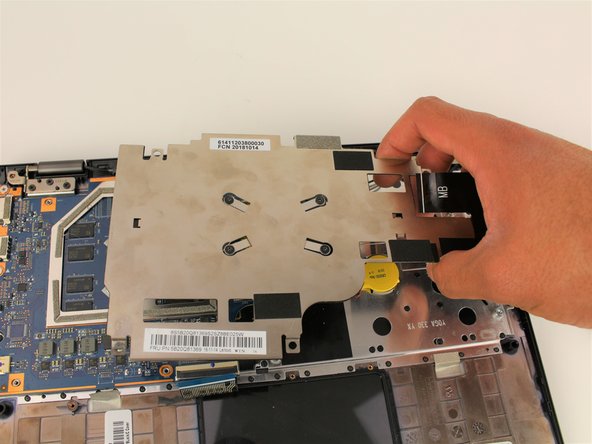
Remove the protective silver shield before removing the ports.
-
Using the iFixit opening tool, insert its end underneath the ports, and pull them upwards toward you to remove them safely.
-
-
-
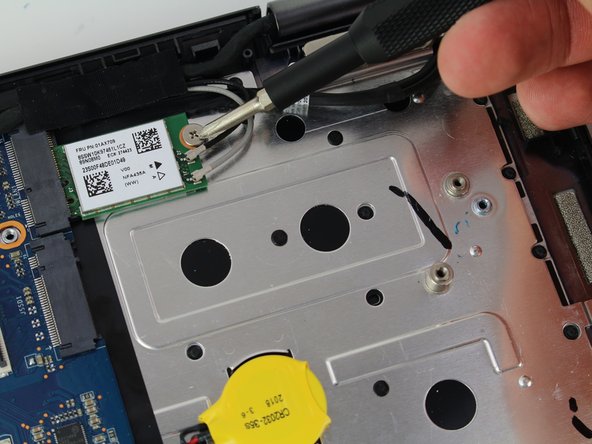
Unscrew the single 3.5 mm screw from the RAM card using a Phillips #00 screwdriver.
-
Unplug from motherboard.
-
-
-
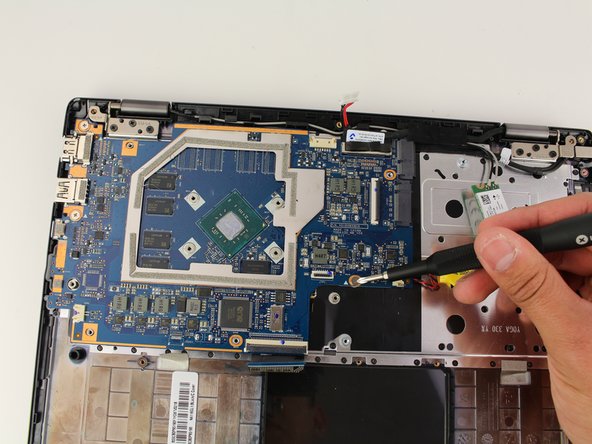
Unscrew the three 3.5 mm retaining screws from the motherboard using a Phillips #00 screwdriver.
-


To reassemble your device, follow these instructions in reverse order.
To reassemble your device, follow these instructions in reverse order.
Rückgängig: Ich habe diese Anleitung nicht absolviert.
Ein:e weitere:r Nutzer:in hat diese Anleitung absolviert.
Team

Cal Poly, Team S2-G4, White Winter 2020 Mitglied von Cal Poly, Team S2-G4, White Winter 2020
CPSU-WHITE-W20S2G4
3 Mitglieder
4 Anleitungen geschrieben