Einleitung
Use this guide to replace the Heat sink and thermal paste in your Lenovo IdeaPad 3-15ADA05. Please refer to the troubleshooting page to ensure the heat sink or thermal paste is the problem. Before removal, ensure the device has been powered off.
Was du brauchst
-
-
Remove the six M2 x 5mm screws located at the top half of the laptop using a #0 Phillips head, then remove the four M2 x 2.5mm screws located at the bottom of the laptop using a #0 Phillips head.
-
-
-
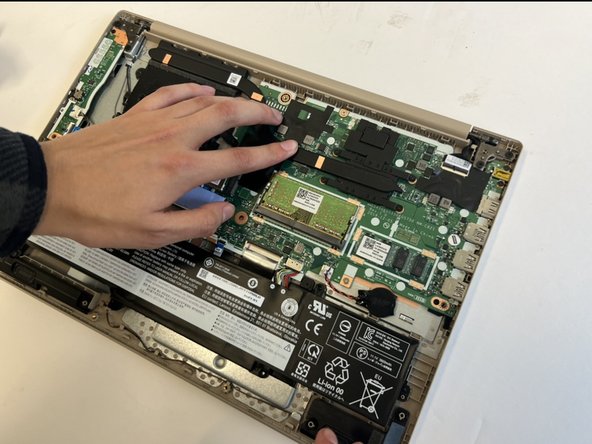
Insert the opening pick between the base plate and the bottom of the laptop, and pry the clips loose around the edge until the base pops off.
-
-
-
-
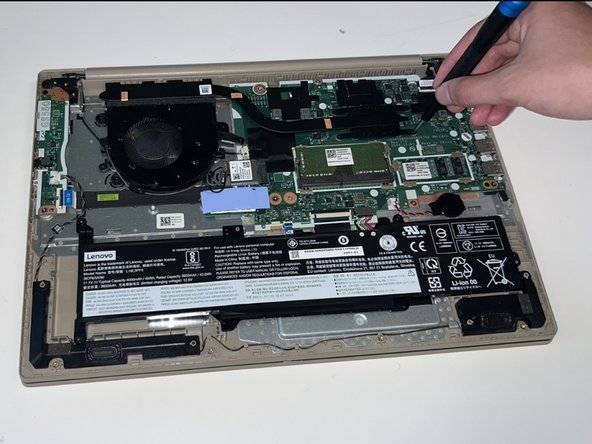
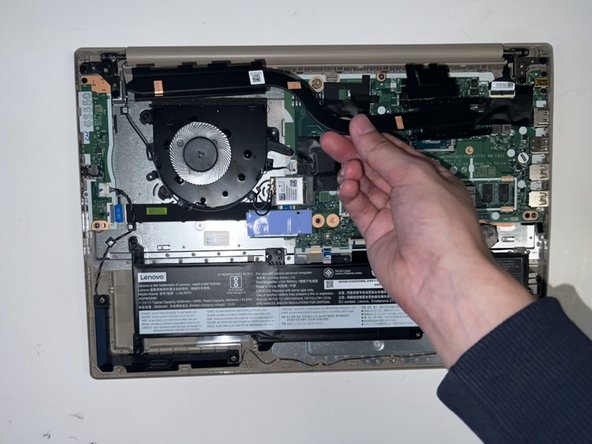
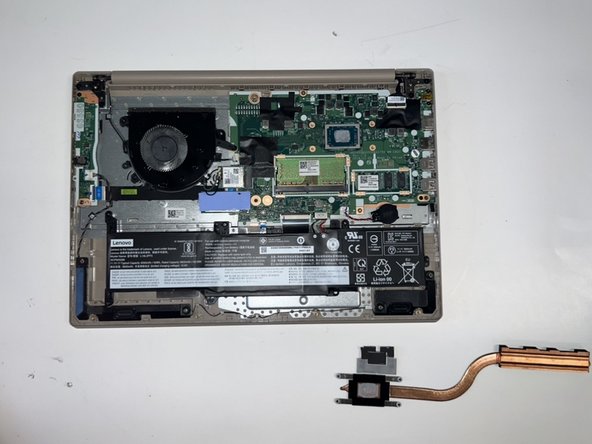
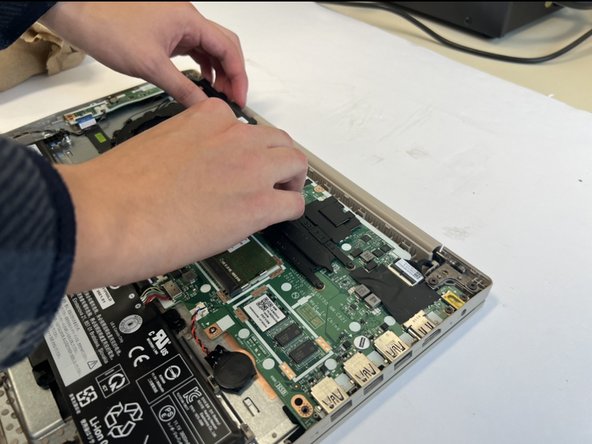
Locate the heat sink above the fan, then using a #0 Phillips head, remove the four M2 x 3mm screws holding the heat sink in place.
-
-
-
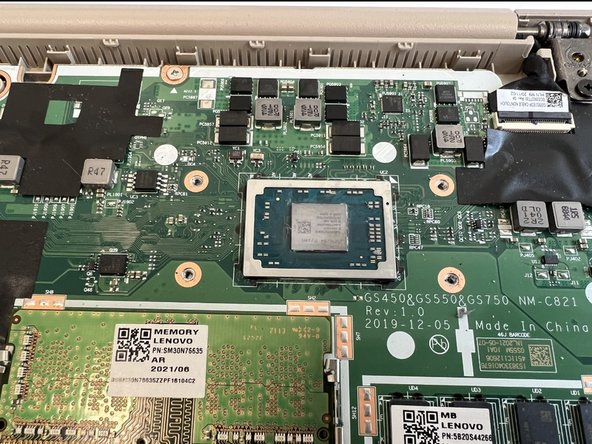
Using a paper towel and rubbing alcohol. Apply a small amount to the paper towel, then remove the remaining thermal paste until none is left.
-
-
-
Evenly apply a very small amount of thermal paste to the processor (around the size of a grain of rice), then replace the new Heat sink and press down gently.
-


To reassemble your device, follow these instructions in reverse order.
To reassemble your device, follow these instructions in reverse order.
Team

Western Carolina University, Team 1-4, Virtue Spring 2024 Mitglied von Western Carolina University, Team 1-4, Virtue Spring 2024
WCU-VIRTUE-S24S1G4
3 Mitglieder
5 Anleitungen geschrieben