Einleitung
This guide will take 5 minutes and will require you to follow a prerequisite guide on how to remove the back cover. The solid state replacement will require a Phillips #1 screwdriver and a metal spudger.
Was du brauchst
-
-
Using the metal spudger, remove all the rubber squares on the bottom of the laptop.
-
-
-
Remove the three 6 mm Phillips #1 screws holding the panel on the laptop.
-
Pry the panel from the laptop using your hands or the metal spudger if necessary.
-
-
-
-
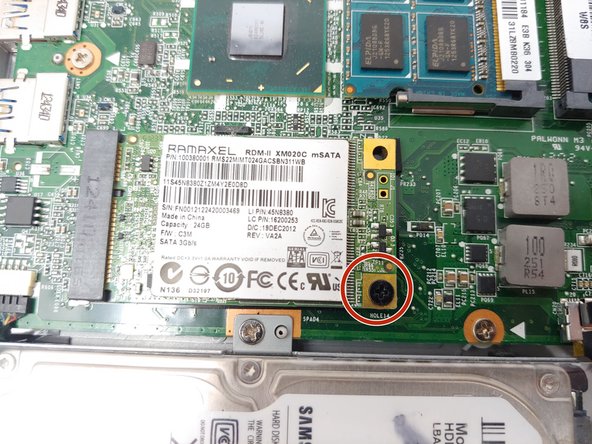
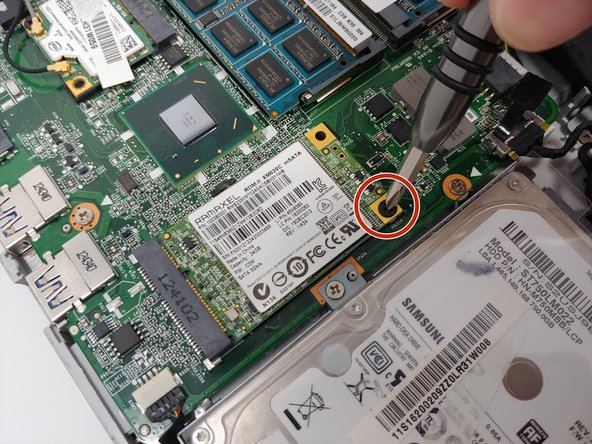
Use a Phillips #1 screwdriver to remove the 3 mm screw holding the SSD in place.
-


To reassemble your device, follow these instructions in reverse order.
To reassemble your device, follow these instructions in reverse order.
Rückgängig: Ich habe diese Anleitung nicht absolviert.
Eine weitere Person hat diese Anleitung absolviert.
Team

University of North Texas, Team S3-G5, Raign Fall 2018 Mitglied von University of North Texas, Team S3-G5, Raign Fall 2018
UNT-RAIGN-F18S3G5
4 Mitglieder
6 Anleitungen geschrieben