Einleitung
This is a step-by step guide for how to replace the cooling fan inside Lenovo IdeaPad U530 Touch laptop.
Symptoms related to a faulty fan are as follows:
- making noise
- overheating
- error messages
- video card problems
Was du brauchst
-
-
Remove the back panel by removing all screws. Use a PH000 screwdriver head.
-
Make sure to also remove the hinge screws.
-
-
-
Locate and assess the battery. Pictured in the upper right area of the computer.
-
-
-
-
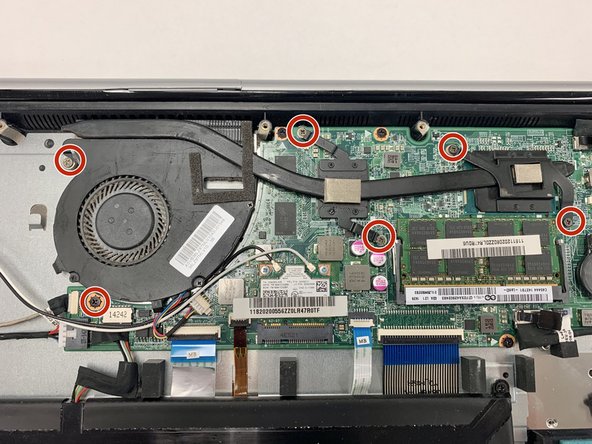
Locate and remove all screws attaching the battery to the hull of the computer. It is recommended that you use a JIS #1 screwdriver head for this task.
-
Be careful to keep track of all removed screws.
-
-
-
Detach the connection from the battery to the motherboard. This is the only connection that needs to be disconnected for the battery.
-
To remove the connection, please pull firmly, as it well secured.
-


To reassemble your device, follow these instructions in reverse order.
To reassemble your device, follow these instructions in reverse order.

Team

The Citadel Military College of South Carolina, Team 2-9, Eggleston Fall 2021 Mitglied von The Citadel Military College of South Carolina, Team 2-9, Eggleston Fall 2021
CMCSC-EGGLESTON-F21S2G9
3 Mitglieder
3 Anleitungen geschrieben