Diese Anleitung enthält neuere Änderungen. Wechsel zur neuesten unüberprüften Version.
Einleitung
Use this guide to replace the battery.
Was du brauchst
-
-
Look at the back of the tablet and locate the speakers on top of the rear cover.
-
There is a smaller indentation in the plastic cover that runs across the top of the device.
-
Wedge the plastic opening tool, under the middle of the cover as shown, then push up and the cover will pop off.
-
-
-
-
Pry open cover using a plastic opening tool.
-
Leave plastic opening tool in place to maintain the separation.
-
It may take a little force to separate from the front face of the device
-
Slide the plastic opening tool to one corner.
-
Place another plastic opening tool into the gap and slide it to the opposite corner.
-
Pull the rear cover up and back to separate it from front face of the device.
-
-
-
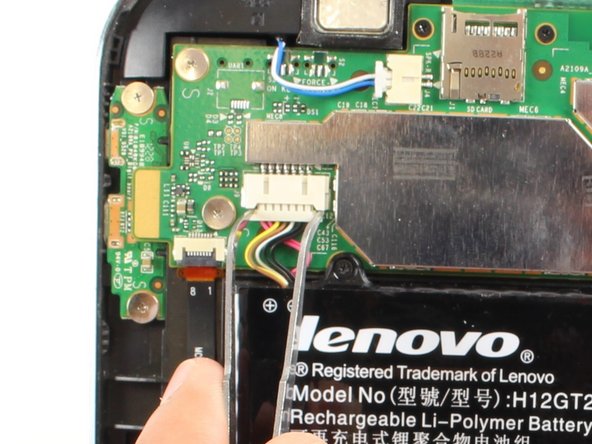
Disconnect battery power connector by pinching the connector with tweezers, and sliding it out of the housing.
-
-
-
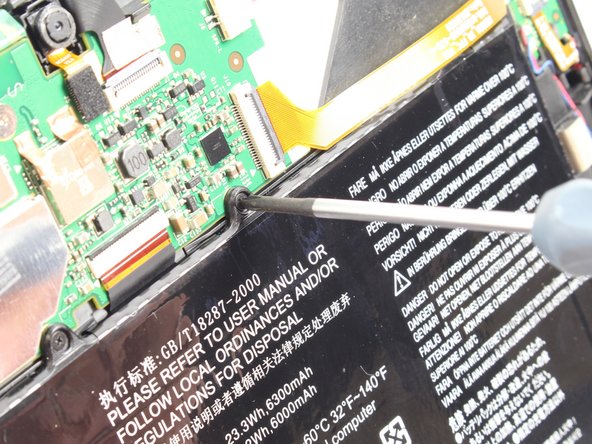
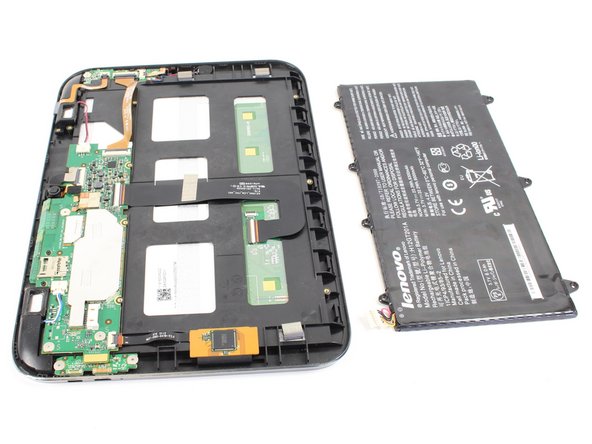
Now you can take the battery out in order to either replace it or continue disassembling the device.
-


To reassemble your device, follow these instructions in reverse order.
To reassemble your device, follow these instructions in reverse order.
Rückgängig: Ich habe diese Anleitung nicht absolviert.
9 weitere Nutzer:innen haben diese Anleitung absolviert.
Team

Cal Poly, Team 7-19, Regan Spring 2014 Mitglied von Cal Poly, Team 7-19, Regan Spring 2014
CPSU-REGAN-S14S7G19
4 Mitglieder
15 Anleitungen geschrieben
Ein Kommentar
If there is an SD Micro memory card installed, REMOVE IT!, before the back cover. Otherwise, the card reader/writer will be damaged.