Diese Anleitung enthält neuere Änderungen. Wechsel zur neuesten unüberprüften Version.
Einleitung
Use this guide to replace the digital board.
Was du brauchst
-
-
Look at the back of the tablet and locate the speakers on top of the rear cover.
-
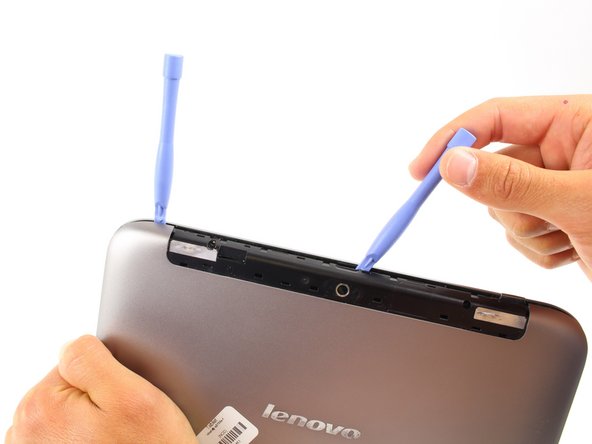
There is a smaller plastic cover that runs across the top of the device.
-
Wedge the blue opening tool, under the middle of the cover as shown, then push up and the cover will pop off.
-
-
-
-
Once it is unscrewed, remove the rear cover
-
This may take a little force to get off but with enough force it should pop right off
-
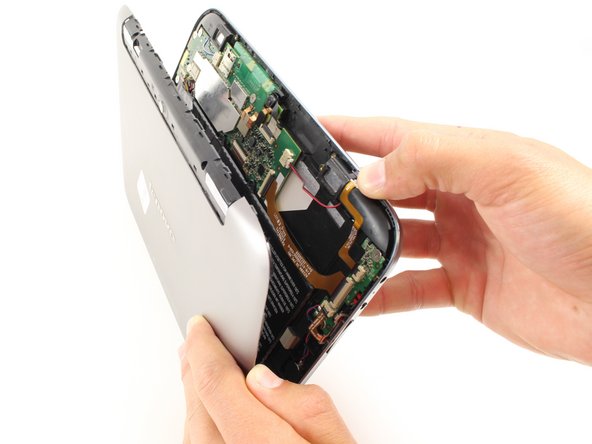
Use a blue opening tool to pry it open
-
Slide the tool to one corner then grab another tool and slide it to the opposite corner
-
Pull the cover up and it will come off
-
-
-
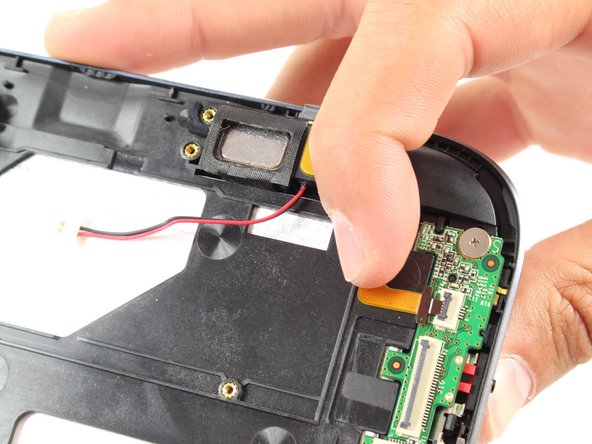
Use the tweezer tool to flip up the three small plastic locks attached to the digital board.
-
Then, slide newly exposed ribbons out.
-
-
-
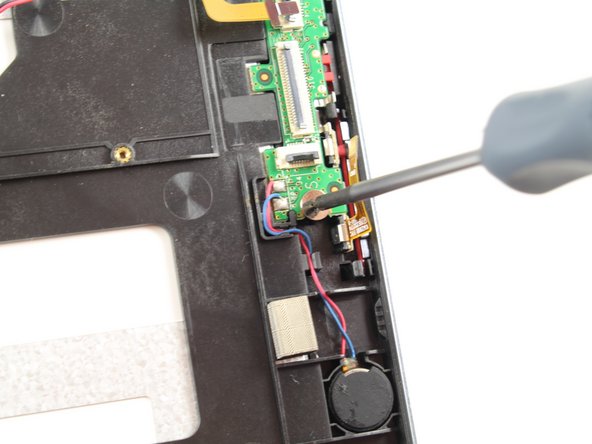
Once it is unscrewed, use the tweezer tool to pull the digital board straight out.
-


To reassemble your device, follow these instructions in reverse order.
To reassemble your device, follow these instructions in reverse order.
Rückgängig: Ich habe diese Anleitung nicht absolviert.
4 weitere Nutzer:innen haben diese Anleitung absolviert.
Team

Cal Poly, Team 7-19, Regan Spring 2014 Mitglied von Cal Poly, Team 7-19, Regan Spring 2014
CPSU-REGAN-S14S7G19
4 Mitglieder
15 Anleitungen geschrieben