Einleitung
In this guide, we will be replacing the screen of the Lenovo Ideapad 320-15ABR.
Was du brauchst
-
-
Begin by prying off the black cover surrounding the screen by wedging the the iFixit opening tool underneath it. Work your way down until you reach the hinge cover.
-
Insert iFixit opening tool in to the hinge cover as pictured and begin slowly prying it off.
-
Remove the black cover.
-
-
-
-
Using the Phillips #1 screwdriver, remove the four 3mm screws securing the screen, and put them on the magnetic mat so you will not misplace them.
-
Gently lift the screen out and place it facing down on the keyboard.
-
-
-
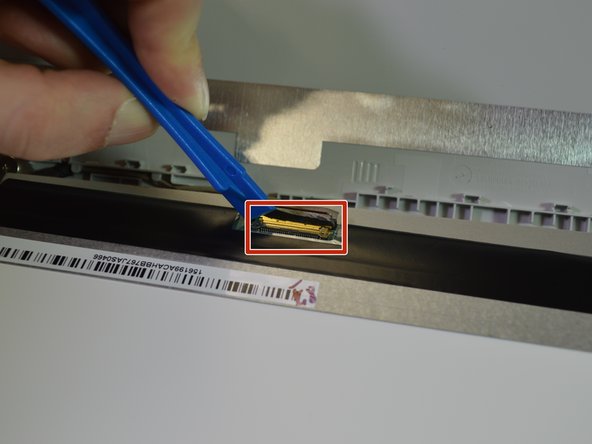
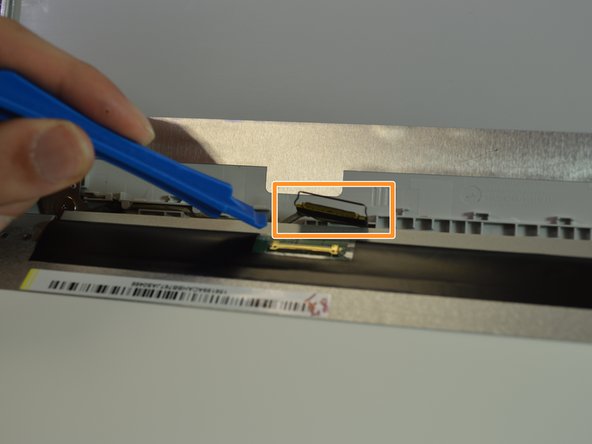
Carefully flip the hinge securing the connector up with the opening tool.
-
Slowly work the plug out of the connector.
-
Insert the plug from the replacement screen in to the connector. Make sure the connection is secure before flipping the hinge back down.
-


To reassemble your device, follow these instructions in reverse order.
To reassemble your device, follow these instructions in reverse order.
Rückgängig: Ich habe diese Anleitung nicht absolviert.
3 weitere Nutzer:innen haben diese Anleitung absolviert.
Team

Purdue University Northwest, Team S1-G5, Hingst Fall 2018 Mitglied von Purdue University Northwest, Team S1-G5, Hingst Fall 2018
PNW-HINGST-F18S1G5
4 Mitglieder
19 Anleitungen geschrieben
The hinge cover does not come off as described. The small plastic tabs that hold it in place are interlocked. You remove the hinge cover by sliding it to the right about 1/8th inch otherwise you will likely break some of the tabs. This requires further disassembly first as the top frame does not provide the space needed to slide the hinge cover over. You must first remove the display assembly from the base.
hall999999 - Antwort