Diese Anleitung enthält neuere Änderungen. Wechsel zur neuesten unüberprüften Version.
Einleitung
If you are trying to replace your current hard drive, this guide will walk you through the process.
Was du brauchst
-
-
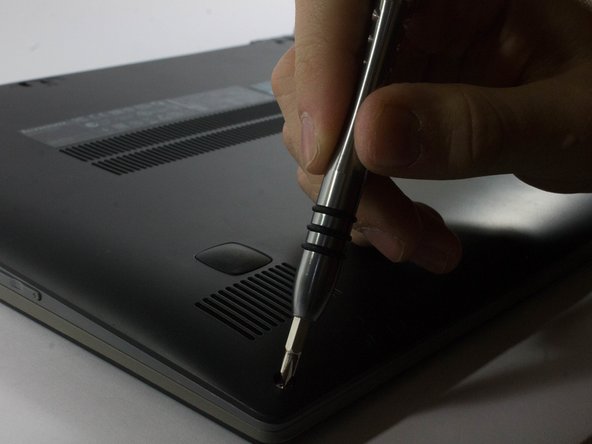
Start by removing the feet near the LCD hinge of the laptop to reveal two screws.
-
Using a Phillips #1 screwdriver, remove the top five (30 mm) screws underneath the battery.
-
-
-
Once both feet are removed, two (40 mm) screws will reveal themselves. Unscrew these.
-
-
-
Working your way around the outer edges of the Flex 15, remove the 8 (30 mm) outer screws.
-
-
-
-
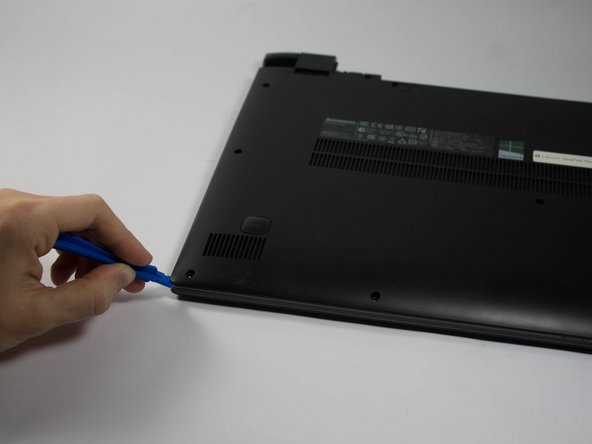
Using a plastic opening tool, make your way around the edge of the laptop.
-
There is a visible line between the bottom shell of the laptop and the laptop body itself.
-
-
-
Make sure to pry evenly around this edge and only remove the bottom of the laptop when it is fully loose.
-
-
-
Locate the hard drive assembly on the top right hand corner of the Flex 15 based on the orientation of the device in the picture.
-
-
-
Begin by unscrewing the four (20 mm) black screws that surround the hard drive’s metal cage.
-
Once removed, remove the black SATA connector by pulling it from the hard drive unit towards the right hand side of the laptop.
-
-
-
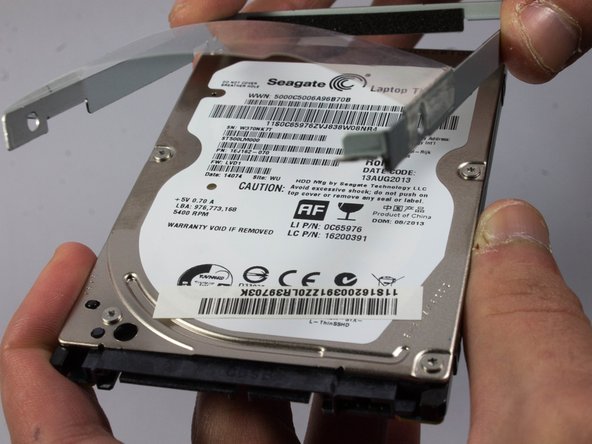
The hard drive should be freed from the base of the laptop.
-
There are four (20 mm) black screws surrounding the hard drive from the cage. Two on each side.
-
Unscrew these to free the hard drive from the cage
-


To reassemble your device, follow these instructions in reverse order.
To reassemble your device, follow these instructions in reverse order.
Rückgängig: Ich habe diese Anleitung nicht absolviert.
6 weitere Nutzer:innen haben diese Anleitung absolviert.
Team

UMass Dartmouth, Team 6-6, Bhusal Spring 2016 Mitglied von UMass Dartmouth, Team 6-6, Bhusal Spring 2016
UMASSD-BHUSAL-S16S6G6
3 Mitglieder
6 Anleitungen geschrieben