Einleitung
If your wireless networking card is not working or needs to be replaced / upgraded, follow this guide.
Was du brauchst
-
-
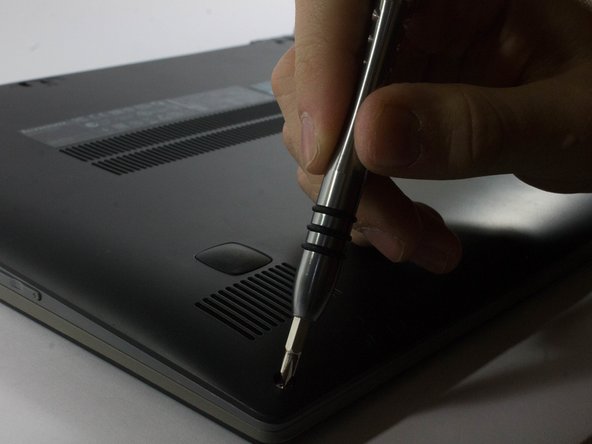
Start by removing the feet near the LCD hinge of the laptop to reveal two screws.
-
Using a Phillips #1 screwdriver, remove the top five (30 mm) screws underneath the battery.
-
-
-
Once both feet are removed, two (40 mm) screws will reveal themselves. Unscrew these.
-
-
-
Working your way around the outer edges of the Flex 15, remove the 8 (30 mm) outer screws.
-
-
-
-
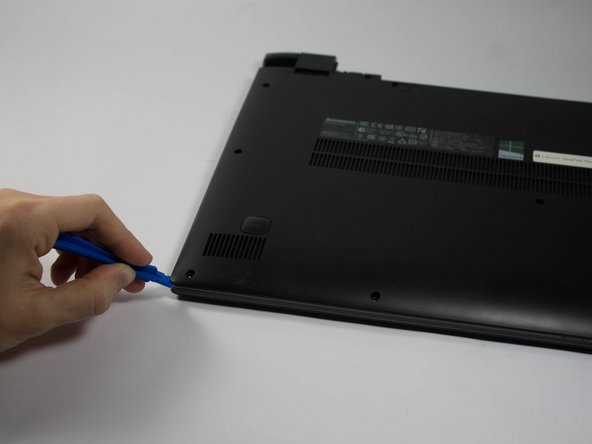
Using a plastic opening tool, make your way around the edge of the laptop.
-
There is a visible line between the bottom shell of the laptop and the laptop body itself.
-
-
-
Make sure to pry evenly around this edge and only remove the bottom of the laptop when it is fully loose.
-
-
-
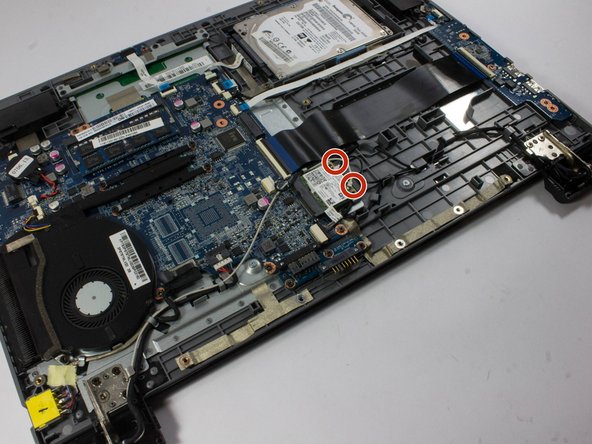
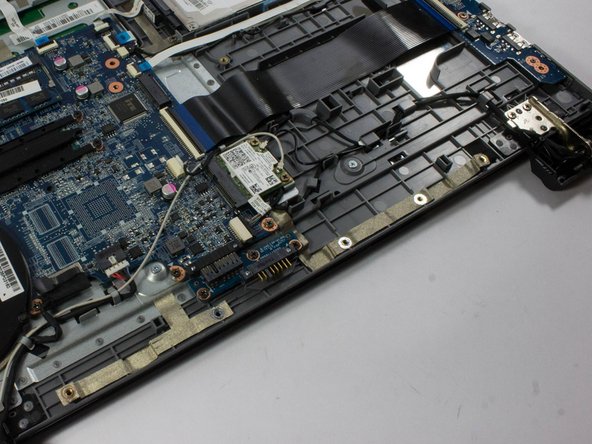
Locate the wireless card. It is located above the black ribbon cable, underneath the battery terminals.
-
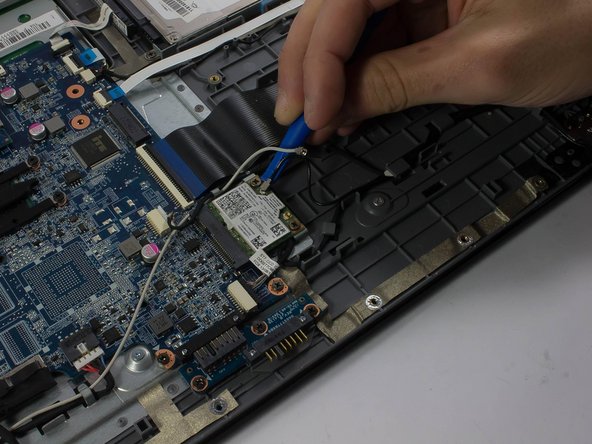
The wireless card has two antennas (black and white cables) that are attached to other parts of the laptop.
-
-
-
To remove these cables, take your plastic opening tool and gently pry around the metal base above the PCB until the connectors are freed.
-
Repeat this step with both the black and the white antennas
-
-
-
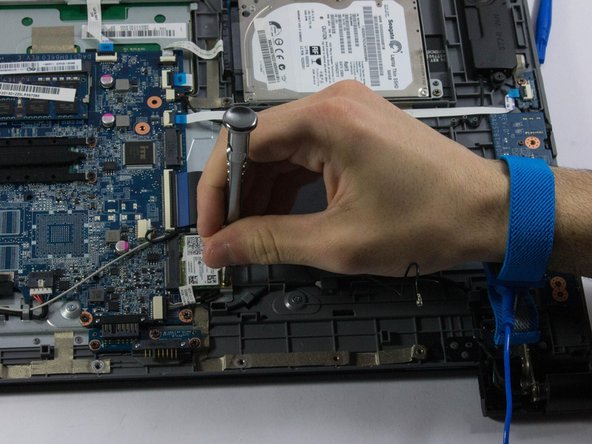
There are two (30 mm) screws attached to the wireless card underneath the antenna. Remove both of these with your screwdriver (bit PH1).
-
Once the screws are removed, the wireless card will tilt upwards. Firmly grab the card with one hand and pull it slowly, diagonally, out of the socket.
-
To replace this card with a new wireless card, put the contacts back into the socket. The wireless card should be sitting at a 45 degree angle.
-
-
-
To seat the wireless card, put the two screws back into the card. It should be flush against the base of the laptop.
-
Line up the white antenna back in the original (left) terminal. Push the antenna gently onto the wireless adapter with one finger. Give it a small tug to ensure it is connected firmly.
-
Do the same with the black antenna, snapping it onto the right antenna port.
-


To reassemble your device, follow these instructions in reverse order.
To reassemble your device, follow these instructions in reverse order.
Rückgängig: Ich habe diese Anleitung nicht absolviert.
3 weitere Nutzer:innen haben diese Anleitung absolviert.
Team

UMass Dartmouth, Team 6-6, Bhusal Spring 2016 Mitglied von UMass Dartmouth, Team 6-6, Bhusal Spring 2016
UMASSD-BHUSAL-S16S6G6
3 Mitglieder
6 Anleitungen geschrieben
Ein Kommentar
I would like to upgrade my Lenovo Flex 15, model 20309, wifi card. It says I have wireless-N 7260 and I would like it upgraded to a fast dual band card. I am having trouble finding a wifi card that I am confident will be compatible with my laptop. Most of the 7260’s say they do not work with Lenovo. Any help is very much appreciated!