Einleitung
This guide will show how to replace the Wi-Fi card on the Lenovo ThinkPad X1 Carbon 5th Gen, Type 20K3-S0DQ00 S/N PF-0VPYSA 1710. This will be helpful to users who are struggling with Wi-Fi issues. Replacing a Wi-Fi card can allow for Wi-Fi connectivity and for increased signal strength and range.
The device should always be powered off and disconnected from the charger when being worked on.
Was du brauchst
-
-
Use the Phillips #1 screwdriver to remove five 1.2 mm screws from the back cover of the laptop.
-
-
-
-
Remove the back cover using the opening tool, leaving the laptop back exposed.
-
Use the opening tool to pry the edge and work your way around the perimeter.
-
-
-
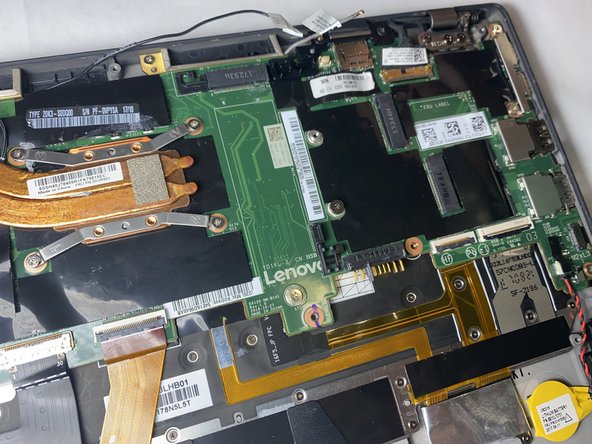
Use the Phillips #1 screwdriver to remove the 1.2 mm screw that's holding the Wi-Fi card in place.
-


To reassemble your device, follow these instructions in reverse order.
To reassemble your device, follow these instructions in reverse order.

Team

Gateway, Team 1-3, Saknee Fall 2021 Mitglied von Gateway, Team 1-3, Saknee Fall 2021
GCC-SAKNEE-F21S1G3
4 Mitglieder
15 Anleitungen geschrieben