Einleitung
This guide will show you how to replace the keyboard in your Lenovo ThinkPad X1 Carbon 7th Generation laptop. Reasons for failure of your keyboard may include the keyboard becoming unresponsive, dust or particles stuck that must be removed to allow functionality of the keyboard, visible damage to the keyboard, or loosened keys. If you are experiencing any of these issues, a keyboard replacement should restore your laptop to working condition.
Was du brauchst
-
-
Use a Phillips #1 screwdriver to loosen the five captive screws securing the back cover.
-
-
-
Insert an opening pick at a 45˚ angle between the back cover and frame near the rear middle screw.
-
Pry up on the pick to release the clips securing the back cover to the frame.
-
-
-
Use a Phillips #0 screwdriver to remove the six 4.9 mm-long screws securing the battery.
-
-
-
-
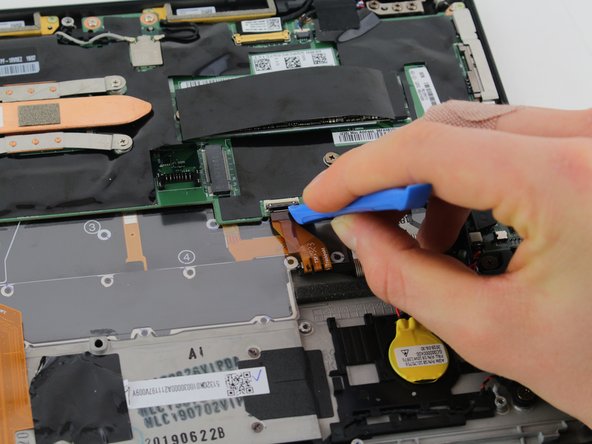
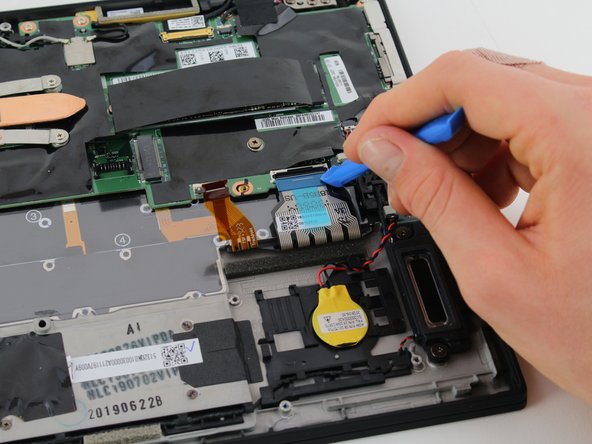
Remove the connectors with bar latches by lifting up on the small bar behind the port and pulling the circuit ribbon away from the port.
-
-
-
Remove the snap connectors by lifting straight up until the connection pops out.
-
-
-
Remove the latch connections by lifting the latch up, releasing the circuit ribbon.
-
-
-
Remove the seven 4 mm Phillips #0 screws that hold the motherboard in place
-
Remove the 3 mm Phillips #0 screw located near the fan.
-
-
-
Lift the motherboard with the fan still connected straight up and out of the device.
-
-
-
Using a Phillips #00 screwdriver, remove sixty-six 0.5 mm screws from the keyboard.
-


To reassemble your device, follow these instructions in reverse order.
To reassemble your device, follow these instructions in reverse order.
Rückgängig: Ich habe diese Anleitung nicht absolviert.
6 weitere Nutzer:innen haben diese Anleitung absolviert.
Team

The Citadel Military College of South Carolina, Team S2-G13, Eggleston Fall 2020 Mitglied von The Citadel Military College of South Carolina, Team S2-G13, Eggleston Fall 2020
CMCSC-EGGLESTON-F20S2G13
3 Mitglieder
5 Anleitungen geschrieben
2 Kommentare
I did this and the new keyboard only works for 1 minutes be for stopping