Zum Hauptinhalt wechseln
Gemeinsam reparieren - Jetzt registrieren

Lenovo Thinkpad x230 Screen Module Replacement

Was du brauchst

  1. Lenovo Thinkpad x230 Screen Module Replacement, Preparations: Schritt 1, Bild 1 von 1
    • Before you begin, be sure to turn off your laptop and unplug it from the outlet.

    Frag FixBot

    Kommentar hinzufügen

  2. Lenovo Thinkpad x230 Screen Module Replacement, Locate the battery: Schritt 2, Bild 1 von 1
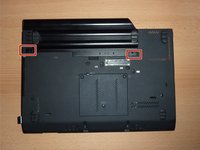
    • Flip the computer upside down.

    • The red rectangle shows the location of the battery.

    Frag FixBot

    Kommentar hinzufügen

  3. Lenovo Thinkpad x230 Screen Module Replacement, Unlock the left switch: Schritt 3, Bild 1 von 3 Lenovo Thinkpad x230 Screen Module Replacement, Unlock the left switch: Schritt 3, Bild 2 von 3 Lenovo Thinkpad x230 Screen Module Replacement, Unlock the left switch: Schritt 3, Bild 3 von 3
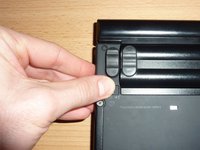
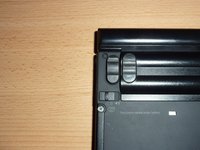
    • Locate the two switches that lock the battery. Push the left-hand switch outward into the "unlocked" position.

    Frag FixBot

    Kommentar hinzufügen

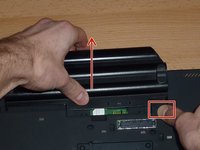
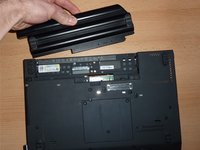
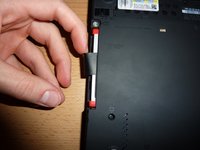
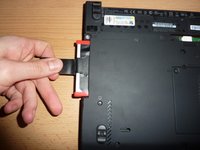
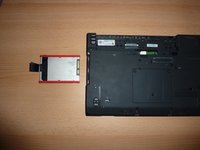
  4. Lenovo Thinkpad x230 Screen Module Replacement, Remove the battery: Schritt 4, Bild 1 von 3 Lenovo Thinkpad x230 Screen Module Replacement, Remove the battery: Schritt 4, Bild 2 von 3 Lenovo Thinkpad x230 Screen Module Replacement, Remove the battery: Schritt 4, Bild 3 von 3
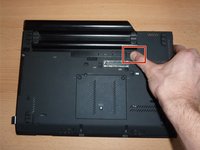
    • Now push and hold the right clip to the right while using your other hand to gently slide the battery away from the computer.

    Frag FixBot

    Kommentar hinzufügen

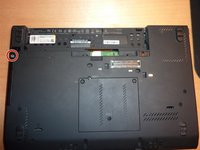
  5. Lenovo Thinkpad x230 Screen Module Replacement, Locate the hard drive enclosure: Schritt 5, Bild 1 von 1
    • Locate the hard drive enclosure (marked by the red rectangle).

    Frag FixBot

    Kommentar hinzufügen

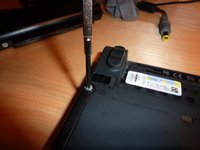
  6. Lenovo Thinkpad x230 Screen Module Replacement, Remove enclosure: Schritt 6, Bild 1 von 2 Lenovo Thinkpad x230 Screen Module Replacement, Remove enclosure: Schritt 6, Bild 2 von 2
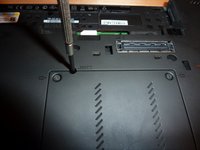
    • Use a small Phillips screwdriver to unscrew the single screw that holds down the hard drive enclosure cover.

    • The screw is designed to remain within the plastic cover. Don't worry about extracting it completely.

    • Carefully remove the hard drive enclosure cover.

    Frag FixBot

    Kommentar hinzufügen

  7. Lenovo Thinkpad x230 Screen Module Replacement, Remove SSD/hard drive: Schritt 7, Bild 1 von 3 Lenovo Thinkpad x230 Screen Module Replacement, Remove SSD/hard drive: Schritt 7, Bild 2 von 3 Lenovo Thinkpad x230 Screen Module Replacement, Remove SSD/hard drive: Schritt 7, Bild 3 von 3
    • Gently pull the black pull tab out from above the hard drive. Continue pulling on the pull tab until the hard drive and the two plastic rails come out of the enclosure.

    • Pull on the tab firmly but slowly. The hard drive should come out of the enclosure effortlessly.

    Frag FixBot

    Kommentar hinzufügen

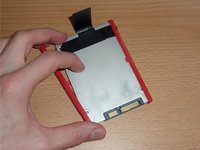
  8. Lenovo Thinkpad x230 Screen Module Replacement, Remove plastic rails: Schritt 8, Bild 1 von 3 Lenovo Thinkpad x230 Screen Module Replacement, Remove plastic rails: Schritt 8, Bild 2 von 3 Lenovo Thinkpad x230 Screen Module Replacement, Remove plastic rails: Schritt 8, Bild 3 von 3
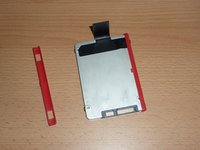
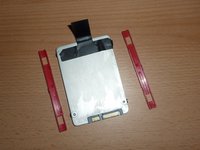
    • Remove the plastic rails from the old SSD/hard drive and place them on the new SSD/hard drive.

    Frag FixBot

    Kommentar hinzufügen

  9. Lenovo Thinkpad x230 Screen Module Replacement, remove screws: Schritt 9, Bild 1 von 3 Lenovo Thinkpad x230 Screen Module Replacement, remove screws: Schritt 9, Bild 2 von 3 Lenovo Thinkpad x230 Screen Module Replacement, remove screws: Schritt 9, Bild 3 von 3
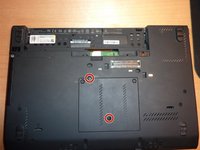
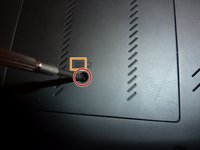
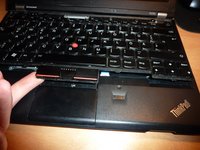
    • There are 2 screws securing the keyboard. You can identify them by a small keyboard symbol (marked by an orange rectangle in the second picture).

    • Once you have located the two screws, remove them with a small Phillips screwdriver.

    Frag FixBot

    Kommentar hinzufügen

  10. Lenovo Thinkpad x230 Screen Module Replacement, remove strip above keyboard: Schritt 10, Bild 1 von 3 Lenovo Thinkpad x230 Screen Module Replacement, remove strip above keyboard: Schritt 10, Bild 2 von 3 Lenovo Thinkpad x230 Screen Module Replacement, remove strip above keyboard: Schritt 10, Bild 3 von 3
    • This step is not required.

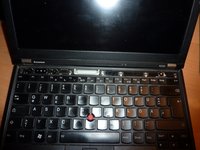
    • Gently pull the strip out from the case.

    Frag FixBot

    Kommentar hinzufügen

  11. Lenovo Thinkpad x230 Screen Module Replacement, pop keyboard out of the casing: Schritt 11, Bild 1 von 2 Lenovo Thinkpad x230 Screen Module Replacement, pop keyboard out of the casing: Schritt 11, Bild 2 von 2
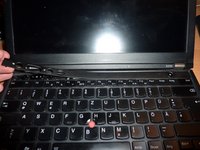
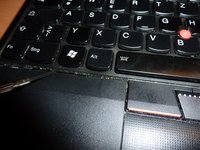
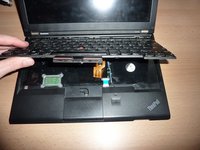
    • Use a a plastic spudger (or a flat screwdriver) to push the keyboard towards the screen. This will pop the bottom of the keyboard out of the casing.

    Frag FixBot

    Kommentar hinzufügen

  12. Lenovo Thinkpad x230 Screen Module Replacement, lift keyboard: Schritt 12, Bild 1 von 2 Lenovo Thinkpad x230 Screen Module Replacement, lift keyboard: Schritt 12, Bild 2 von 2
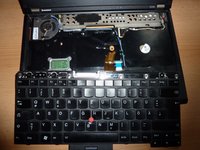
    • Carefully lift the keyboard so that you can access its connector.

    Frag FixBot

    Kommentar hinzufügen

  13. Lenovo Thinkpad x230 Screen Module Replacement, Unplug keyboard: Schritt 13, Bild 1 von 2 Lenovo Thinkpad x230 Screen Module Replacement, Unplug keyboard: Schritt 13, Bild 2 von 2
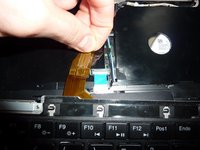
    • Carefully unplug the connector by pulling.

    Frag FixBot

    Kommentar hinzufügen

  14. Lenovo Thinkpad x230 Screen Module Replacement, done: Schritt 14, Bild 1 von 1
    • You are done - the keyboard is not connected to the laptop any more and can be replaced.

    Frag FixBot

    Kommentar hinzufügen

  15. Lenovo Thinkpad x230 Screen Module Replacement, Screen Module: Schritt 15, Bild 1 von 3 Lenovo Thinkpad x230 Screen Module Replacement, Screen Module: Schritt 15, Bild 2 von 3 Lenovo Thinkpad x230 Screen Module Replacement, Screen Module: Schritt 15, Bild 3 von 3
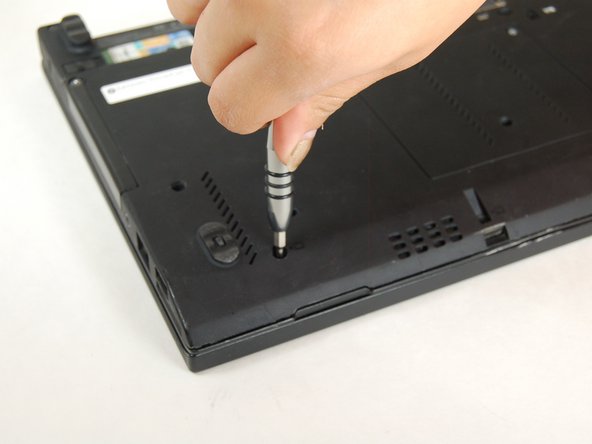
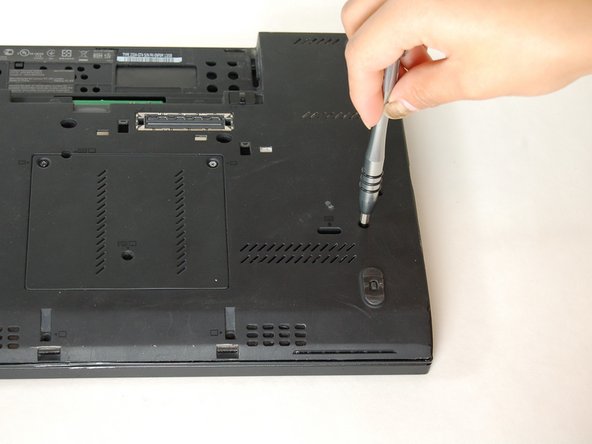
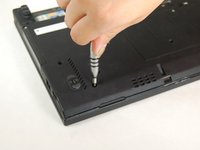
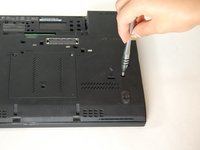
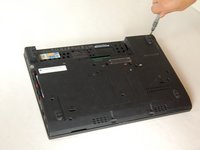
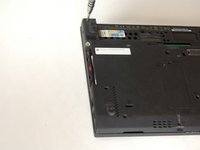
    • Remove five 5.7mm screws from the bottom.

    Frag FixBot

    Kommentar hinzufügen

  16. Lenovo Thinkpad x230 Screen Module Replacement: Schritt 16, Bild 1 von 2 Lenovo Thinkpad x230 Screen Module Replacement: Schritt 16, Bild 2 von 2
    • Unscrew two 5.7mm screws from the top of the bottom of the laptop.

    Frag FixBot

    Kommentar hinzufügen

  17. Lenovo Thinkpad x230 Screen Module Replacement: Schritt 17, Bild 1 von 2 Lenovo Thinkpad x230 Screen Module Replacement: Schritt 17, Bild 2 von 2
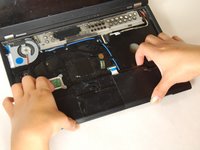
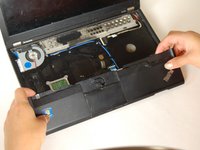
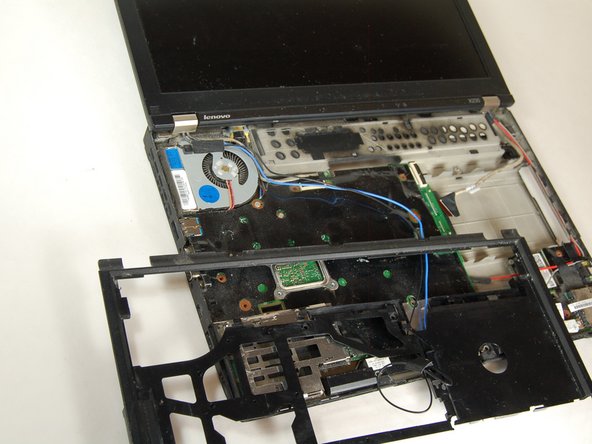
    • Pull the palm rest off the laptop board.

    Frag FixBot

    Kommentar hinzufügen

  18. Lenovo Thinkpad x230 Screen Module Replacement: Schritt 18, Bild 1 von 2 Lenovo Thinkpad x230 Screen Module Replacement: Schritt 18, Bild 2 von 2
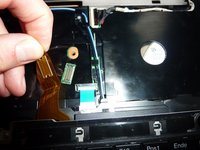
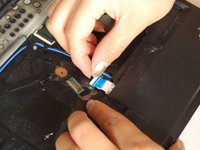
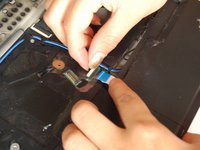
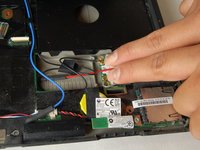
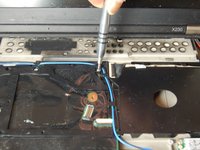
    • Unlock the white seal and disconnect the blue cable.

    Frag FixBot

    Kommentar hinzufügen

  19. Lenovo Thinkpad x230 Screen Module Replacement: Schritt 19, Bild 1 von 3 Lenovo Thinkpad x230 Screen Module Replacement: Schritt 19, Bild 2 von 3 Lenovo Thinkpad x230 Screen Module Replacement: Schritt 19, Bild 3 von 3
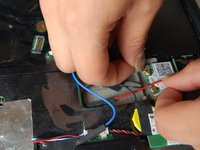
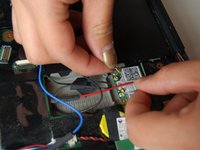
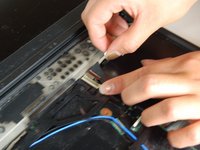
    • Carefully disconnect blue and red cables and remove them from plastic case.

    Frag FixBot

    Kommentar hinzufügen

  20. Lenovo Thinkpad x230 Screen Module Replacement: Schritt 20, Bild 1 von 2 Lenovo Thinkpad x230 Screen Module Replacement: Schritt 20, Bild 2 von 2
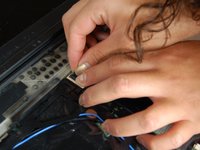
    • Unlock white seal and diconnect blue cable from upper corner.

    Frag FixBot

    Kommentar hinzufügen

  21. Lenovo Thinkpad x230 Screen Module Replacement: Schritt 21, Bild 1 von 2 Lenovo Thinkpad x230 Screen Module Replacement: Schritt 21, Bild 2 von 2
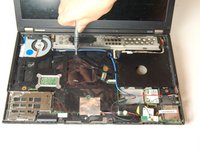
    • Remove two 4.1mm screws from the black frame.

    Frag FixBot

    Kommentar hinzufügen

  22. Lenovo Thinkpad x230 Screen Module Replacement: Schritt 22, Bild 1 von 3 Lenovo Thinkpad x230 Screen Module Replacement: Schritt 22, Bild 2 von 3 Lenovo Thinkpad x230 Screen Module Replacement: Schritt 22, Bild 3 von 3
    • Carefully pull off black frame from laptop board.

    Frag FixBot

    Kommentar hinzufügen

  23. Lenovo Thinkpad x230 Screen Module Replacement: Schritt 23, Bild 1 von 1
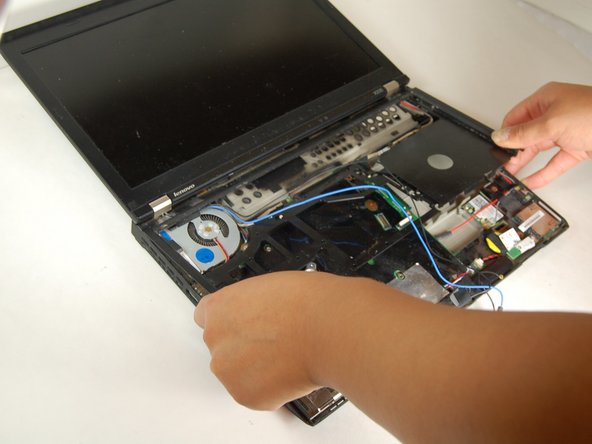
    • Carefully lift the screen module straight up to detach from board.

    Frag FixBot

    Kommentar hinzufügen

Abschluss

To reassemble your device, follow these instructions in reverse order.

Rückgängig: Ich habe diese Anleitung nicht absolviert.

8 weitere Personen haben diese Anleitung absolviert.

Team

Texas Tech, Team 6-3, Bennett Fall 2016 Mitglied von Texas Tech, Team 6-3, Bennett Fall 2016

TTU-BENNETT-F16S6G3

4 Mitglieder

3 Anleitungen geschrieben

0 Kommentare zur Anleitung

Kommentar hinzufügen

Seitenaufrufe:

Letzte 24 Stunden: 2

Letzte 7 Tage: 19

Letzte 30 Tage: 240

Insgesamt: 13,295