Einleitung
This guide outlines how to replace a keyboard on a 2nd generation Lenovo X1 Carbon laptop. These laptops are quite compact, which results in a keyboard replacement being a very involved process. This process includes removing almost every other part of the laptop first.
Was du brauchst
-
-
Unplug the bundled cable connector attached to the battery by pulling evenly from each side of the plug.
-
Remove the four 4mm screws from the corners of the battery.
-
Remove the 2.5mm screw from the center of the battery.
-
Remove the battery by lifting from the bottom edge and pulling towards the front edge.
-
-
-
Remove the 3mm screw from the solid state drive.
-
Pull the solid state drive straight out from its connector to remove it.
-
-
-
Unplug the Local Area Network Card by prying the coaxial connectors straight up from the board.
-
Unscrew the 3mm screw from the LAN card.
-
Pull the LAN card straight out from its connector to remove it.
-
-
-
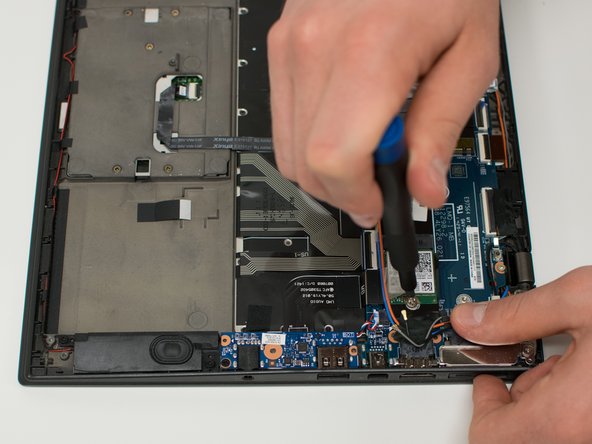
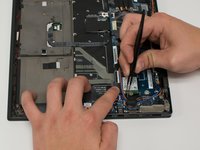
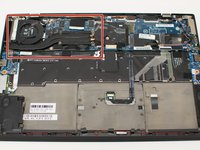
Unplug the CPU heatsink fan by flipping up the small locking flap on the ZIF connector and gently removing the cable.
-
-
-
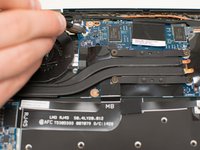
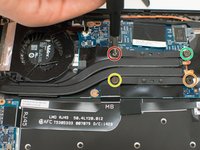
Loosen the upper-left heat pipe screw.
-
Loosen the lower-right heat pipe screw.
-
Loosen the lower-left heat pipe screw.
-
Loosen the upper-right heat pipe screw.
-
Lift the CPU cooler straight up to remove it.
-
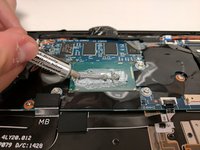
Apply a small amount of thermal paste across the processor case.
-
-
-
-
Unscrew the 4mm screw from the audio card.
-
Pull the audio card straight back from the side of the laptop and flip it over, exposing the flat topped connector.
-
Disconnect the flat topped connector by pulling straight up from its socket.
-
Remove the audio card.
-
-
-
Unplug the laptop speakers by pulling evenly on each side of the bundled cable connector.
-
Remove the four 4mm screws from the speakers.
-
Remove the speaker wires from under the tape loops along the front of the laptop.
-
Lift the speakers and speaker wires straight up to remove them.
-
-
-
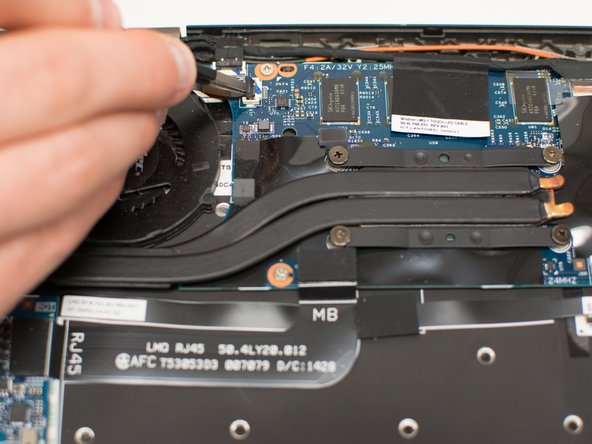
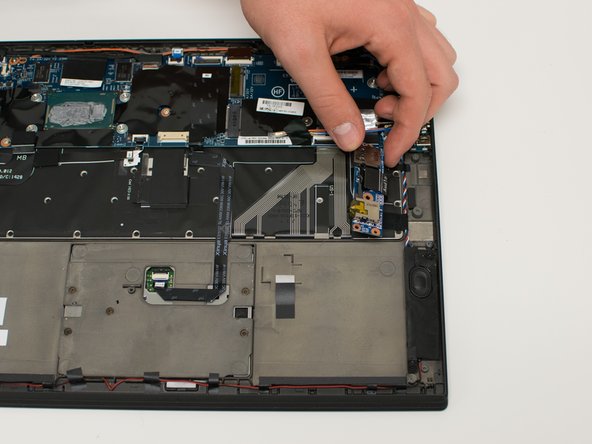
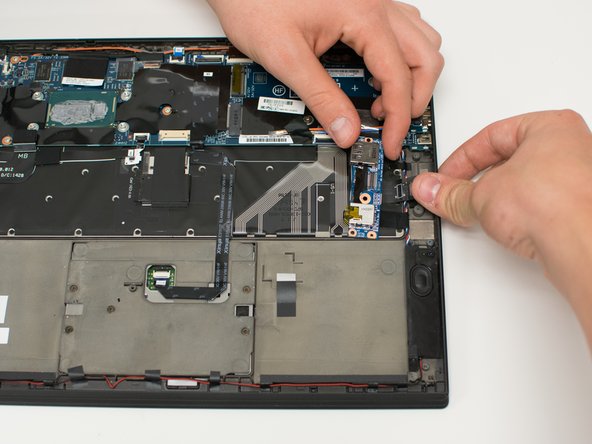
Disconnect the RJ45 ribbon cable by pulling straight up.
-
Remove the 4mm screw from the RJ45 card.
-
Move the RJ45 card slightly to the right and pull up to remove it.
-
-
-
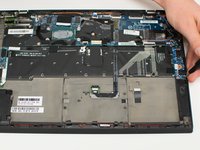
Remove the two 2.5mm screws from the guard.
-
Pull the guard straight up to remove it.
-
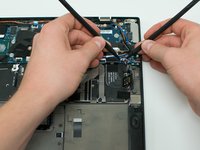
Slide the bottom plastic part of the ribbon cable socket forward.
-
Disconnect the ribbon cable.
-
Lift the fingerprint reader assembly straight up to remove it.
-
-
-
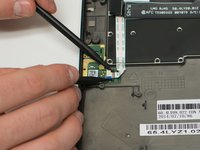
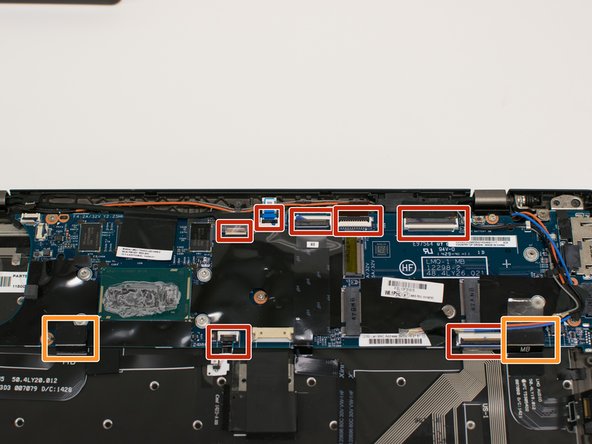
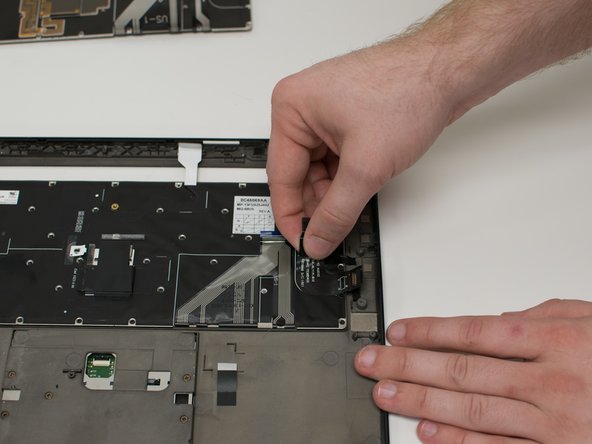
Lift the ribbon cable locking mechanism.
-
Disconnect the ribbon cables by pulling straight out from the socket.
-
Disconnect the ribbon cables by pulling straight up.
-
-
-
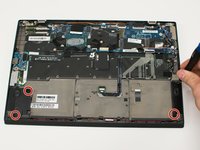
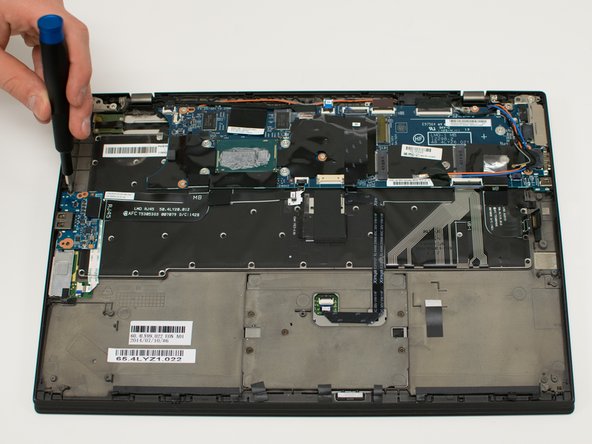
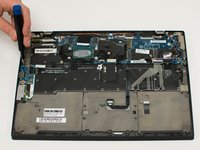
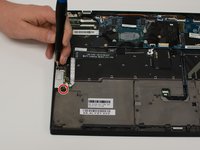
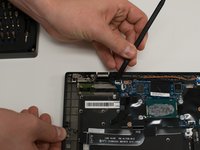
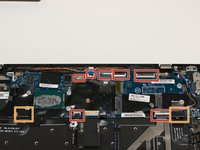
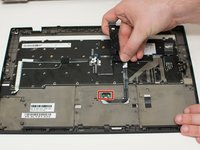
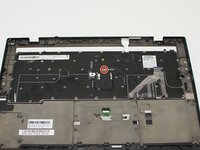
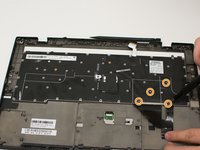
Remove the five 3mm screws from the system board.
-
Move the system board slightly to the left and pull up to remove it.
-
-
-
Remove the 4mm screw from the guard.
-
Pull the guard straight up to remove it.
-
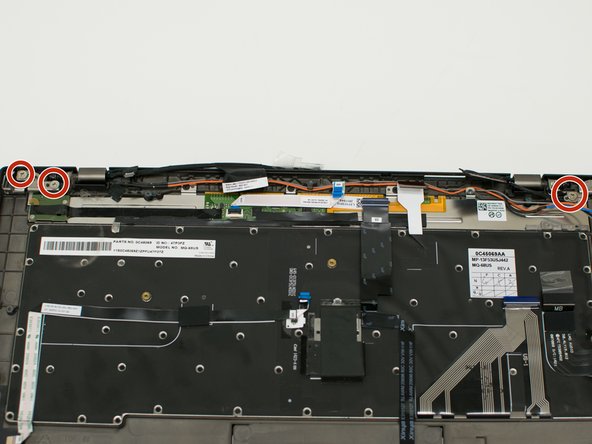
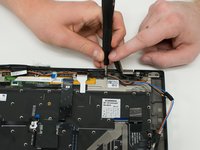
Remove the three 4mm screws from the LCD hinges.
-
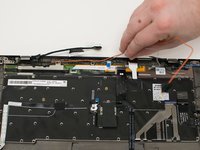
Pull the antenna wires away from the hinges.
-
-
-
Lift the laptop and open the screen 90 degrees.
-
Lift the LCD unit straight up to remove it.
-
-
-
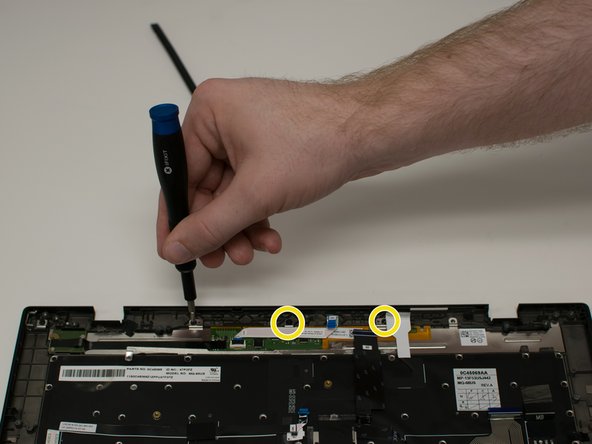
Remove the two 1.7mm screws from the bracket.
-
Pull the guard straight up to remove it.
-
Remove the two 1.7mm screws from the adaptive keys panel.
-
Remove the three 2.5mm screws from the adaptive keys panel.
-
Lift the adaptive keys panel from the rear of the laptop and pull to remove it.
-
-
-
Lift the ribbon cable locking mechanism.
-
Disconnect the ribbon cable.
-
Remove the remaining ribbon cables from the back of the keyboard.
-
-
-
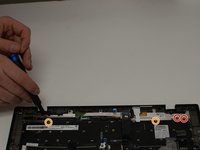
Remove the 45 Xmm screws from the back of the keyboard that are visible.
-
Remove the tape covering one of the Xmm screws and remove that screw.
-
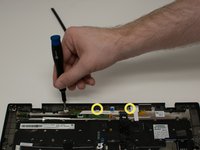
Peel back the large ribbon cable and remove the four Xmm screws underneath it.
-
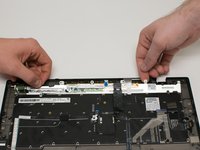
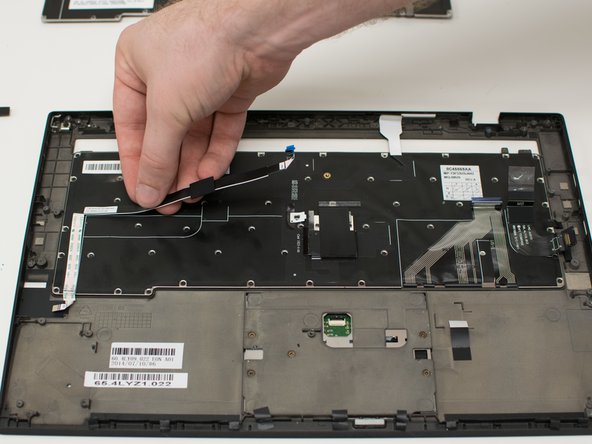
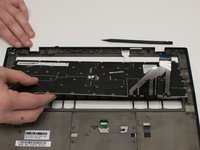
Lift the keyboard straight up to remove it.
-


To reassemble your device, follow these instructions in reverse order.
To reassemble your device, follow these instructions in reverse order.
Rückgängig: Ich habe diese Anleitung nicht absolviert.
16 weitere Personen haben diese Anleitung absolviert.

Team

Michigan Tech, Team S3-G6, Galliah Fall 2017 Mitglied von Michigan Tech, Team S3-G6, Galliah Fall 2017
MTU-GALLIAH-F17S3G6
3 Mitglieder
1 Anleitung geschrieben
10 Kommentare zur Anleitung
This was one heck of a difficult feat, thank you for documenting the process. It took me about one hour to disassemble and two hours to re-assemble.
Excellent guide - many thanks for writing this. It took me about 3 hours in total as well but it’s all done now. Worst part was the 50 tiny screws holding the keyboard in place!
Hey, I did this and have some serious Wi-Fi connection issues now…Ethernet and Wi-Fi are both listed as non-operational although sometimes a network will appear in my available networks to connect to. Any idea what might have gone wrong? I took out the LAN card and reinserted it, no dice.
You got the cables connected to the wrong little circle post on the wifi card. Swap them and it should work! happened to me drove me mad until I tried it.
I do have issues that seem to be the CMOS Battery.
I couldn't see that in your disassembly instructions.
I am looking everywhere for this little issue and I can not find instructions for the CMOS replacement.
Could you enlight a little where to get this information?