Zum Hauptinhalt wechseln

Lenovo Y50-70 Touch Motherboard Replacement

Was du brauchst

  1. Lenovo Y50-70 Touch Motherboard Replacement, Motherboard: Schritt 1, Bild 1 von 3 Lenovo Y50-70 Touch Motherboard Replacement, Motherboard: Schritt 1, Bild 2 von 3 Lenovo Y50-70 Touch Motherboard Replacement, Motherboard: Schritt 1, Bild 3 von 3
    • Use a Phillips #1 screwdriver to unscrew and remove the ten 6 mm screws on the back of the laptop.

    • Grab and pull off the back.

  2. Lenovo Y50-70 Touch Motherboard Replacement: Schritt 2, Bild 1 von 3 Lenovo Y50-70 Touch Motherboard Replacement: Schritt 2, Bild 2 von 3 Lenovo Y50-70 Touch Motherboard Replacement: Schritt 2, Bild 3 von 3
    • Use a Phillips #1 screwdriver to unscrew and remove the four 6 mm screws that secure the battery.

    • Grab the battery cable and gently pull it free from the cable connector.

    • Remove the battery.

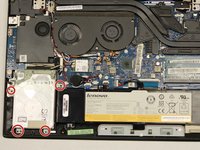
  3. Lenovo Y50-70 Touch Motherboard Replacement: Schritt 3, Bild 1 von 3 Lenovo Y50-70 Touch Motherboard Replacement: Schritt 3, Bild 2 von 3 Lenovo Y50-70 Touch Motherboard Replacement: Schritt 3, Bild 3 von 3
    • Use a Phillips #1 screwdriver to unscrew and remove the four 6 mm screws that secure the hard drive.

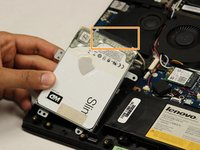
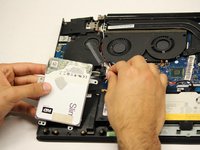
    • Grab the marked cable attached to the hard drive, and gently pull to unplug.

    • Remove the hard drive from the laptop.

  4. Lenovo Y50-70 Touch Motherboard Replacement: Schritt 4, Bild 1 von 3 Lenovo Y50-70 Touch Motherboard Replacement: Schritt 4, Bild 2 von 3 Lenovo Y50-70 Touch Motherboard Replacement: Schritt 4, Bild 3 von 3
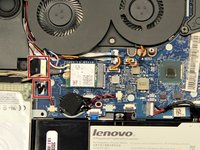
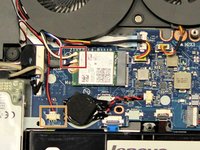
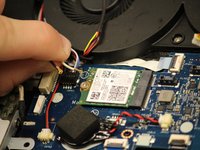
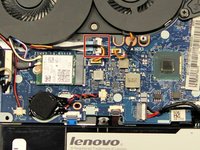
    • Grab marked cables and pull them out from their plug-in.

  5. Lenovo Y50-70 Touch Motherboard Replacement: Schritt 5, Bild 1 von 3 Lenovo Y50-70 Touch Motherboard Replacement: Schritt 5, Bild 2 von 3 Lenovo Y50-70 Touch Motherboard Replacement: Schritt 5, Bild 3 von 3
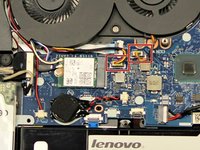
    • Grab the top set of marked cables and pull up to remove them.

    • Grab the lower marked cable and pull it out from their plug.

  6. Lenovo Y50-70 Touch Motherboard Replacement: Schritt 6, Bild 1 von 3 Lenovo Y50-70 Touch Motherboard Replacement: Schritt 6, Bild 2 von 3 Lenovo Y50-70 Touch Motherboard Replacement: Schritt 6, Bild 3 von 3
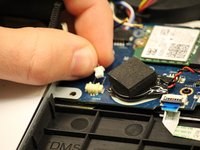
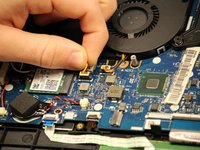
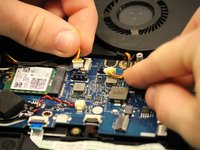
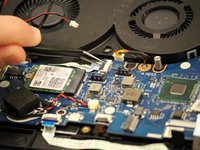
    • Grab marked cables and pull up to unplug.

  7. Lenovo Y50-70 Touch Motherboard Replacement: Schritt 7, Bild 1 von 2 Lenovo Y50-70 Touch Motherboard Replacement: Schritt 7, Bild 2 von 2
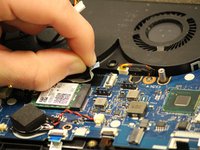
    • Grab marked cables and pull out to unplug.

  8. Lenovo Y50-70 Touch Motherboard Replacement: Schritt 8, Bild 1 von 3 Lenovo Y50-70 Touch Motherboard Replacement: Schritt 8, Bild 2 von 3 Lenovo Y50-70 Touch Motherboard Replacement: Schritt 8, Bild 3 von 3
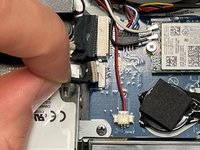
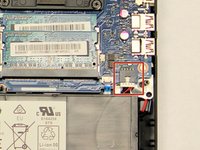
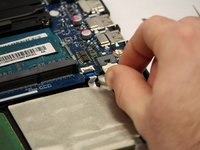
    • Grab the black tab on top of the cable and pull up to unplug.

  9. Lenovo Y50-70 Touch Motherboard Replacement: Schritt 9, Bild 1 von 3 Lenovo Y50-70 Touch Motherboard Replacement: Schritt 9, Bild 2 von 3 Lenovo Y50-70 Touch Motherboard Replacement: Schritt 9, Bild 3 von 3
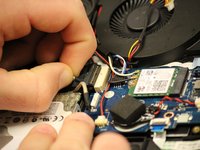
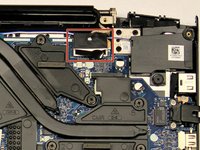
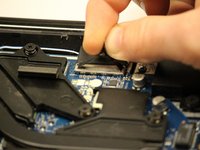
    • Lift the black tab on top of the marked cable.

    • Grab the colored tab on the cable and pull to remove the cable.

  10. Lenovo Y50-70 Touch Motherboard Replacement: Schritt 10, Bild 1 von 3 Lenovo Y50-70 Touch Motherboard Replacement: Schritt 10, Bild 2 von 3 Lenovo Y50-70 Touch Motherboard Replacement: Schritt 10, Bild 3 von 3
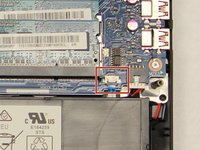
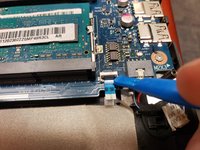
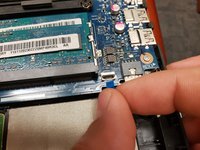
    • Lift the black tab on top of the marked cable.

    • Grab the colored tab on the cable and pull to remove the cable.

  11. Lenovo Y50-70 Touch Motherboard Replacement: Schritt 11, Bild 1 von 3 Lenovo Y50-70 Touch Motherboard Replacement: Schritt 11, Bild 2 von 3 Lenovo Y50-70 Touch Motherboard Replacement: Schritt 11, Bild 3 von 3
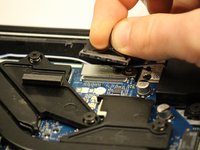
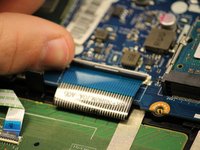
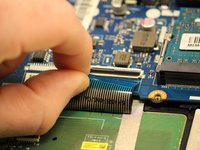
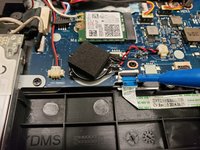
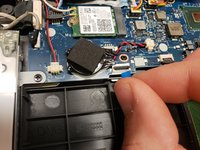
    • Lift the black tab on top of the marked cable.

    • Grab the colored tab on the cable and pull to remove the cable.

  12. Lenovo Y50-70 Touch Motherboard Replacement: Schritt 12, Bild 1 von 3 Lenovo Y50-70 Touch Motherboard Replacement: Schritt 12, Bild 2 von 3 Lenovo Y50-70 Touch Motherboard Replacement: Schritt 12, Bild 3 von 3
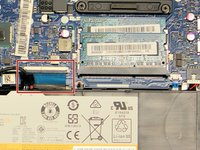
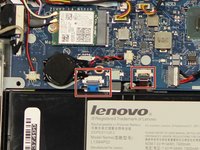
    • Lift the black tab on top of the marked cables.

    • Grab the colored tab on the cables and pull to remove the cables.

  13. Lenovo Y50-70 Touch Motherboard Replacement: Schritt 13, Bild 1 von 3 Lenovo Y50-70 Touch Motherboard Replacement: Schritt 13, Bild 2 von 3 Lenovo Y50-70 Touch Motherboard Replacement: Schritt 13, Bild 3 von 3
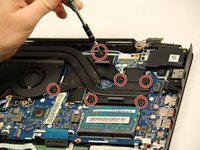
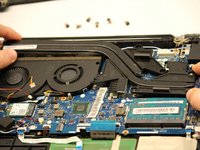
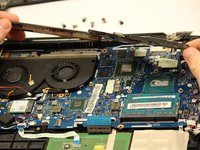
    • Use a Phillips #1 screwdriver to unscrew and remove the six 7 mm screws from the heat sink.

    • Grab and lift the heatsink off the motherboard.

  14. Lenovo Y50-70 Touch Motherboard Replacement: Schritt 14, Bild 1 von 3 Lenovo Y50-70 Touch Motherboard Replacement: Schritt 14, Bild 2 von 3 Lenovo Y50-70 Touch Motherboard Replacement: Schritt 14, Bild 3 von 3
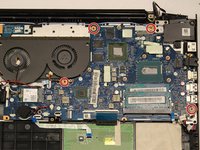
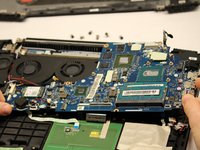
    • Use a Phillips #1 screwdriver to unscrew and remove the four 6 mm screws marked with red circles on the motherboard.

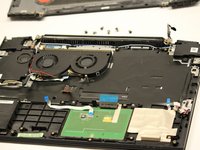
    • Grab and lift the motherboard up and out from the laptop.

Abschluss

To reassemble your device, follow these instructions in reverse order.

3 weitere Nutzer:innen haben diese Anleitung absolviert.

Team

IUPUI, Team 6-6, Beck Spring 2022 Mitglied von IUPUI, Team 6-6, Beck Spring 2022

IUPUI-BECK-S22S6G6

4 Mitglieder

3 Anleitungen geschrieben

Ein Kommentar

Attempting this tomorrow soldiers, wish me luck o7

j.c.glaab - Antwort

Kommentar hinzufügen

Seitenaufrufe:

Letzte 24 Stunden: 2

Letzte 7 Tage: 8

Letzte 30 Tage: 35

Insgesamt: 1,115