Diese Version enthält möglicherweise inkorrekte Änderungen. Wechsle zur letzten geprüften Version.
Was du brauchst
-
Dieser Schritt ist noch nicht übersetzt. Hilf mit, ihn zu übersetzen!
-
Using a Phillips #00 screwdriver, remove the eleven 1/4" screws from the back of the laptop.
-
-
Dieser Schritt ist noch nicht übersetzt. Hilf mit, ihn zu übersetzen!
-
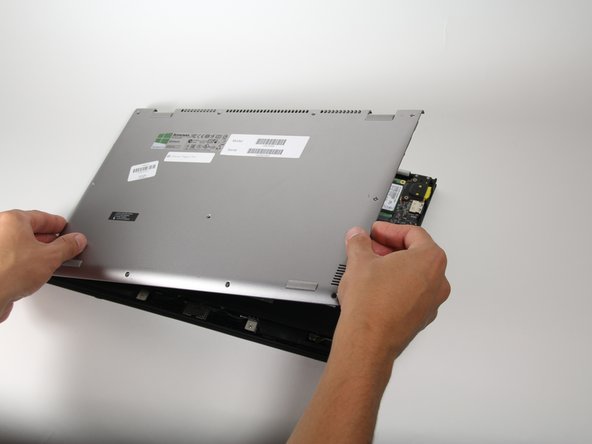
Gently unclip and lift off the back cover.
-
-
Dieser Schritt ist noch nicht übersetzt. Hilf mit, ihn zu übersetzen!
-
Using a Phillips #00 Screwdriver, remove the five 5/16" screws surrounding the battery.
-
-
-
Dieser Schritt ist noch nicht übersetzt. Hilf mit, ihn zu übersetzen!
-
Using either tweezers or your fingers, disconnect the black battery cable by pinching either side of the connector and pulling towards the battery.
-
-
Dieser Schritt ist noch nicht übersetzt. Hilf mit, ihn zu übersetzen!
-
Remove the battery from the computer.
-
-
Dieser Schritt ist noch nicht übersetzt. Hilf mit, ihn zu übersetzen!
-
Using a Phillips #00 screwdriver, remove the eight 1/8" screws surrounding the trackpad.
-
-
Dieser Schritt ist noch nicht übersetzt. Hilf mit, ihn zu übersetzen!
-
Using a sharp tool such as tweezers, lift up the black cover that is on top of the ribbon cable.
-
-
Dieser Schritt ist noch nicht übersetzt. Hilf mit, ihn zu übersetzen!
-
With tweezers, gently slide the ribbon cable out from under the connector.
-
-
Dieser Schritt ist noch nicht übersetzt. Hilf mit, ihn zu übersetzen!
-
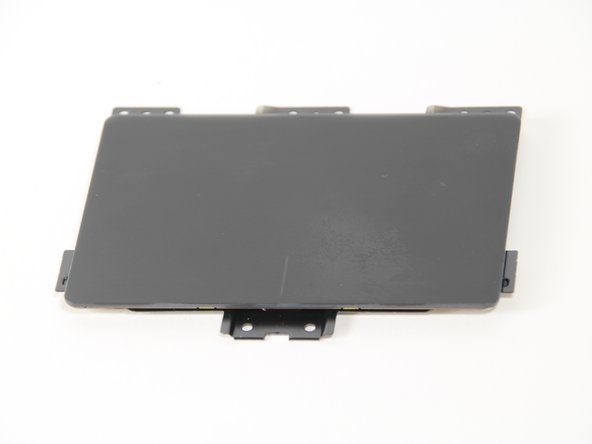
Lift the trackpad out of the computer.
-


Rückgängig: Ich habe diese Anleitung nicht absolviert.
6 weitere Nutzer:innen haben diese Anleitung absolviert.

Team

Cal Poly, Team 12-14, Maness Fall 2015 Mitglied von Cal Poly, Team 12-14, Maness Fall 2015
CPSU-MANESS-F15S12G14
5 Mitglieder
12 Anleitungen geschrieben
3 Kommentare
Where can I buy this trackpad? Mine is done.
I got a lot of different options on ebay but cannot rely on them. I think we could order it from IBM FRU parts but only by email or phone at:
https://www-304.ibm.com/shop/americas/co...
FRU: 73040855
Will try tomorrow