Einleitung
This guide will outline the proper procedure for removal of the display assembly. Exercise caution while removing and handling the assembly and its components, as they can easily scratch. Remember to turn the laptop off prior to starting.
Was du brauchst
-
-
Remove the ten 3.3 mm screws from the base cover using a T5 Torx screwdriver.
-
-
-
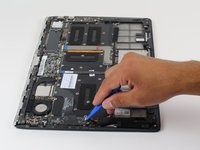
Slide the plastic opening tool between the base cover and the frame to pry open the computer.
-
Slowly go around the entire perimeter of the computer until all edges are loose.
-
-
-
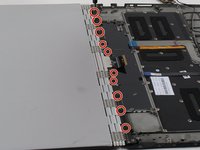
Remove the six 3.5 mm screws surrounding the battery using a Phillips 00 screwdriver.
-
-
In diesem Schritt verwendetes Werkzeug:Tweezers$4.99
-
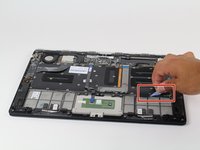
Using either tweezers or your fingers, disconnect the black battery cable by pinching either side of the connector and pulling towards the battery.
-
-
-
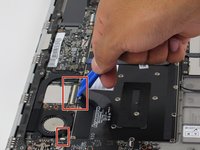
Remove the speaker and set it on the side.
-
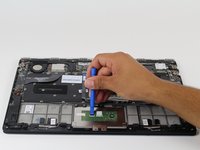
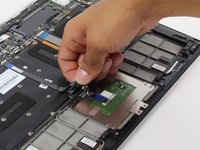
Use the plastic opening tool to remove the cables.
-
-
-
-
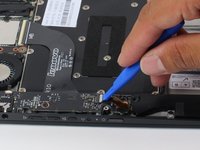
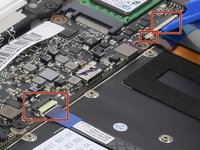
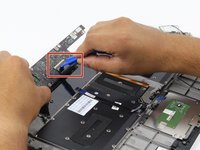
Use the plastic opening tool to flip open the tab on each ribbon connector as shown.
-
-
-
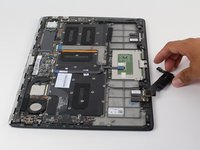
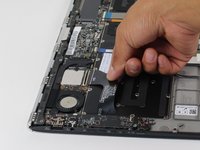
On the other side of the laptop, remove the two 3.5 mm screws using the Philips 00 screwdriver.
-
-
-
Lift the USB port up and use the plastic opening tool to loop the wires around the USB port.
-
-
-
Remove the four 2mm screws using the Philips 00 screwdriver.
-
Remove the 2.5mm screw using the Philips 00 screwdriver.
-
-
-
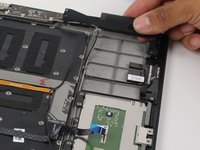
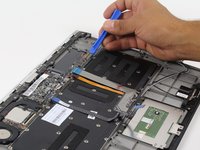
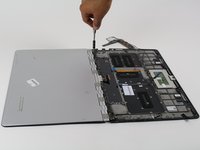
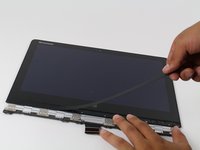
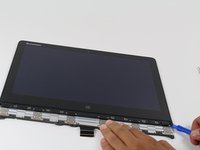
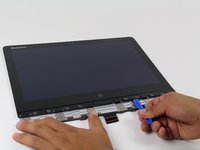
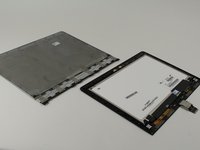
Use the plastic opening tool to lift the screen cover from the screen assembly.
-
-
-
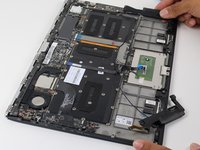
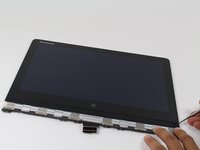
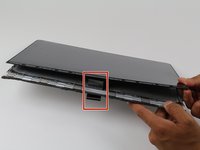
Unclip the display assembly by sliding the display down, towards the lower edge of the upper case component. The clips will disengage and you will be able to lift the assembly out easily.
-


To reassemble your device, follow these instructions in reverse order.
To reassemble your device, follow these instructions in reverse order.
Rückgängig: Ich habe diese Anleitung nicht absolviert.
11 weitere Personen haben diese Anleitung absolviert.
Team

Cal Poly, Team 12-17, Maness Fall 2015 Mitglied von Cal Poly, Team 12-17, Maness Fall 2015
CPSU-MANESS-F15S12G17
4 Mitglieder
15 Anleitungen geschrieben
2 Kommentare
Thank you. Very useful.
Great guide, but I think you missed the part of removing the fan