Einleitung
Using the speakers at the maximum setting for extended periods of time can damage the speakers, causing distorted and/or below average sound. The reason for dysfunctional speakers is not limited to the aforementioned. Should the speakers not be operating at peak performance or one is not satisfied with the speakers, this guide will help with their removal. The speakers in this laptop come connected as a pair, so remember to take out both when replacing them.
Was du brauchst
-
-
Remove the ten 3.3 mm screws from the base cover using a T5 Torx screwdriver.
-
-
-
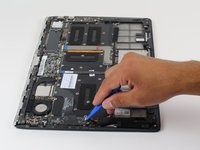
Slide the plastic opening tool between the base cover and the frame to pry open the computer.
-
Slowly go around the entire perimeter of the computer until all edges are loose.
-
-
-
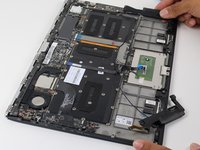
Remove the six 3.5 mm screws surrounding the battery using a Phillips 00 screwdriver.
-
-
-
In diesem Schritt verwendetes Werkzeug:Tweezers$4.99
-
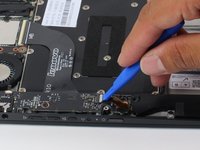
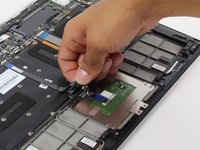
Using either tweezers or your fingers, disconnect the black battery cable by pinching either side of the connector and pulling towards the battery.
-
-
-
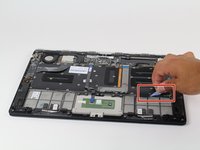
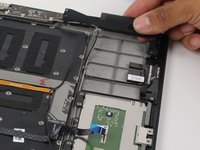
Remove the speaker and set it on the side.
-
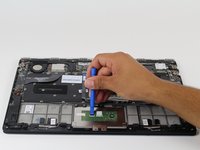
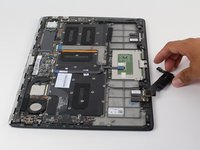
Use the plastic opening tool to remove the cables.
-


To reassemble your device, follow these instructions in reverse order.
To reassemble your device, follow these instructions in reverse order.
Rückgängig: Ich habe diese Anleitung nicht absolviert.
2 weitere Personen haben diese Anleitung absolviert.
Team

Cal Poly, Team 12-17, Maness Fall 2015 Mitglied von Cal Poly, Team 12-17, Maness Fall 2015
CPSU-MANESS-F15S12G17
4 Mitglieder
15 Anleitungen geschrieben