Einleitung
The disc drive is typically used in a device to read the information from a CD or DVD using an optical sensor. If the disc tray of your Lite-On LightScribe SHM-165H6S has fallen out of alignment or has broken, you can replace it using this guide. This guide is for the mechanical component of the disc drive, but may also help alleviate disc read errors, or can be used to access the optical sensors for cleaning or maintenance.
Was du brauchst
-
-
Insert an open paper clip into the small hole on the left side of the faceplate.
-
After the tray opens, extend it fully.
-
-
-
Use an opening device to push in the black tabs on the left, right and bottom of the outer chassis to unhook the faceplate.
-
-
-
-
Unscrew the four 8.5 mm screws on the bottom chassis using a Philips #2 screwdriver.
-
-
-
Extend the tray fully.
-
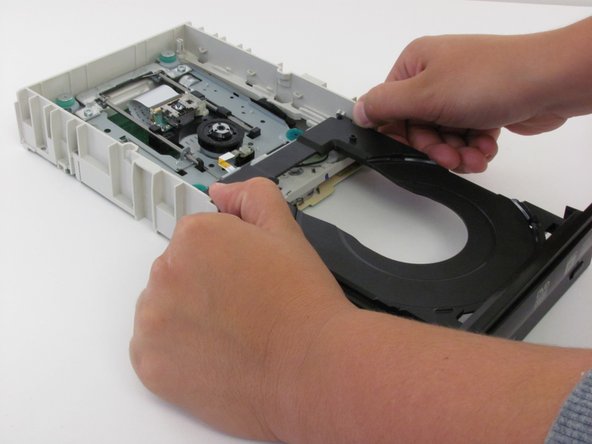
Push the tab on the right side to the left.
-
Push the tab on the left side to the left.
-
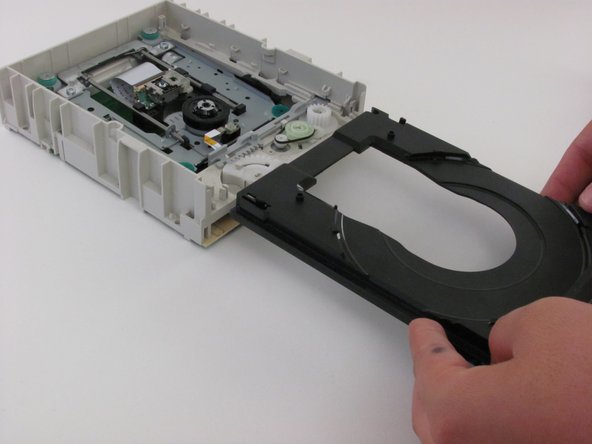
Remove the tray carefully.
-
-
-
Guide the replacement tray under the beige tabs.
-
Make sure the grey piece is slid to the right, so the grey nob is under the right-hand groove of the tray.
-
Check to see that the tray extends and closes smoothly.
-


To reassemble your device, follow these instructions in reverse order.
To reassemble your device, follow these instructions in reverse order.
Rückgängig: Ich habe diese Anleitung nicht absolviert.
Eine weitere Person hat diese Anleitung absolviert.
Team

Cal Poly, Team 6-5, Regan Fall 2011 Mitglied von Cal Poly, Team 6-5, Regan Fall 2011
CPSU-REGAN-F11S6G5
2 Mitglieder
6 Anleitungen geschrieben