Einleitung
Use this guide to replace the scroll wheel in a Logitech G1 optical mouse.
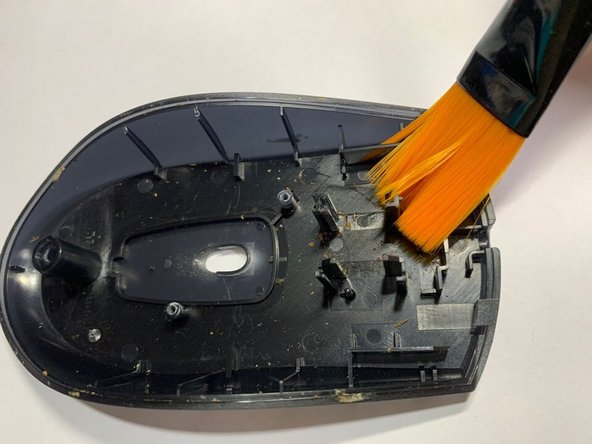
Sometimes the scroll wheel does not work when using the mouse. This guide not only shows you how to replace the mouse scroll wheel but also how to clean it.
Was du brauchst
-
-
Pull the top of the mouse lid gently to separate it from the rest of the mouse.
-
-


Rückgängig: Ich habe diese Anleitung nicht absolviert.
2 weitere Nutzer:innen haben diese Anleitung absolviert.

Team

York University, Team S1-G33, Woodhouse Winter 2021 Mitglied von York University, Team S1-G33, Woodhouse Winter 2021
YORK-WOODHOUSE-W21S1G33
1 Mitglied
2 Anleitungen geschrieben