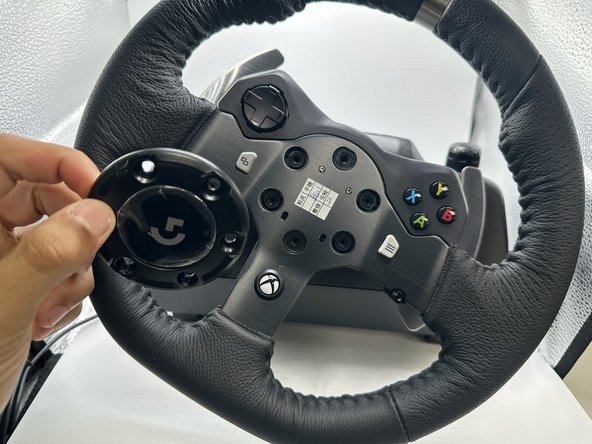
Zum Hauptinhalt wechseln

Logitech G920 Driving Force Motor Motherboard Replacement

Was du brauchst

  1. Logitech G920 Driving Force Motor Motherboard Replacement, Motor Motherboard: Schritt 1, Bild 1 von 1
    • Use the Phillips #0 screwdriver to remove the five 9.5 mm external screws.

    • Only three of the five screws are visible from each side of the wheel due to the center unit.

  2. Logitech G920 Driving Force Motor Motherboard Replacement: Schritt 2, Bild 1 von 1
    • Using the Phillips #0 screwdriver, remove the 5 mm screws holding the bumpers in place.

  3. Logitech G920 Driving Force Motor Motherboard Replacement: Schritt 3, Bild 1 von 2 Logitech G920 Driving Force Motor Motherboard Replacement: Schritt 3, Bild 2 von 2
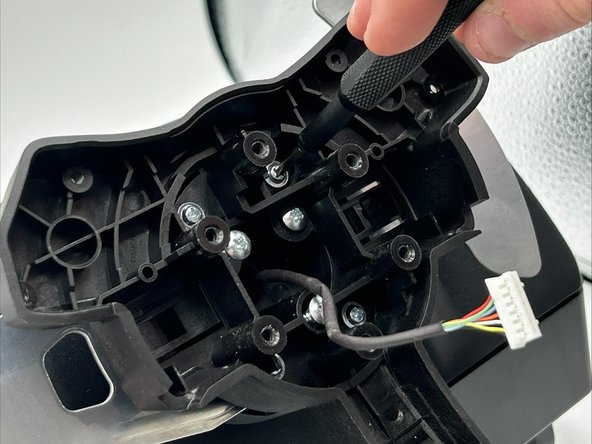
    • Using the TR25 Torx Security Screwdriver, remove the six 23.8 mm screws holding the face plate together.

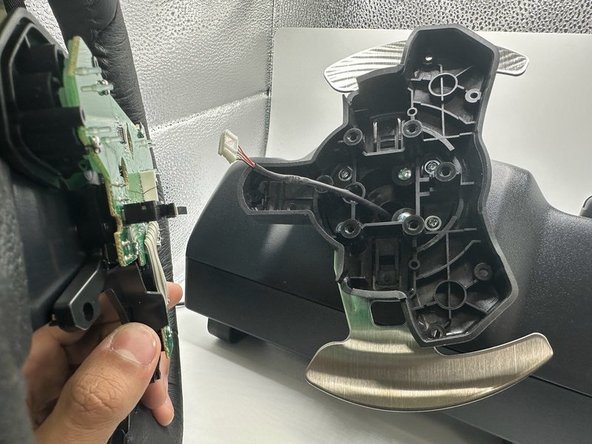
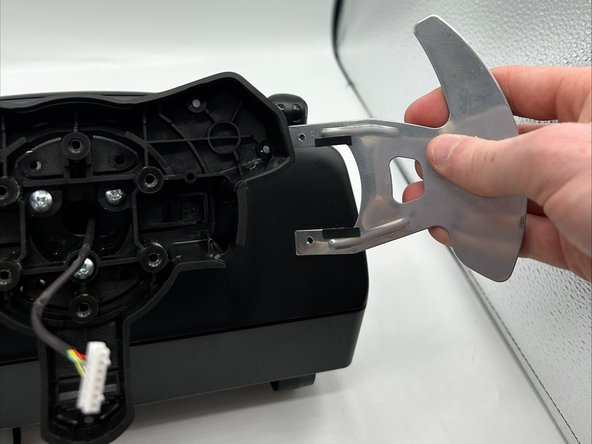
    • Remove the face plate from the steering wheel.

  4. Logitech G920 Driving Force Motor Motherboard Replacement: Schritt 4, Bild 1 von 2 Logitech G920 Driving Force Motor Motherboard Replacement: Schritt 4, Bild 2 von 2
    • Remove the wheel from the main steering wheel console.

    • Ensure this is done carefully as to not damage the connection wire.

  5. Logitech G920 Driving Force Motor Motherboard Replacement: Schritt 5, Bild 1 von 2 Logitech G920 Driving Force Motor Motherboard Replacement: Schritt 5, Bild 2 von 2
    • Remove the four 13.5 mm screws with a Phillips #0 screwdriver.

  6. Logitech G920 Driving Force Motor Motherboard Replacement: Schritt 6, Bild 1 von 2 Logitech G920 Driving Force Motor Motherboard Replacement: Schritt 6, Bild 2 von 2
    • Remove the pedals from both sides of the wheel base.

  7. Logitech G920 Driving Force Motor Motherboard Replacement: Schritt 7, Bild 1 von 1
    • Remove the three 36 mm screws with a Phillips #2 screwdriver.

  8. Logitech G920 Driving Force Motor Motherboard Replacement: Schritt 8, Bild 1 von 3 Logitech G920 Driving Force Motor Motherboard Replacement: Schritt 8, Bild 2 von 3 Logitech G920 Driving Force Motor Motherboard Replacement: Schritt 8, Bild 3 von 3
    • Remove the wheel base from the motor box.

  9. Logitech G920 Driving Force Motor Motherboard Replacement: Schritt 9, Bild 1 von 1
    • Flip the motor box over.

    • Remove the twelve 12.2 mm screws with a Phillips #0 screwdriver.

    • Remove the two 11.5 mm screws with a Phillips #0 screwdriver.

  10. Logitech G920 Driving Force Motor Motherboard Replacement: Schritt 10, Bild 1 von 2 Logitech G920 Driving Force Motor Motherboard Replacement: Schritt 10, Bild 2 von 2
    • Flip over the motor box once more.

    • Remove the motor box cover.

  11. Logitech G920 Driving Force Motor Motherboard Replacement: Schritt 11, Bild 1 von 3 Logitech G920 Driving Force Motor Motherboard Replacement: Schritt 11, Bild 2 von 3 Logitech G920 Driving Force Motor Motherboard Replacement: Schritt 11, Bild 3 von 3
    • Remove the four 5 mm screws with a Phillips #0 screwdriver.

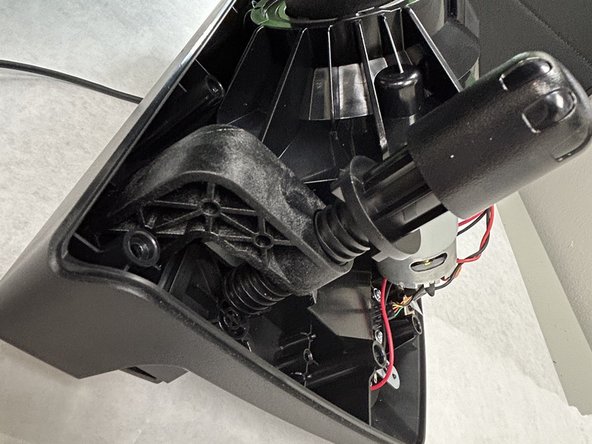
    • Detach the wires connected to the motherboard.

    • Remove the motherboard from the motor box.

Abschluss

To reassemble your device, follow these instructions in reverse order.

Aiden Muse

Mitglied seit: 09/12/23

477 Reputation

3 Anleitungen geschrieben

Team

0 Kommentare

Kommentar hinzufügen

Seitenaufrufe:

Letzte 24 Stunden: 12

Letzte 7 Tage: 57

Letzte 30 Tage: 252

Insgesamt: 932