Was du brauchst
-
-
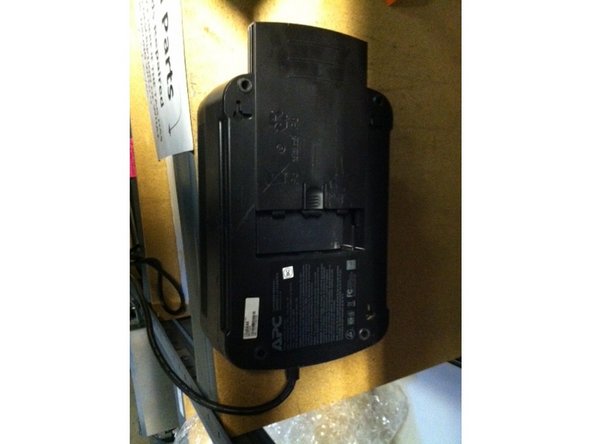
The UPC is located at the bottom right of the machine. Before removing it you should shut down the kiosk and power down the machine via the two switches on the top left of the machine.
-
-
-
-
Once it’s powered down you can unplug everything that might still be connected to it.
-
In most kiosks the UPC will be held in place with a metal plate which can be taken out by unscrewing a hand screw. There should also be a usb similar to the one that plugs into printers plugged into the back of it but that usually falls out pretty easily without you even knowing it.
-
-
-
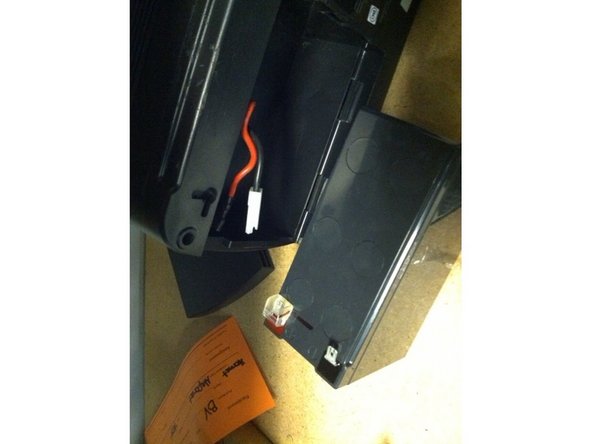
Once you have it out, you can flip it over and remove the bottom plate which will slide out of your way and reveal the battery. Once you get the battery out it should be connected with two cords still that are color coded so you know which one goes where. Remove those cords and the battery should be free.
-
-
-
Sometimes they may need adaptors and it’s always a good idea to have some handy if you have to go replace a battery.
-
When putting a new one in, it’s very important to make sure that you PLUG THE USB BACK INTO THE BACK OF IT. It’s a huge pain but if it isn’t accomplished you will get a UPC error.
-
Making sure that gets accomplished plug all of the components that need plugged back in back in and plug the power cord back in and replace the plate that held it in place as necessary. After accomplishing this turn the two switches at the top left side back on and press the power button on the UPC and you should be ready to go.
-


To reassemble your device, follow these instructions in reverse order.
To reassemble your device, follow these instructions in reverse order.
Rückgängig: Ich habe diese Anleitung nicht absolviert.
2 weitere Nutzer:innen haben diese Anleitung absolviert.
Team
