Einleitung
In this guide we have a MSI Force GC30 V2, the model number/name is MSI Force GC30 V2 and we are replacing the motherboard. The motherboard is the main component of the controller with all the various inputs being fed to the motherboard. A motherboard may become damaged with exposure to liquid or if the controller is repeatedly dropped. Some symptoms of a damaged motherboard are random shutdowns of the controller, strange noises, or a burning smell.
Was du brauchst
-
-
Puncture the sticker where indicated using a screwdriver, then remove the 9.1 mm-long Phillips screw.
-
Remove the six 9.2 mm-long Phillips #0 screws.
-
-
-
Insert an opening pick in the gap between the front and rear case.
-
Slide the pick around the perimeter of the controller while prying until it fully releases.
-
-
-
Use tweezers to grip the white battery connector.
-
Pull the battery connector directly out of its port.
-
-
-
-
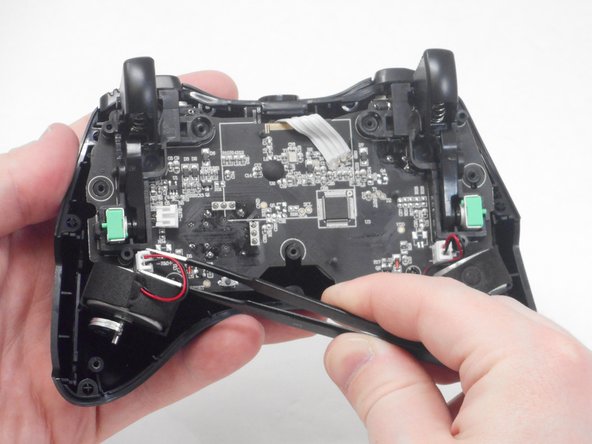
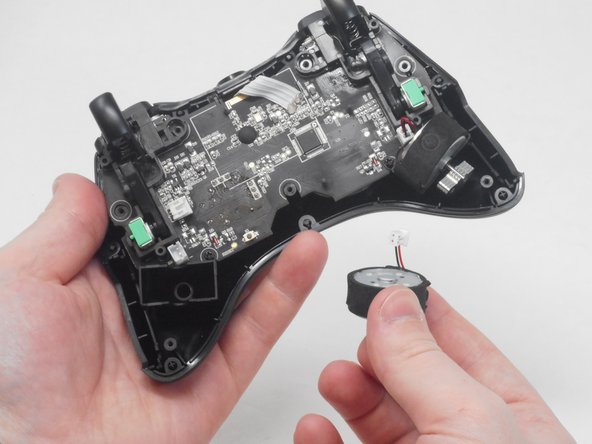
Use blunt tweezers to disconnect both of the vibration motor connectors from the motherboard.
-
Carefully remove both the right and left vibration motors from their housing.
-
-
-
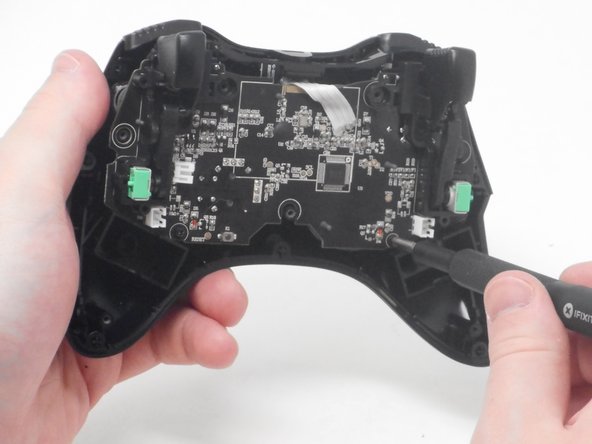
Remove the two 7 mm-long screws with a Phillips screwdriver.
-
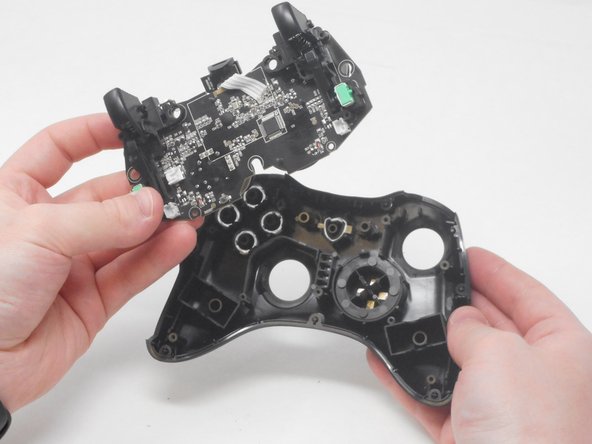
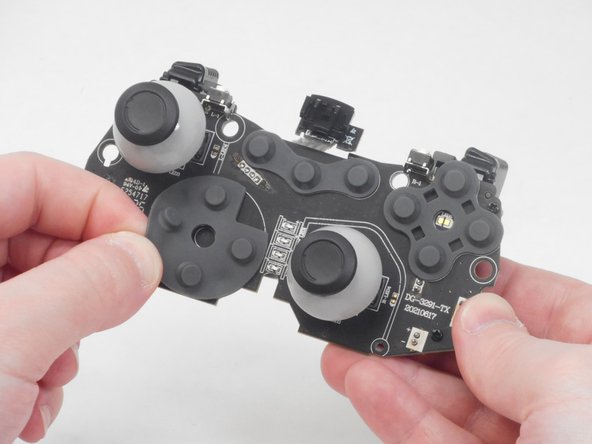
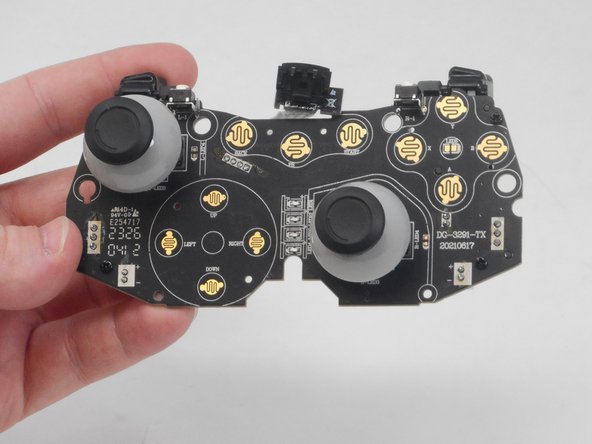
Carefully lift the motherboard up and out of the chassis.
-


To reassemble your device, follow these instructions in reverse order.
To reassemble your device, follow these instructions in reverse order.

Team

University of Memphis, Team 1-4, Sneed Spring 2024 Mitglied von University of Memphis, Team 1-4, Sneed Spring 2024
UM-SNEED-S24S1G4
4 Mitglieder
6 Anleitungen geschrieben