Einleitung
This troubleshooting page will assist in the replacment of the hard drive of the MSI GT62VR 6RD Dominator.
This guide has no special requirements or hazards.
Was du brauchst
-
-
Remove the six screws on the back plate of the laptop using a JIS #0 screwdriver.
-
-
-
-
Insert a plastic opening tool into the seam of the back cover
-
Pry the cover up until clips release.
-
Slide the plastic opening tool around the laptop until cover is fully removed.
-
-
-
Remove the two screws securing the hard drive to the laptop.
-
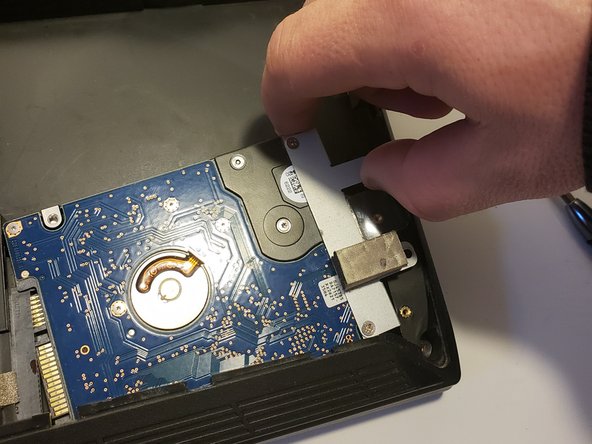
Lightly lift the hard drive up by grasping the silver bracket that secures it to the laptop.
-
Wiggle it backwards slowly until it is unplugged.
-
Slide out from under the cover towards the battery.
-


To reassemble your device, follow these instructions in reverse order.
To reassemble your device, follow these instructions in reverse order.
Team

University of North Texas, Team S4-G1, Raign Fall 2018 Mitglied von University of North Texas, Team S4-G1, Raign Fall 2018
UNT-RAIGN-F18S4G1
4 Mitglieder
5 Anleitungen geschrieben