Einleitung
How to access, locate, and replace your MSI GT75VR 7RF Titan Pro cooling fan if it breaks.
Was du brauchst
-
-
Using the Phillips #0 screwdriver, unscrew each of the four screws on the back of the laptop case. The screws are 0.5 inches long.
-
-
-
-
Disconnect the battery cable. Pry the battery out using the black nylon spudger.
-
-
-
Using the Phillips #0 screwdriver, unscrew the two black 0.25 inch screws located on the sides of the cooling fan.
-
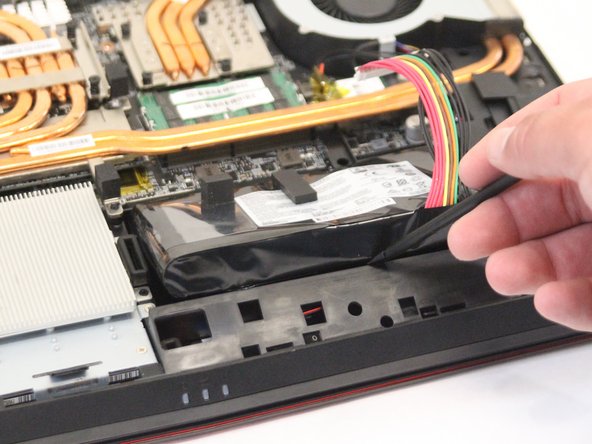
Unplug the unit.
-


To reassemble your device, follow these instructions in reverse order.
To reassemble your device, follow these instructions in reverse order.
Team

Western Carolina University, Team S1-G5, Virtue Fall 2018 Mitglied von Western Carolina University, Team S1-G5, Virtue Fall 2018
WCU-VIRTUE-F18S1G5
3 Mitglieder
5 Anleitungen geschrieben