Einleitung
Outline what you are going to teach someone how to do.
Was du brauchst
-
-
The battery compartment is located in the front-right side of the laptop.
-
-
-
To insert the battery, gently slide it into the compartment until it clicks in place.
-
To remove, slide the button highlighted in the red rectangle to the right to release the battery and slide it from the compartment.
-
-
-
With the laptop upside down and with the battery removed, use a Torx #9 screw driver to remove the three .84 in. screws shown.
-
-
-
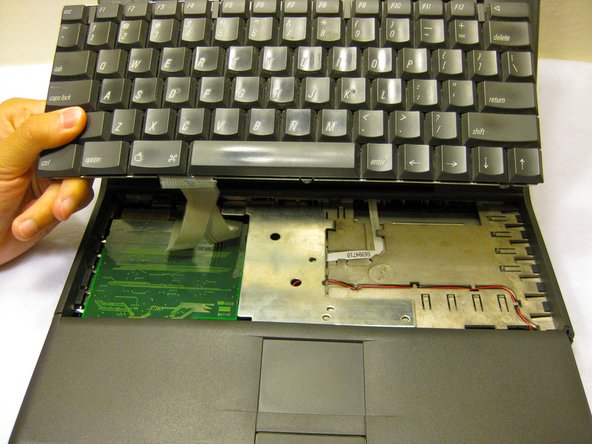
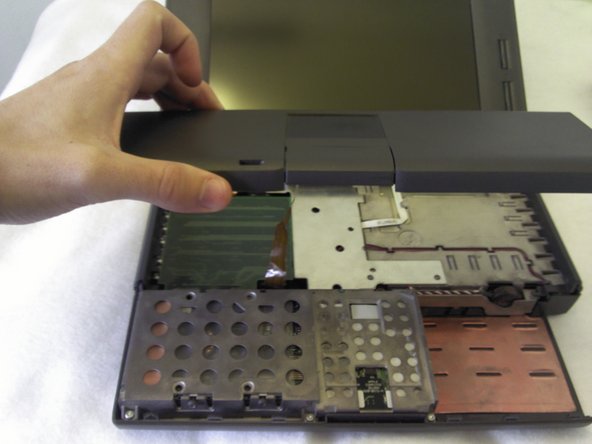
Carefully pull up on the front of the keyboard to pop it out from the case.
-
Then slide the back out so the keyboard becomes nearly free.
-
-
-
-
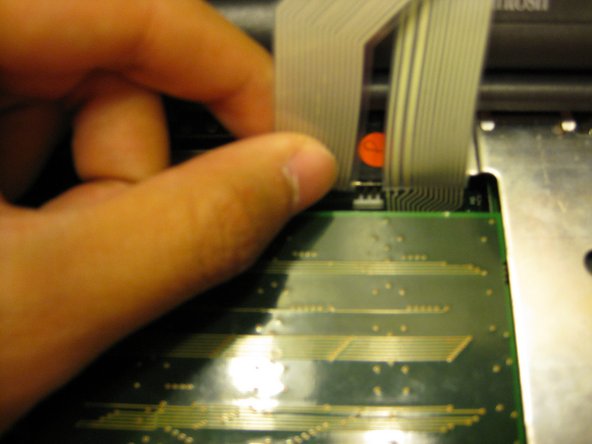
Disconnect the ribbon that is connecting the keyboard to the rest of the computer.
-
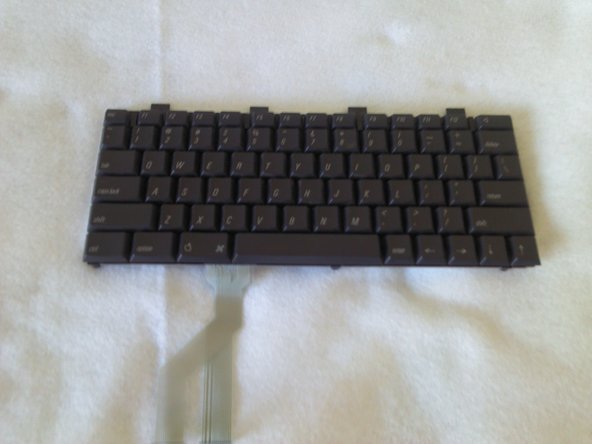
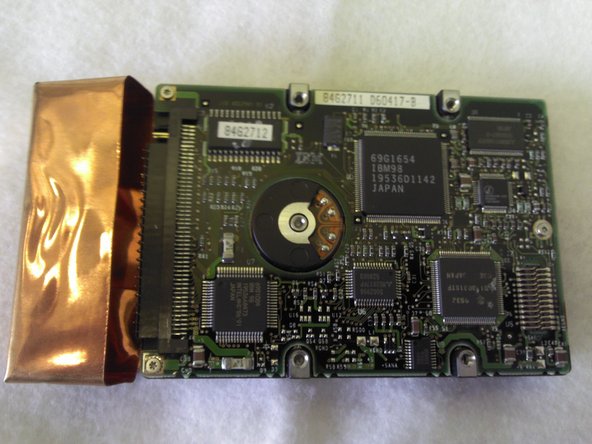
Pull the keyboard out and repair or replace as needed.
-
-
-
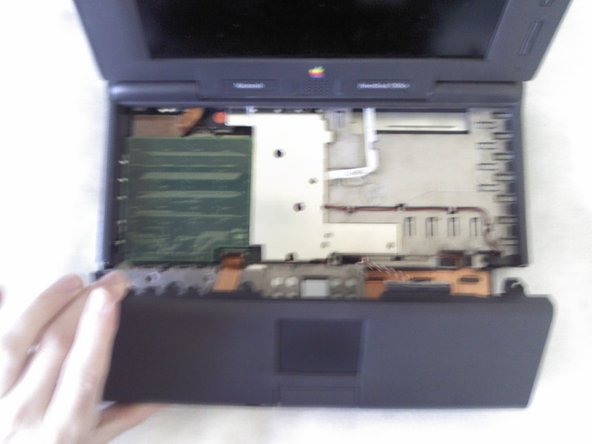
Remove the front plastic panel of the laptop by carefully lifting it up.
If they haven’t been broken off (mine just did break as I was doing this) there is a tab on each side attached to the top housing on either side of the keyboard. These tabs are on top of the tabs for the front top panel, so lifting the front end of those side housings is necessary to prevent breakage (and, given how old these suckers are, it might break anyway).
-
-
-
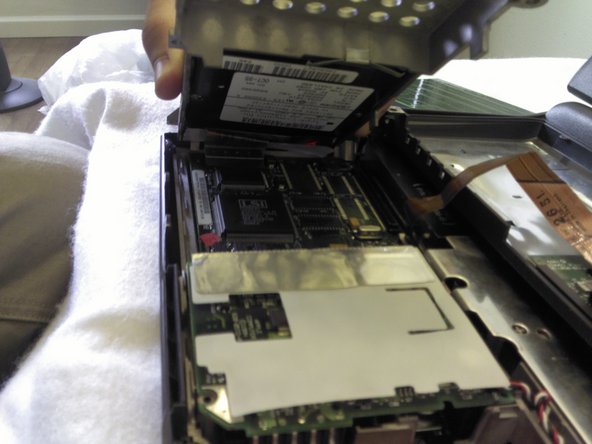
With a Torx #9 screwdriver, remove the three .30 in. screws that hold the metal frame in place.
-
-
-
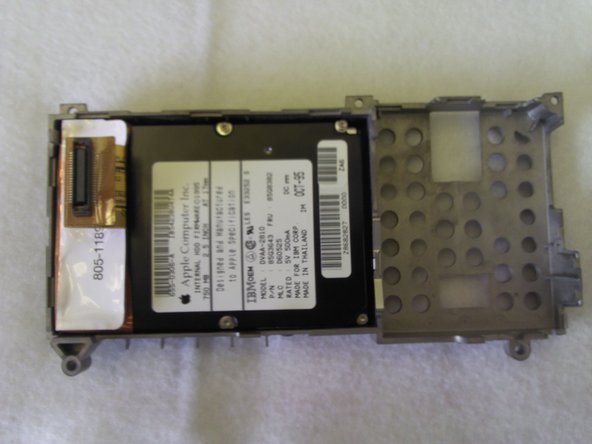
In order to remove the hard drive, remove the four .22 in. screws circled in red found on both sides of the metal chassis with a Torx #9 screwdriver.
-


To reassemble your device, follow these instructions in reverse order.
To reassemble your device, follow these instructions in reverse order.
Rückgängig: Ich habe diese Anleitung nicht absolviert.
2 weitere Nutzer:innen haben diese Anleitung absolviert.
Team

Cal Poly, Team 6-1, Regan Fall 2011 Mitglied von Cal Poly, Team 6-1, Regan Fall 2011
CPSU-REGAN-F11S6G1
4 Mitglieder
6 Anleitungen geschrieben