Zum Hauptinhalt wechseln

Magellan Roadmate 9055-LM Touchscreen Replacement

Was du brauchst

  1. Magellan Roadmate 9055-LM Touchscreen Replacement, Magellan Roadmate 9055-LM Back Panel Disassembly: Schritt 1, Bild 1 von 1
    • Flip your device with back panel facing up.

  2. Magellan Roadmate 9055-LM Touchscreen Replacement: Schritt 2, Bild 1 von 3 Magellan Roadmate 9055-LM Touchscreen Replacement: Schritt 2, Bild 2 von 3 Magellan Roadmate 9055-LM Touchscreen Replacement: Schritt 2, Bild 3 von 3
    • Unscrew four Phillips #0 screws from the back panel.

  3. Magellan Roadmate 9055-LM Touchscreen Replacement: Schritt 3, Bild 1 von 2 Magellan Roadmate 9055-LM Touchscreen Replacement: Schritt 3, Bild 2 von 2
    • Unscrew two Phillips #0 screws from the back panel.

  4. Magellan Roadmate 9055-LM Touchscreen Replacement: Schritt 4, Bild 1 von 2 Magellan Roadmate 9055-LM Touchscreen Replacement: Schritt 4, Bild 2 von 2
    • Use a plastic opening tool to pop the right side of the panel.

  5. Magellan Roadmate 9055-LM Touchscreen Replacement: Schritt 5, Bild 1 von 1
    • Lifting the back panel too quickly or forcefully may damage the speaker cable and battery cable, which are still attached underneath.

    • Gently lift up the back panel.

  6. Magellan Roadmate 9055-LM Touchscreen Replacement: Schritt 6, Bild 1 von 3 Magellan Roadmate 9055-LM Touchscreen Replacement: Schritt 6, Bild 2 von 3 Magellan Roadmate 9055-LM Touchscreen Replacement: Schritt 6, Bild 3 von 3
    • Remove the tape.

    • Unplug the cable for the speaker.

  7. Magellan Roadmate 9055-LM Touchscreen Replacement: Schritt 7, Bild 1 von 3 Magellan Roadmate 9055-LM Touchscreen Replacement: Schritt 7, Bild 2 von 3 Magellan Roadmate 9055-LM Touchscreen Replacement: Schritt 7, Bild 3 von 3
    • Remove the cable of the battery.

    • Tape removal is not necessary.

  8. Magellan Roadmate 9055-LM Touchscreen Replacement: Schritt 8, Bild 1 von 1
    • Place the back panel gently on the table.

  9. Magellan Roadmate 9055-LM Touchscreen Replacement, Motherboard: Schritt 9, Bild 1 von 2 Magellan Roadmate 9055-LM Touchscreen Replacement, Motherboard: Schritt 9, Bild 2 von 2
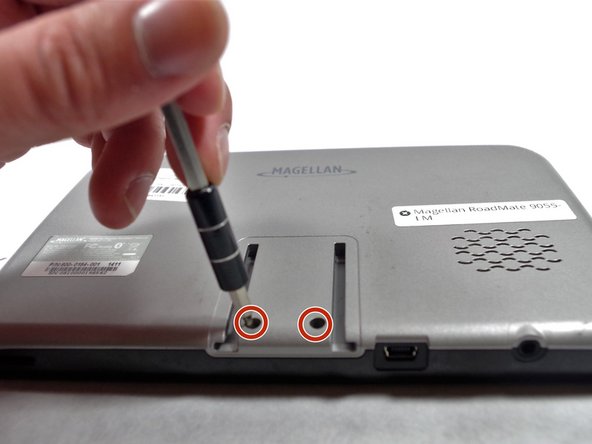
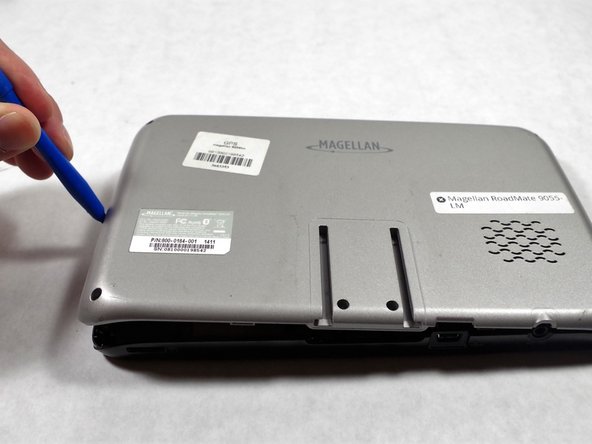
    • Unscrew four screws in the top left corner by using Phillips #0 size screwdriver.

  10. Magellan Roadmate 9055-LM Touchscreen Replacement: Schritt 10, Bild 1 von 2 Magellan Roadmate 9055-LM Touchscreen Replacement: Schritt 10, Bild 2 von 2
    • Remove all the electrical tapes from different places as indicated.

  11. Magellan Roadmate 9055-LM Touchscreen Replacement: Schritt 11, Bild 1 von 2 Magellan Roadmate 9055-LM Touchscreen Replacement: Schritt 11, Bild 2 von 2
    • Remove the white clip attached with black and white wires.

    • Carefully remove the clip by pulling it to the opposite side from the clip.

  12. Magellan Roadmate 9055-LM Touchscreen Replacement: Schritt 12, Bild 1 von 3 Magellan Roadmate 9055-LM Touchscreen Replacement: Schritt 12, Bild 2 von 3 Magellan Roadmate 9055-LM Touchscreen Replacement: Schritt 12, Bild 3 von 3
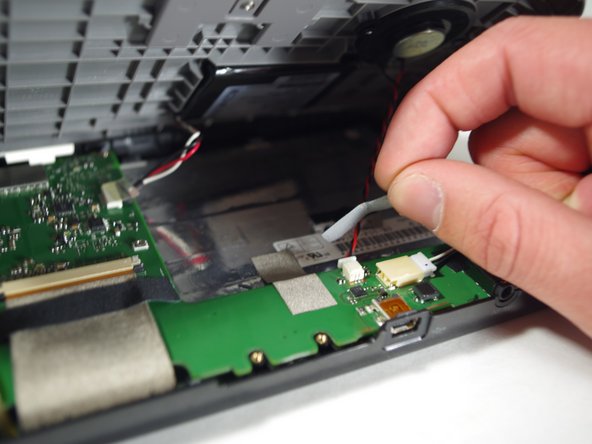
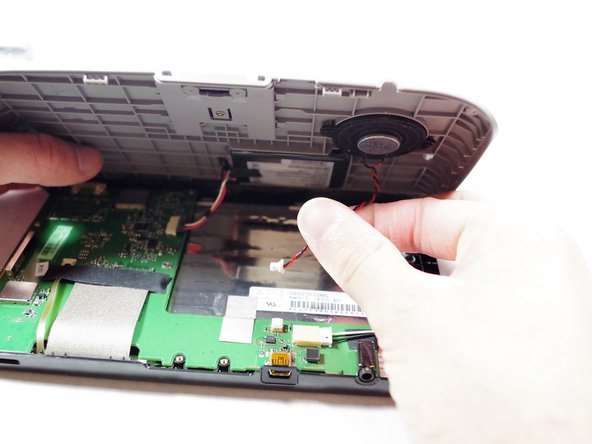
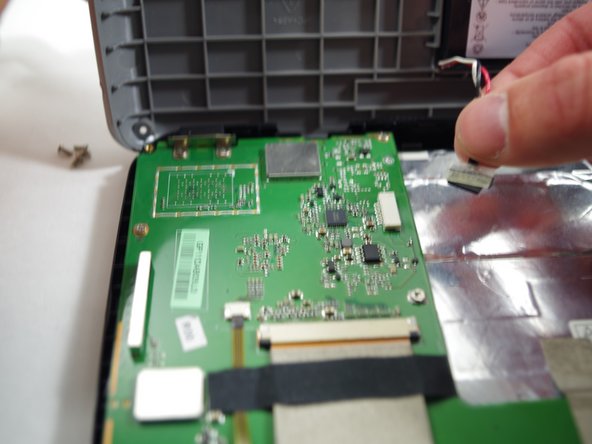
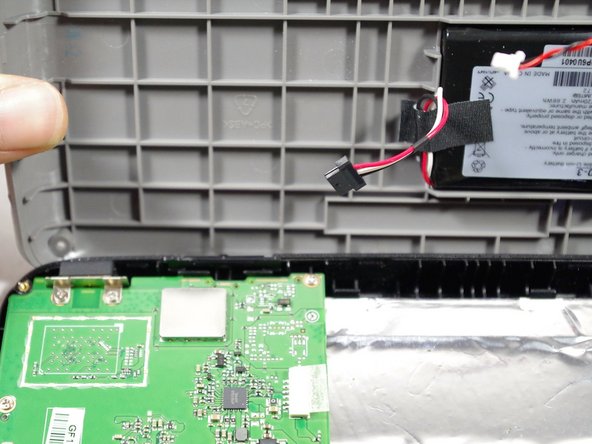
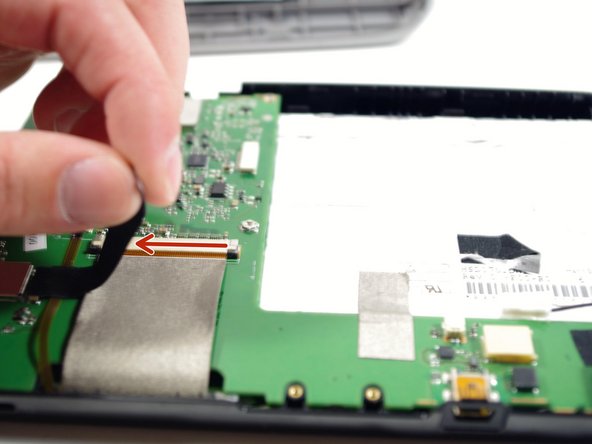
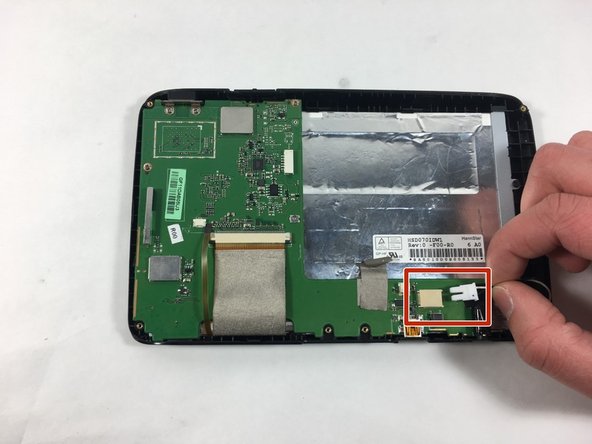
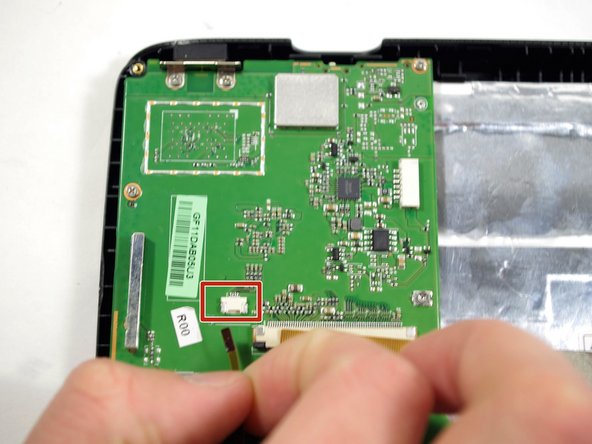
    • Unplug the wires by pushing it down and slowly pulling it towards you.

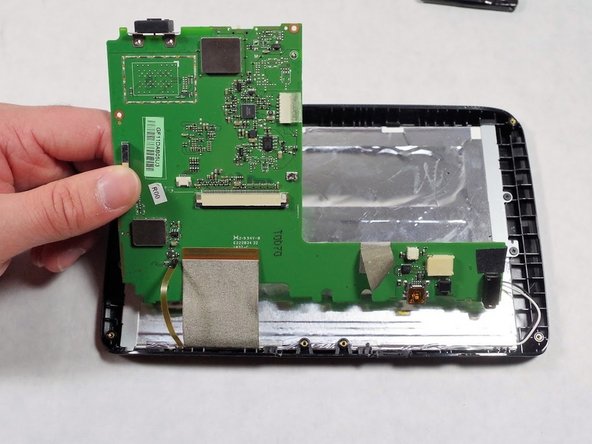
    • After unplugging the wires, take the motherboard out.

  13. Magellan Roadmate 9055-LM Touchscreen Replacement, Touchscreen: Schritt 13, Bild 1 von 3 Magellan Roadmate 9055-LM Touchscreen Replacement, Touchscreen: Schritt 13, Bild 2 von 3 Magellan Roadmate 9055-LM Touchscreen Replacement, Touchscreen: Schritt 13, Bild 3 von 3
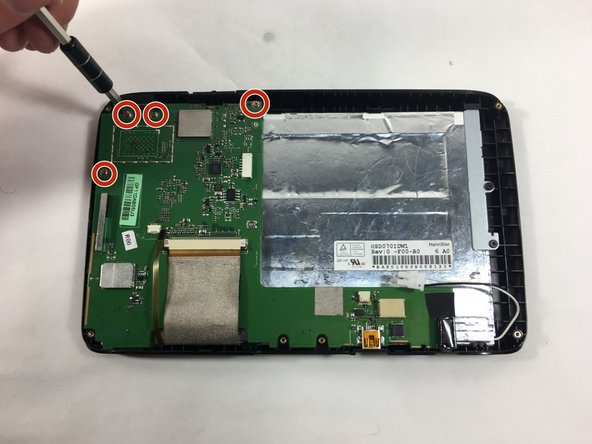
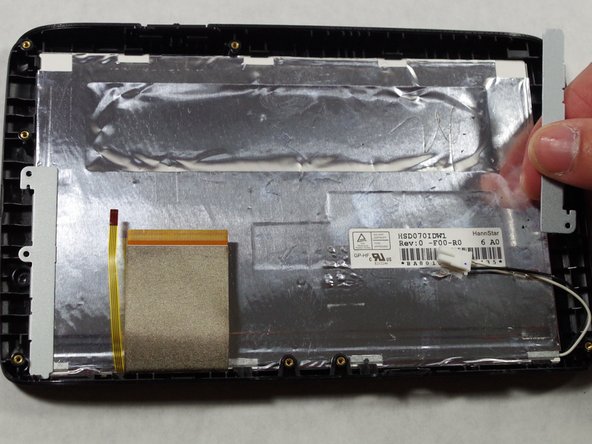
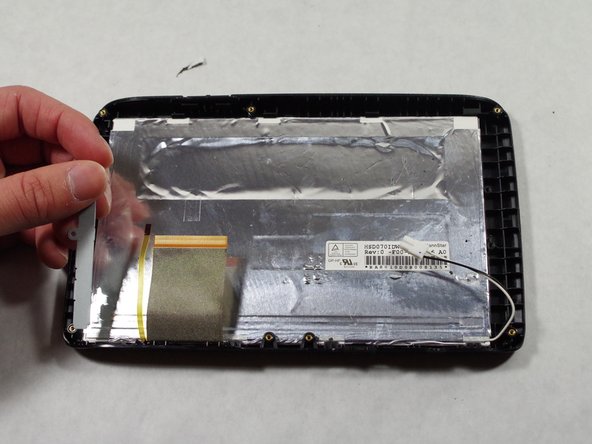
    • Unscrew four Phillips #1 screws.

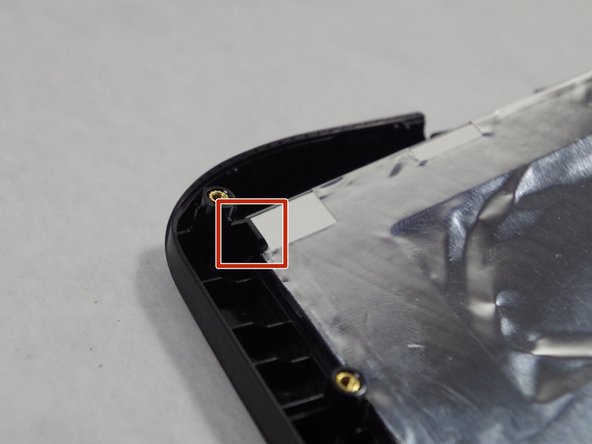
    • Remove the two metal pieces on two corners.

  14. Magellan Roadmate 9055-LM Touchscreen Replacement: Schritt 14, Bild 1 von 2 Magellan Roadmate 9055-LM Touchscreen Replacement: Schritt 14, Bild 2 von 2
    • Lift touchscreen from the right side.

    • Slide the touch screen out from the top left corner.

  15. Magellan Roadmate 9055-LM Touchscreen Replacement: Schritt 15, Bild 1 von 1
    • Place the touchscreen gently on the table.

Abschluss

To reassemble your device, follow these instructions in reverse order.

YuChe Chang

Mitglied seit: 10/18/16

202 Reputation

2 Anleitungen geschrieben

Team

UMass Dartmouth, Team 1-5, Catania Fall 2016 Mitglied von UMass Dartmouth, Team 1-5, Catania Fall 2016

UMASSD-CATANIA-F16S1G5

3 Mitglieder

7 Anleitungen geschrieben

0 Kommentare

Kommentar hinzufügen

Seitenaufrufe:

Letzte 24 Stunden: 0

Letzte 7 Tage: 2

Letzte 30 Tage: 2

Insgesamt: 267