Diese Anleitung enthält neuere Änderungen. Wechsel zur neuesten unüberprüften Version.
Einleitung
If you need a light stand for photos, this guide will show you how to take a standing lamp to convert a broken standing lamp by removing the lamp components. While I am using a common Mainstays lamp for this guide, there may be variations in lamps from different stores/brands. These are usually minor. It does not impact the guide, but may change how certain components are removed. This guide will also help you identify reusable components for other projects.
Read me: While this is not the best stand you can get and may require modificiation, these lamps are usually free or inexpensive for used ones. This can be advantageous if you are willing to disassemble one to eliminate redundant components.
Guide notes
- Use common sense during the cord and socket removal procedure. Death or injury may occur if you make a mistake, as you are handing 120-240V AC!
- Make sure you use a lamp that you are certain you do not plan on reassembling or use a damaged one. Reversal may be impractical if modifications are made.
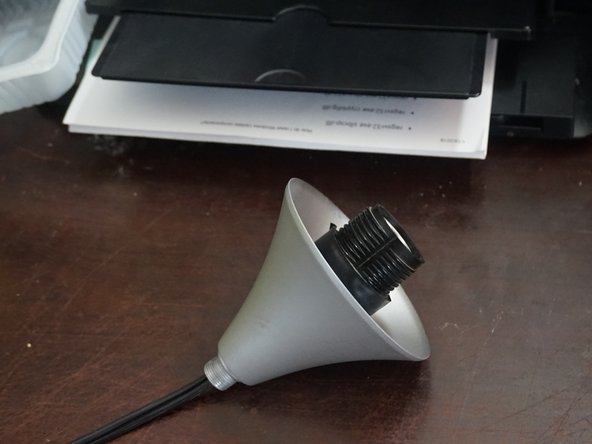
- If possible, use a lamp with a problem like broken parts like the one in the guide shown. The socket guard was cracked and supported with electrical tape until it was pulled out of service. These are the best candidate for this type of project, as these parts can be expensive or hard to get.
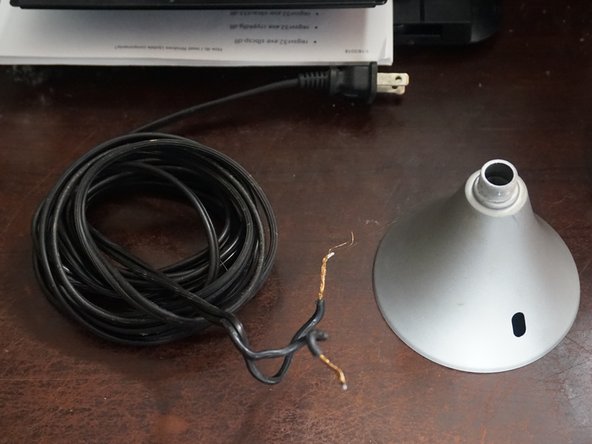
- While the plastic parts on many of these lamps may not be reusable (either due to assembly technique or uniqueness), most cord and socket sets are easily reused. Save these for another project if they are in good condition.
- DO NOT keep any part that looks damaged. Discard these parts for safety reasons.
Was du brauchst
-
-
-
Remove the switch handle. Removal is not always required, but can limit disassembly complications.
-
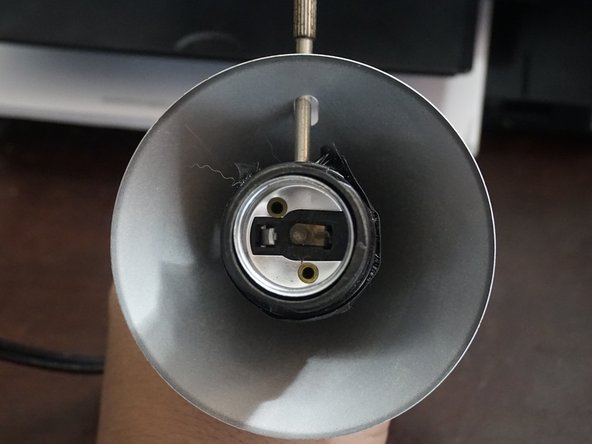
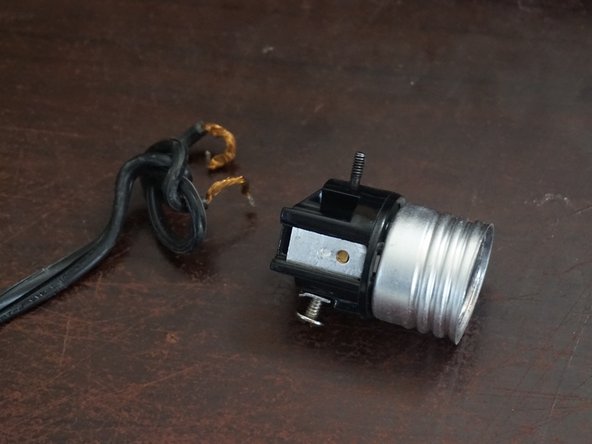
Remove the socket cover. Once removed, pull the socket out of the assembly.
-
-
-
After removing the plastic cover and switch, remove the bulb socket. You will need different tools for screw and push wire sockets.
-
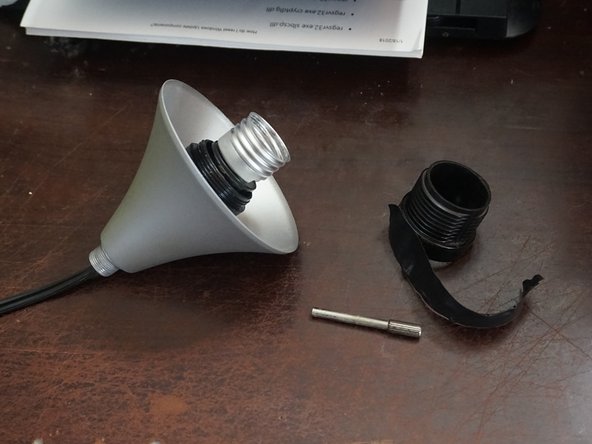
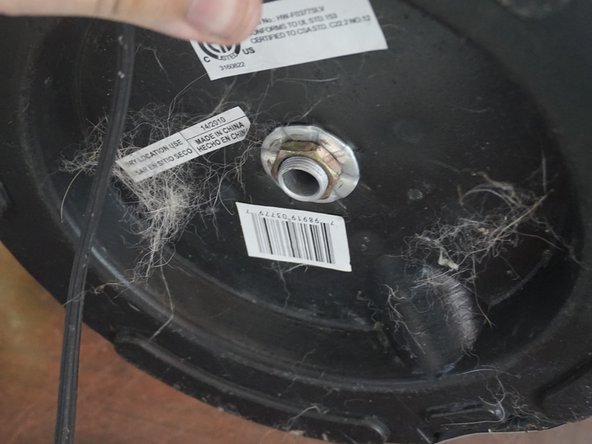
Discard any broken or unwanted components.
-
-
-
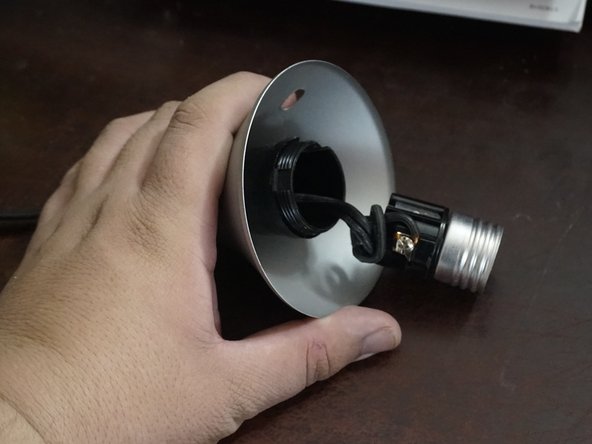
After gutting the lamp, test fit the new light to find a stable place and make additional modification as needed. What you do beyond this step (Ex: Custom alternations) is up to you.
-


Team
