Einleitung
If the PCB (printed circuit board) on your Mayflash Arcade Stick F300 is causing an unstable connection to your console and needs replaced, use this guide.
The PCB plays a critical role in connecting, interpreting, and transmitting user inputs to the gaming system. If it has been exposed to excess moisture, extreme temperatures, or other issues it will cause difficulty connecting the controller or otherwise unreliable use.
Was du brauchst
-
-
Flip the controller upside down so that the metal panel is facing you.
-
Remove the six 11 mm screws securing the metal panel using a Phillips #2 screwdriver.
-
Once all screws are removed, lift off the panel.
-
-
-
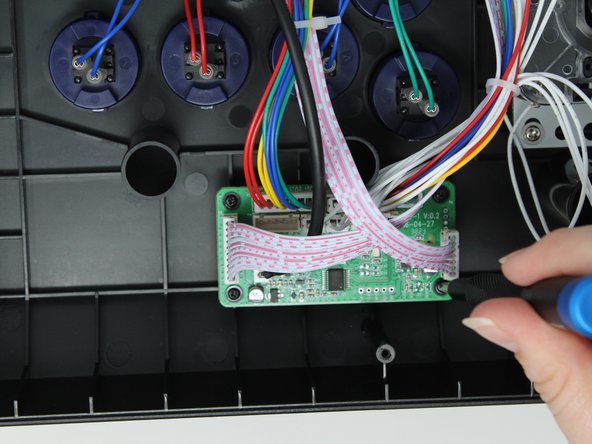
Remove the four 10 mm truss head screws securing the PCB to the plastic outer casing using a Phillips #1 screwdriver.
-
-
-
-
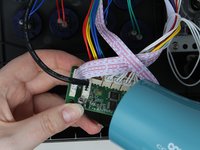
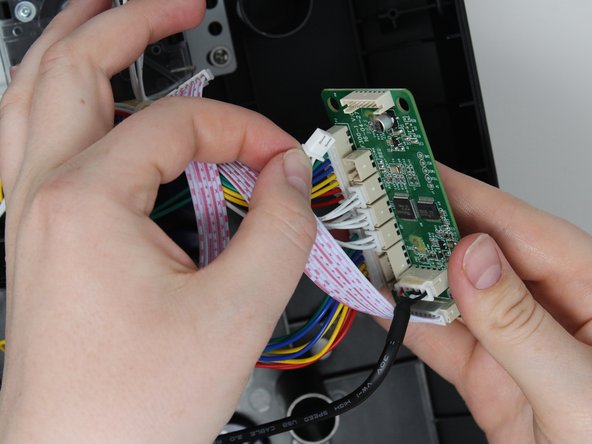
Use a hair dryer or heat gun to soften the glue holding the USB cable into the socket on the PCB.
-
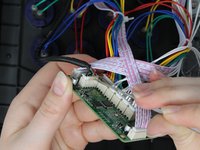
Use a metal spudger to gently remove the softened glue.
-
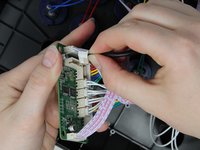
Unplug the cable from the socket.
-


Follow these instructions in reverse order to reassemble your device.
Follow these instructions in reverse order to reassemble your device.

Team

Utah Tech University, Team 1-4, Crenshaw Fall 2024 Mitglied von Utah Tech University, Team 1-4, Crenshaw Fall 2024
UTAHTECH-CRENSHAW-F24S1G4
3 Mitglieder
6 Anleitungen geschrieben