Einleitung
If your clothes are coming out of the washer still soaking wet or if they are not coming out very clean, your washing bin might not be spinning like it should. This can be caused by the washing hub losing its teeth around the motor shaft. This replacement is a fairly simple process and should take someone approximately 1 hour to complete. Before starting, make sure the washing machine is unplugged and the water is turned off.
Was du brauchst
-
-
Use a 1/4-in Flathead screwdriver to remove the three 5mm screws behind the washing machine.
-
-
-
Tape the lid down so it does not open when removing.
-
Pull the lid forward with your thumbs while pushing against the washer with your fingers.
-
Lift the lid up and place on the slots located where you removed the screws from the back.
-
-
-
-
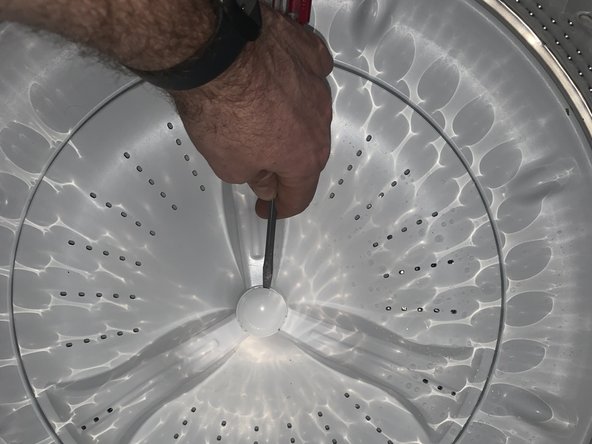
Remove the cap from the agitator with your flat head screwdriver. It should pop right off.
-
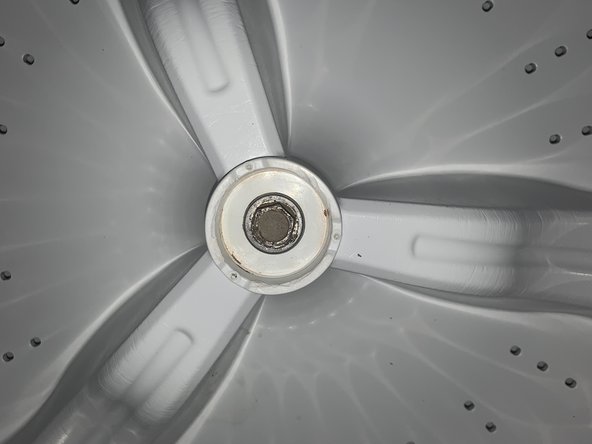
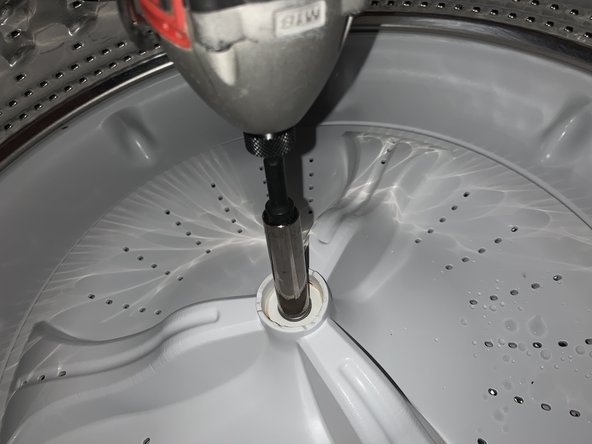
Using your 7/16 socket, unscrew the bolt attaching the agitator to the motor shaft.
-
-
-
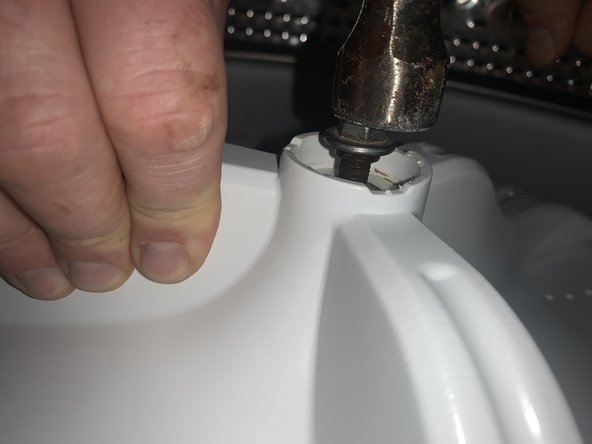
Lift up on the agitator and it should slide off the motor shaft exposing the washer hub underneath.
-
If it is stuck, put bolt back in halfway. Tap the bolt with a hammer while pulling up on the agitator to jog it loose.
-
-
-
Use your Phillips #3 screwdriver to pull the retaining slip out.
-
Unscrew the six screws with the same Phillips #3 screwdriver to remove the hub.
-
-
-
Take the new hub and slide it over the motor shaft.
-
Align the holes by only slightly screwing in each screw and turning the hub until all holes are aligned and screws are in.
-
Tighten all screws and then put new retaining clip into hub.
-


To reassemble your device, follow these instructions in reverse order.
To reassemble your device, follow these instructions in reverse order.
Team

University of Memphis, Team S51-G13, Willis Winter 2021 Mitglied von University of Memphis, Team S51-G13, Willis Winter 2021
UM-WILLIS-W21S51G13
1 Mitglied
1 Anleitung geschrieben