Was du brauchst
-
-
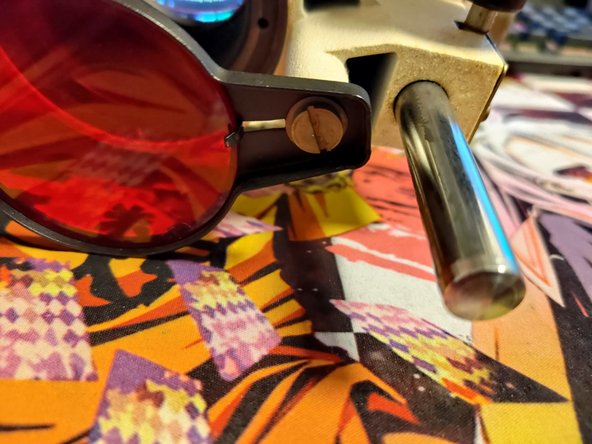
First remove filter so you don't accidentally damage it.
-
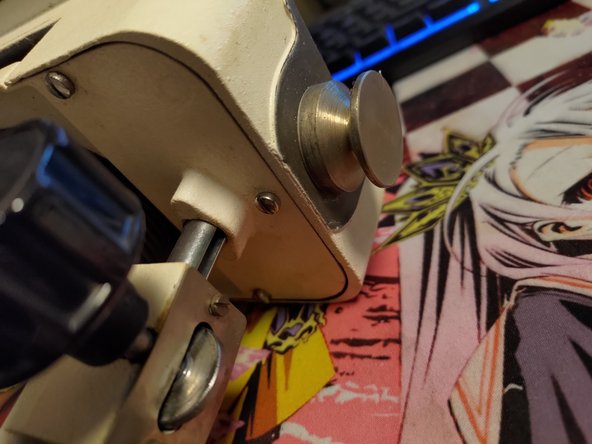
Remove 3 screws on the bottom. Shorter one goes to singular hole. Longer ones go to the inline holes.
-
-
-
Unlike Opemus 5 the bellows here are clipped on top and glued(?) on the bottom without an easy way to disassemble. Unless you have some kind of tool to help you unclip the top I would clean the whole assembly as one piece.
-
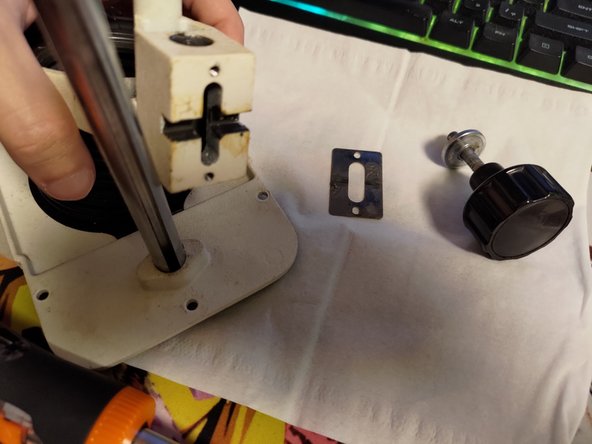
Remove focusing knob. Remove any oils or grime with appropriate solvent. Acetone worked for me. Be careful and always try solvents on the paint/surface where possible damage wont be noticeable.
-
Clean whole assembly in warm soapy water.
-
Dry as best as you can. Do not use blow-dryer on bellows!
-
Reapply grease and reassemble.
-
-
-
-
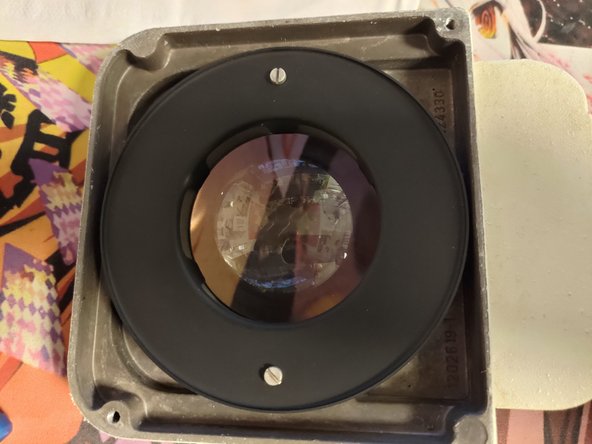
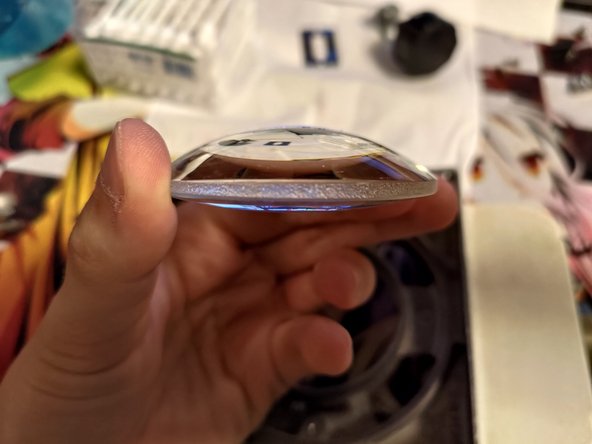
Remove screw and set aside glass square.
-
Unscrew two large screws and remove top housing.
-
Remove two screws to free lens.
-
Clean metal parts in warm soapy water. Remove any residues with appropriate solvents. Be careful to not scratch/remove the mat black finish of the upper housing.
-
Clean glass parts with lens cleaning solution.
-
Reassemble.
-
-
-
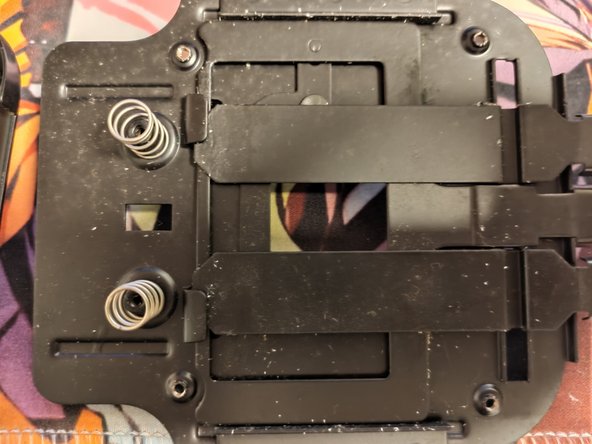
First remove two screws from the focusing plastic part. Careful as there are two springs under it.
-
Remove 4 screws and carefully slide bottom plate out. there are 4 metal washers/standoffs.
-
Leave "clamshell" connected.
-
-
-
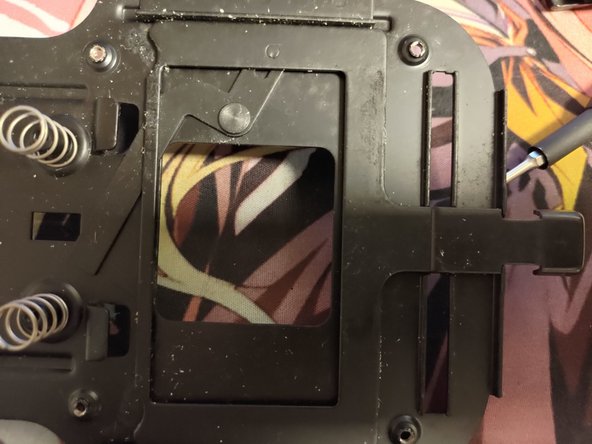
Remove two sliders, then the big window slider.
-
Remove grease. I used acetone again but careful as I think it could eat away the paint.
-
Clean with warm soapy water.
-
Reapply lube sparingly. Turn it upside down as some bits can be touched when in use. Apply as little as possible so you don't end up with greasy negatives.
-
Reassemble.
-


To reassemble your device, follow these instructions in reverse order.
To reassemble your device, follow these instructions in reverse order.