Einleitung
Here is a guide that will show you how to replace the rotor assembly if the grinder isn’t functioning properly. A malfunctioning rotor assembly will cause the grinder to not work properly. The rotor assembly is very important to the operation of the grinder. With tools that work as they should it makes your projects a lot easier.
Was du brauchst
-
-
Using a Torx T20 screwdriver, unscrew the four 16mm screws from the case.
-
Switch to the Torx T10 screwdriver, and remove the last 16mm screw from the hilt.
-
-
-
Using the Torx T20 screwdriver, unscrew the four 28mm screws located at the bottom (and top) of the gearcase assembly.
-
Remove the two 12mm screws with a Torx T20 screwdriver in order to get to the others.
-
-
-
-
Lift the trigger assembly off of its mount.
-
Dispose of the old trigger assembly and install the new one.
-
-
-
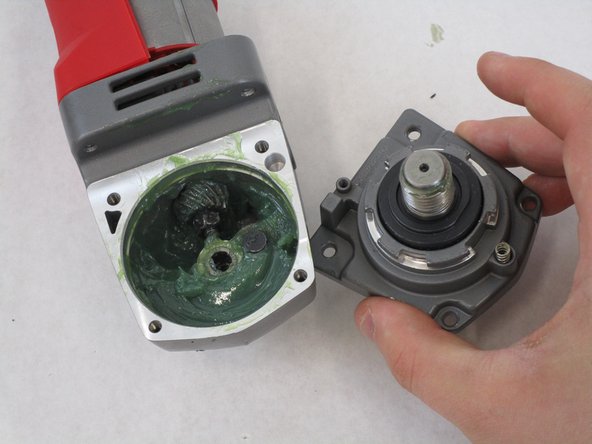
Using a Torx T20 screwdriver, unscrew the four 6mm screws located at the top of the gearcase assembly.
-
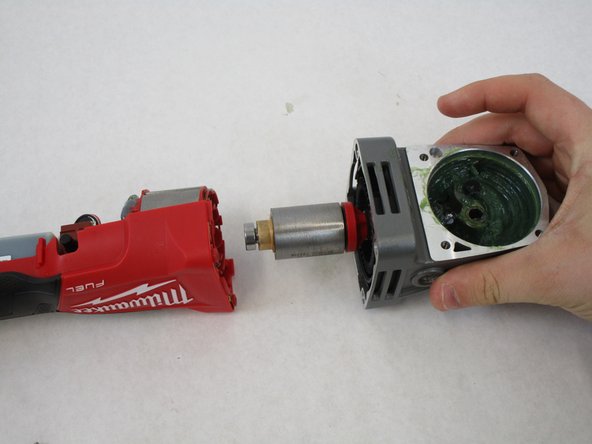
Pull apart the top of the gearcase assembly to expose the inside of it.
-
-
-
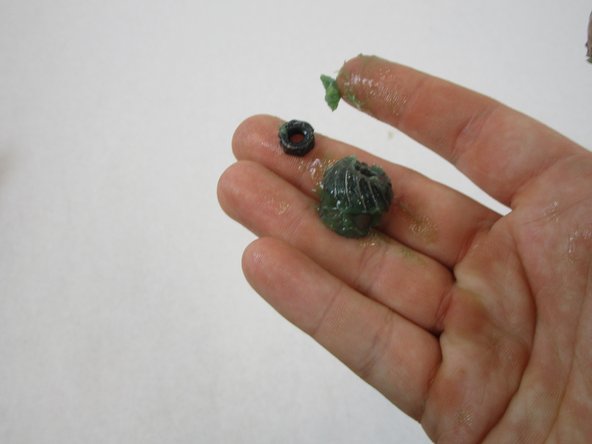
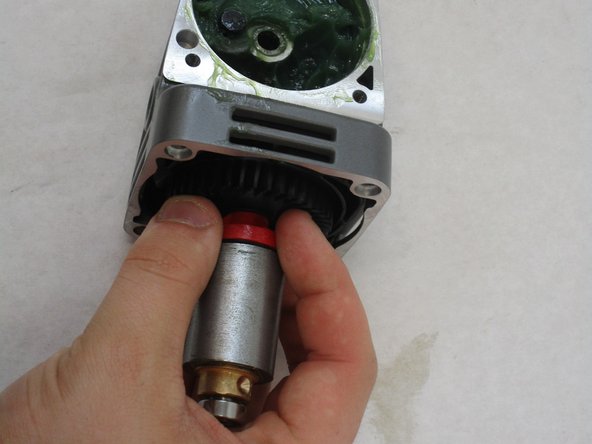
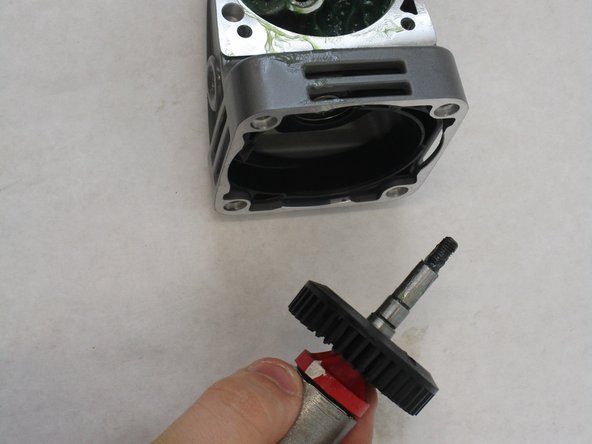
Using a 3/8 wrench, remove the nut located in the center of the Gearcase.
-
The nut and pinion will immediately come apart from the Rotor assembly.
-


To reassemble your device, follow these instructions in reverse order.
To reassemble your device, follow these instructions in reverse order.

Team

South Arkansas Community College, Team S1-G1, Mitchell Fall 2019 Mitglied von South Arkansas Community College, Team S1-G1, Mitchell Fall 2019
SACC-MITCHELL-F19S1G1
4 Mitglieder
5 Anleitungen geschrieben