Einleitung
Does your Milwaukee Hole Hawg 1675-1 drill have a loss of power or smoke coming from inside the cover when in use? If this is true, your field may be in need of replacing. Here is a link to the Milwaukee Hole Hawg 1675-1 Troubleshooting page. The armature spins inside the field causing an electromagnetic field that gives the drill its power. One reason your field may go out is because of an overload of stress put on the motor. All you will need is the torx T15H bit.
Was du brauchst
-
-
Pry up on the copper brush holder with a screwdriver or spudger.
-
Continue lifting up the copper brush holder to remove the brush.
-
Repeat on the opposite side.
-
-
-
-
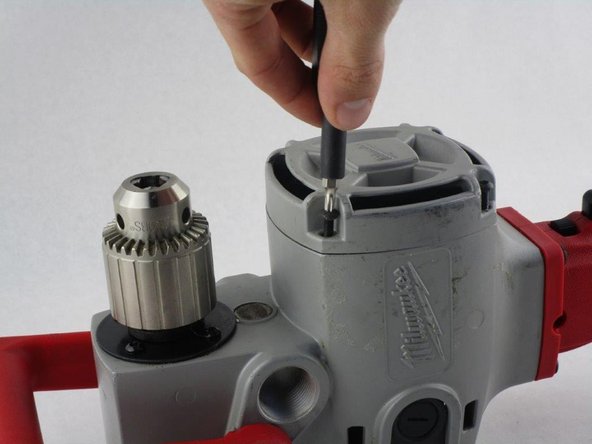
Position the the drill upright and remove the four 19mm Torx T15 screws securing the motor cover.
-
-
-
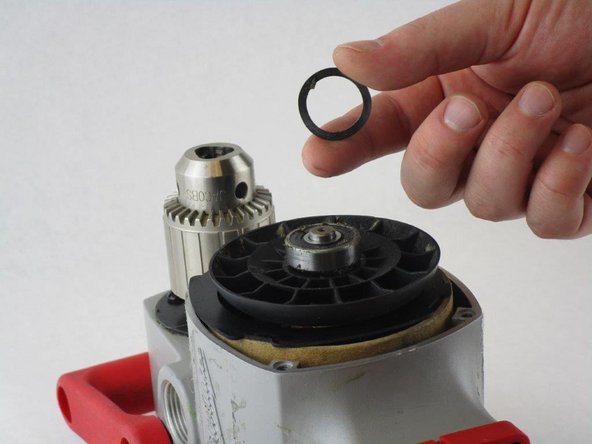
Remove the black insulator ring.
-
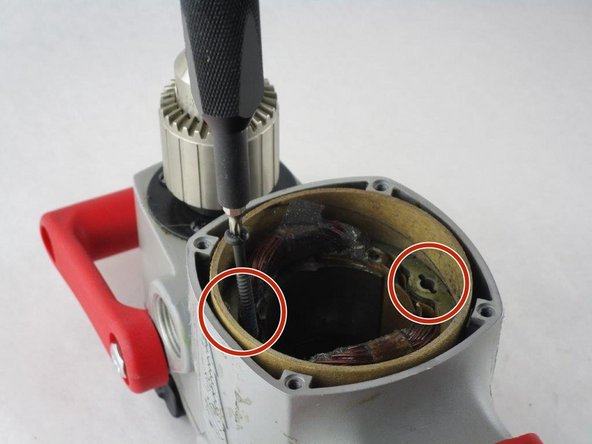
Remove the two 45mm Torx T15 screws securing the field to the drill.
-
-
-
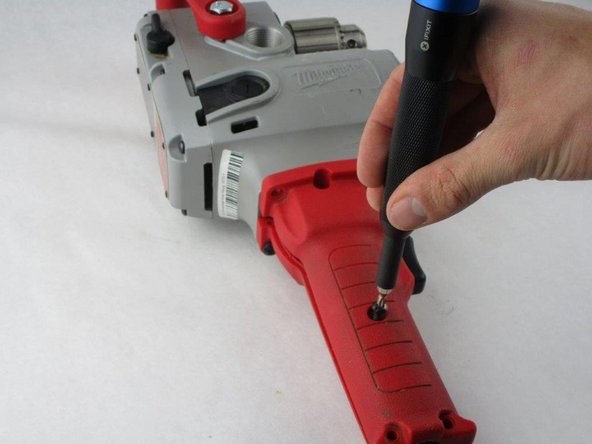
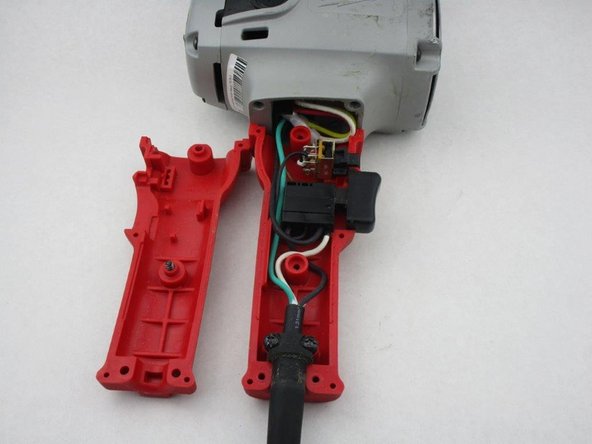
Position drill on its side.
-
Remove the four 19mm Torx T15 screws.
-
Remove the two 25mm Torx T27 screws.
-
Remove the top portion of the handle.
-
-
-
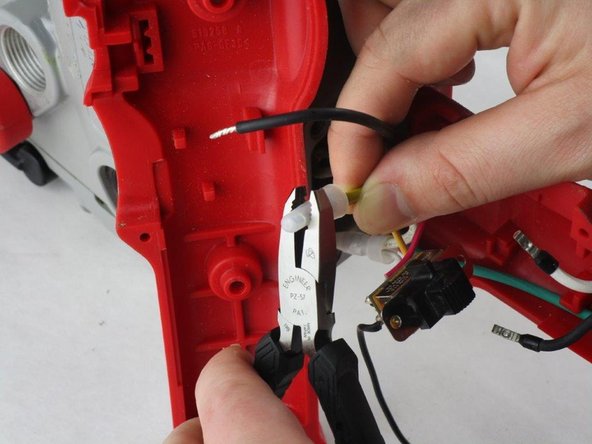
Lift the switch up and away to allow room to work.
-
Uncrimp the wire connector on the yellow field wire attached to the switch to disconnect it.
-


To reassemble your device, follow these instructions in reverse order.
To reassemble your device, follow these instructions in reverse order.

Team

South Arkansas Community College, Team S1-G1, Mitchell Spring 2020 Mitglied von South Arkansas Community College, Team S1-G1, Mitchell Spring 2020
SACC-MITCHELL-S20S1G1
4 Mitglieder
4 Anleitungen geschrieben