Einleitung
Has your Milwaukee Hole Hawg stopped responding when you squeeze the trigger? If so, it could be a faulty switch and in need of replacement. Take a look at the Milwaukee Hole Hawg 1675-1 Troubleshooting Page. The switch makes a connection when depressed that supplies power to the motor for use. Over time connectors inside the switch can fail or the switch housing can break. All you will need for this repair is a T27 and T15 Torx bit along with a #0 flathead screwdriver.
Was du brauchst
-
-
-
Remove the top portion of the handle.
-
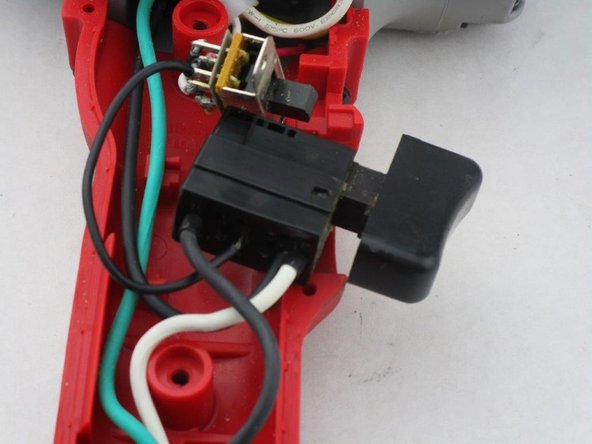
Lift up on the switch and disconnect the wires.
-
Use a #0 flathead screwdriver to release tension on the wires.
-


To reassemble your device, follow these instructions in reverse order.
To reassemble your device, follow these instructions in reverse order.
Rückgängig: Ich habe diese Anleitung nicht absolviert.
2 weitere Personen haben diese Anleitung absolviert.

Team

South Arkansas Community College, Team S1-G1, Mitchell Spring 2020 Mitglied von South Arkansas Community College, Team S1-G1, Mitchell Spring 2020
SACC-MITCHELL-S20S1G1
4 Mitglieder
4 Anleitungen geschrieben