Zum Hauptinhalt wechseln

Minolta QTsi Maxxum View Finder Replacement

Was du brauchst

  1. Minolta QTsi Maxxum View Finder Replacement, View Finder: Schritt 1, Bild 1 von 1
    • Locate the battery compartment on the bottom panel of camera.

    • Use a small coin to untwist and open the batter compartment door.

    • Twist the coin counterclockwise to unlock the battery compartment door.

  2. Minolta QTsi Maxxum View Finder Replacement: Schritt 2, Bild 1 von 1
    • Two batteries are located inside the battery compartment

    • Be careful, the batteries inside the compartment are small and easy to lose.

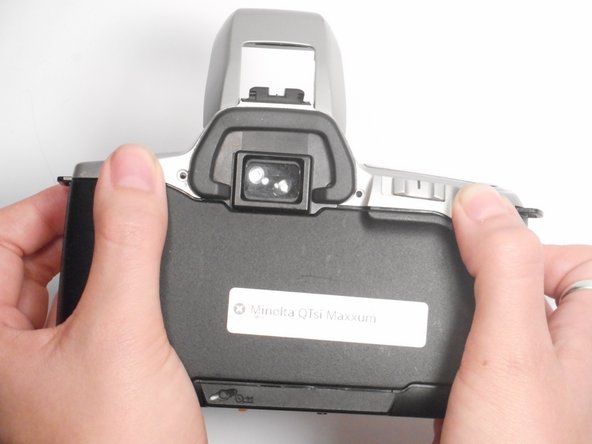
    • Remove the two batteries from inside the battery compartment by individually pulling each out.

  3. Minolta QTsi Maxxum View Finder Replacement: Schritt 3, Bild 1 von 1
    • When the batteries are removed from the compartment, one screw will be visible in the bottom of the chamber.

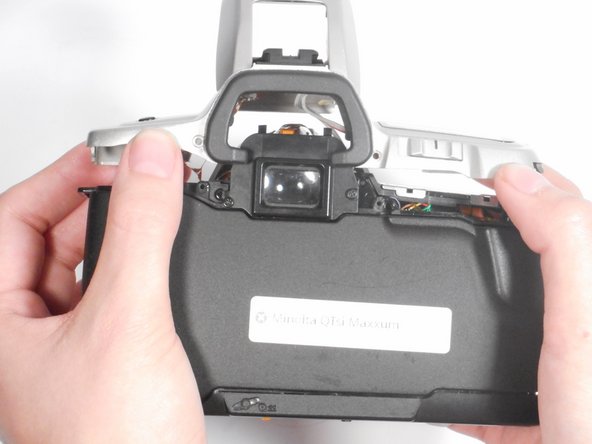
    • Unscrew the (1) black Phillips #00 5mm screw from the bottom of the battery chamber.

    • Be careful when unscrewing the screw because it's small and is easy to lose.

  4. Minolta QTsi Maxxum View Finder Replacement: Schritt 4, Bild 1 von 1
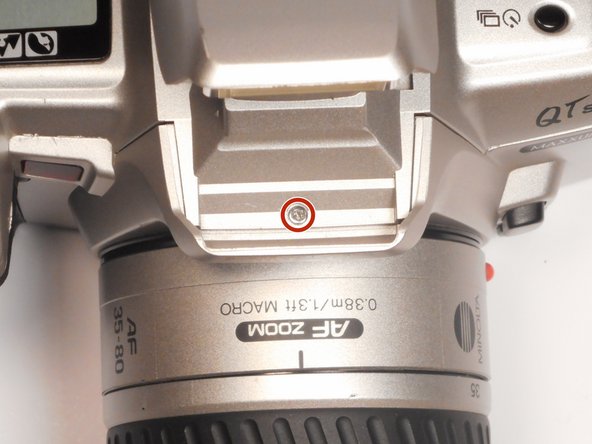
    • Remove the (2) black Phillips #00 5mm screws that lie on either side of the view finder.

    • Be careful because the two screws are small and are easy to lose.

  5. Minolta QTsi Maxxum View Finder Replacement: Schritt 5, Bild 1 von 1
    • Remove the (1) black Phillips #00 5mm screw from underneath the flash hood.

    • Be careful because the screw is small and is easy to lose.

  6. Minolta QTsi Maxxum View Finder Replacement: Schritt 6, Bild 1 von 2 Minolta QTsi Maxxum View Finder Replacement: Schritt 6, Bild 2 von 2
    • Once all screws are removed, the top of the camera should come off easily.

    • Be careful when removing the top, there are wires connected that could be damaged.

  7. Minolta QTsi Maxxum View Finder Replacement: Schritt 7, Bild 1 von 1
    • The viewfinder will fall when the screws are removed.

    • Remove the (2) black Phillips #00 5mm screws that hold the viewfinder.

    • Be careful because the screws are small and easy to lose.

Abschluss

To reassemble your device, follow these instructions in reverse order.

Team

Sam Houston State, Team 12-4, Blackburne Fall 2016 Mitglied von Sam Houston State, Team 12-4, Blackburne Fall 2016

SHSU-BLACKBURNE-F16S12G4

4 Mitglieder

5 Anleitungen geschrieben

0 Kommentare

Kommentar hinzufügen

Seitenaufrufe:

Letzte 24 Stunden: 0

Letzte 7 Tage: 3

Letzte 30 Tage: 17

Insgesamt: 814