Zum Hauptinhalt wechseln

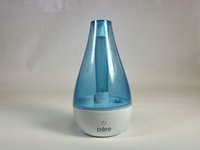
MistAire Humidifier Cap Spring Replacement

Was du brauchst

  1. MistAire Humidifier Cap Spring Replacement, Cap Spring: Schritt 1, Bild 1 von 2 MistAire Humidifier Cap Spring Replacement, Cap Spring: Schritt 1, Bild 2 von 2
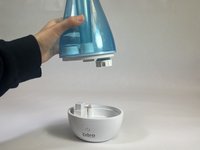
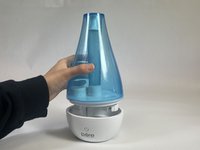
    • Lift the blue tank off of the base of the humidifier.

    • The two parts are not attached or snapped together, so they should separate easily.

  2. MistAire Humidifier Cap Spring Replacement: Schritt 2, Bild 1 von 3 MistAire Humidifier Cap Spring Replacement: Schritt 2, Bild 2 von 3 MistAire Humidifier Cap Spring Replacement: Schritt 2, Bild 3 von 3
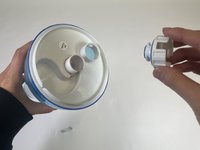
    • Turn the tank upside down.

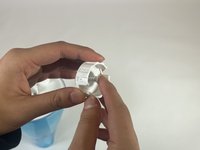
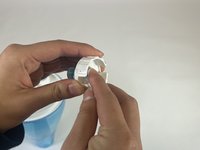
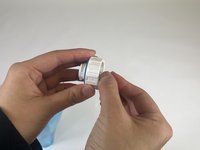
    • Turn the round cap counterclockwise to completely unscrew it.

  3. MistAire Humidifier Cap Spring Replacement: Schritt 3, Bild 1 von 2 MistAire Humidifier Cap Spring Replacement: Schritt 3, Bild 2 von 2
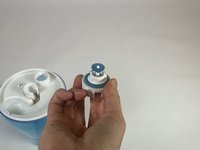
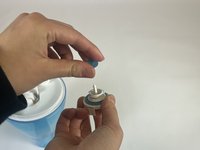
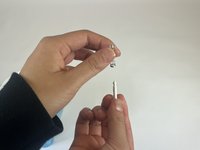
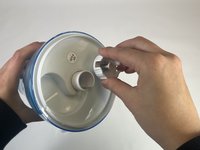
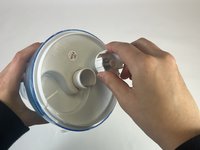
    • There is a white plastic rod that goes through the center of the cap. It has a flat, circular end and a pointed end. The pointed end has a small, blue, silicone ring around it.

    • Push the flat side of the rod until the pointed end protrudes from the other side of the cap.

  4. MistAire Humidifier Cap Spring Replacement: Schritt 4, Bild 1 von 3 MistAire Humidifier Cap Spring Replacement: Schritt 4, Bild 2 von 3 MistAire Humidifier Cap Spring Replacement: Schritt 4, Bild 3 von 3
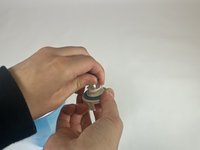
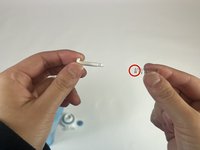
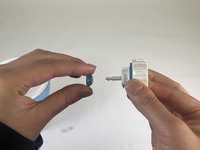
    • While still pushing on the rod, tug the small, blue, silicone ring completely off of the pointed end.

  5. MistAire Humidifier Cap Spring Replacement: Schritt 5, Bild 1 von 2 MistAire Humidifier Cap Spring Replacement: Schritt 5, Bild 2 von 2
    • Once the ring is off, pull the rod and spring out from the center of the cap.

  6. MistAire Humidifier Cap Spring Replacement: Schritt 6, Bild 1 von 2 MistAire Humidifier Cap Spring Replacement: Schritt 6, Bild 2 von 2
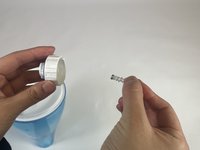
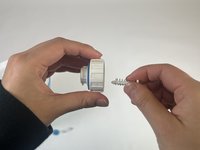
    • Slide the broken spring off of the rod.

    • The spring should come off easily.

  7. MistAire Humidifier Cap Spring Replacement: Schritt 7, Bild 1 von 2 MistAire Humidifier Cap Spring Replacement: Schritt 7, Bild 2 von 2
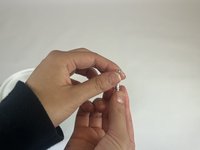
    • Slide a new 10x6x19mm Tapered Compression Spring around the rod.

    • Ensure the narrower end of the cone-shaped spring goes first.

  8. MistAire Humidifier Cap Spring Replacement: Schritt 8, Bild 1 von 2 MistAire Humidifier Cap Spring Replacement: Schritt 8, Bild 2 von 2
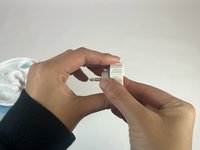
    • Pinch the spring gently to secure it around the rod.

    • Push the pointed end of the rod all the way through the center hole of the cap. Hold it there for Step 9.

  9. MistAire Humidifier Cap Spring Replacement: Schritt 9, Bild 1 von 3 MistAire Humidifier Cap Spring Replacement: Schritt 9, Bild 2 von 3 MistAire Humidifier Cap Spring Replacement: Schritt 9, Bild 3 von 3
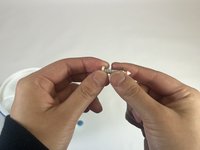
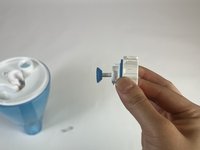
    • Push the small blue ring back onto the pointed end of the rod.

    • You should hear a snap when it’s secured.

  10. MistAire Humidifier Cap Spring Replacement: Schritt 10, Bild 1 von 3 MistAire Humidifier Cap Spring Replacement: Schritt 10, Bild 2 von 3 MistAire Humidifier Cap Spring Replacement: Schritt 10, Bild 3 von 3
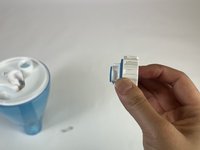
    • Now that you have fixed the spring-loaded cap, screw the cap clockwise back onto the bottom of the tank.

  11. MistAire Humidifier Cap Spring Replacement: Schritt 11, Bild 1 von 3 MistAire Humidifier Cap Spring Replacement: Schritt 11, Bild 2 von 3 MistAire Humidifier Cap Spring Replacement: Schritt 11, Bild 3 von 3
    • Place the tank back onto the humidifier base.

    • You have now successfully replaced the spring in the MistAire Humidifier!

Ziellinie

Abby

Mitglied seit: 01/31/24

193 Reputation

1 Anleitung geschrieben

Team

UC Davis, Team 1-1, Andersen Winter 2024 Mitglied von UC Davis, Team 1-1, Andersen Winter 2024

UCD-ANDERSEN-W24S1G1

3 Mitglieder

1 Anleitung geschrieben

0 Kommentare

Kommentar hinzufügen

Seitenaufrufe:

Letzte 24 Stunden: 0

Letzte 7 Tage: 6

Letzte 30 Tage: 28

Insgesamt: 260