Was du brauchst
-
-
-
Start by weaving the lace through the lacing tool as shown.
-
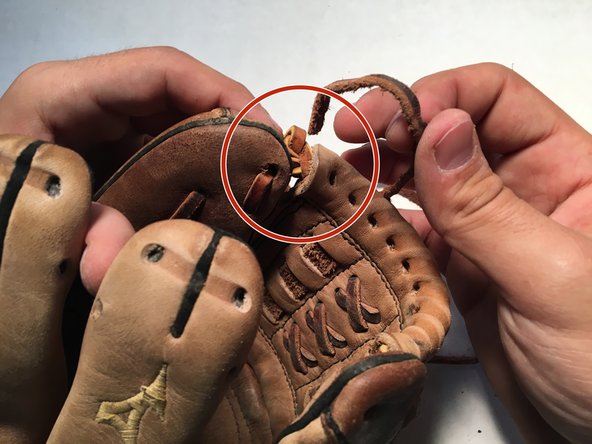
Weave through spot A and then tie a knot.
-
Weave the lace through the pattern shown
-
-
-
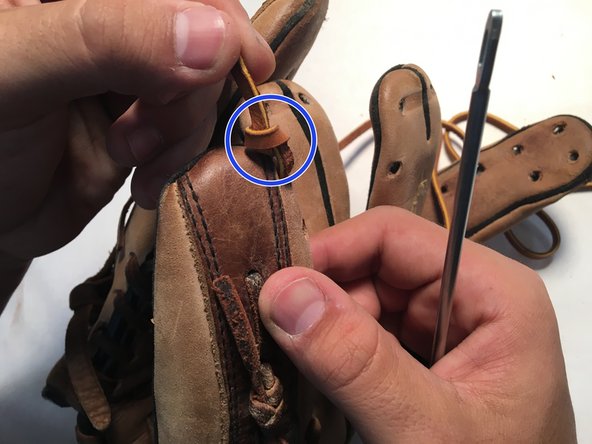
Weave the lace through spot B.
-
Follow the pattern shown and tie a knot at spot C.
-
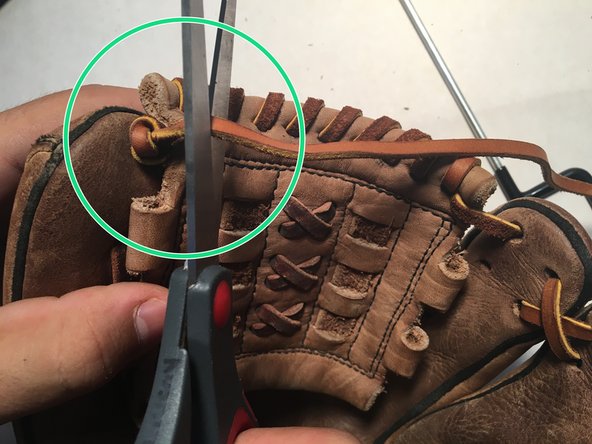
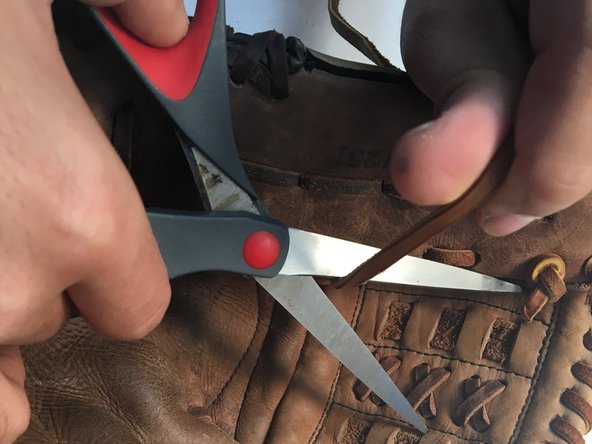
Cut off the extra lace.
-
-
-
Weave through spot F and tie a knot.
-
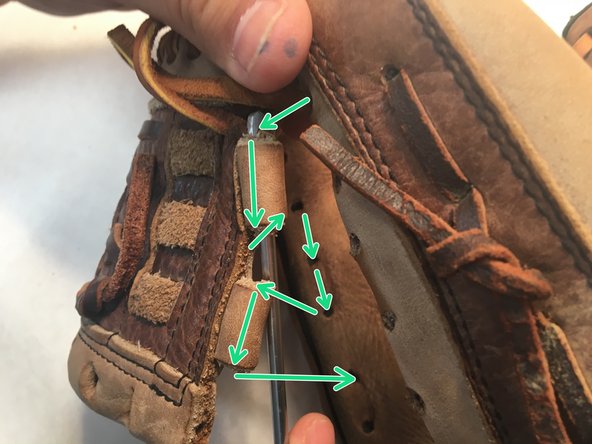
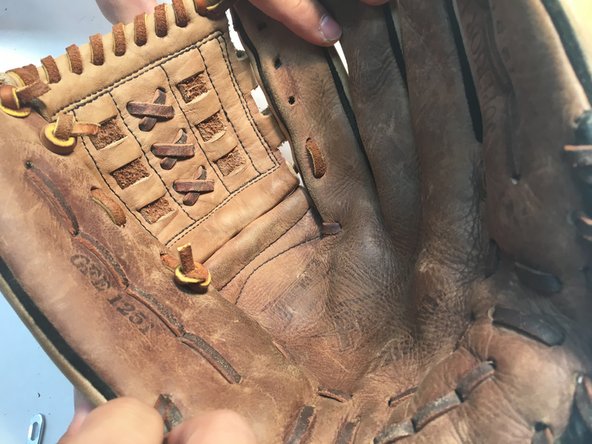
Follow the pattern shown.
-
Weave through spot G and tie a knot.
-


Fast fertig!
Enjoy your newly-repaired baseball glove.
Abschluss
Enjoy your newly-repaired baseball glove.
Team

Central Coast New Tech High, Team 5-10, Rushing Spring 2017 Mitglied von Central Coast New Tech High, Team 5-10, Rushing Spring 2017
CCNTH-RUSHING-S17S5G10
2 Mitglieder
1 Anleitung geschrieben