Einleitung
Is your shower producing inconsistent water temperature?
Before replacing the cartridge, first check a nearby faucet or shower to see if it is also getting inconsistent water temperature. If it is not, then the problem would be the valve’s cartridge and would need to be replaced.
This guide will take you through the steps of replacing the cartridge of a Moen Posi-Temp shower valve.
This procedure will take you through the plumbing so make sure that you locate the main shutoff valve to the shower or to the house as you would need to turn off the water for this procedure.
Was du brauchst
-
-
Turn the water shutoff valve counter-clockwise to the "off" position.
-
-
-
Open both the hot and cold taps of a nearby faucet or shower until the water no longer flows.
-
-
-
Turn the handle of the shower valve 180 degrees until it is in the "up" or "on" position.
-
-
-
-
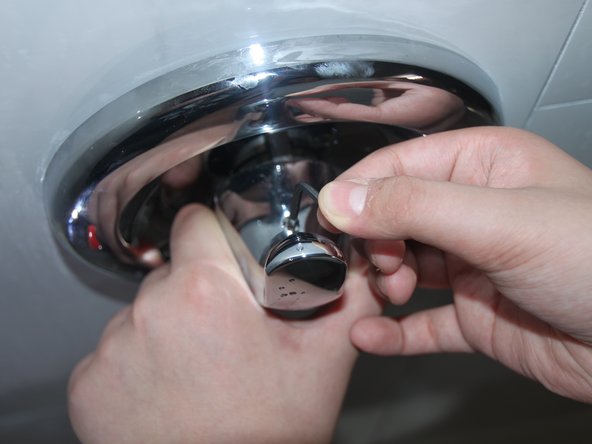
Remove the handle adaptor screw with a Phillips screwdriver.
-
Remove the handle adaptor simply by pulling it out.
-
-
-
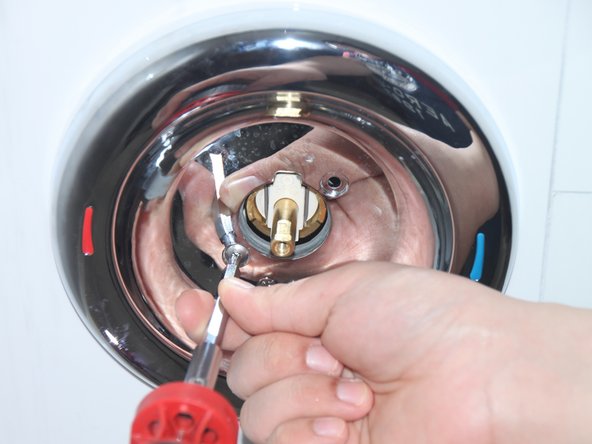
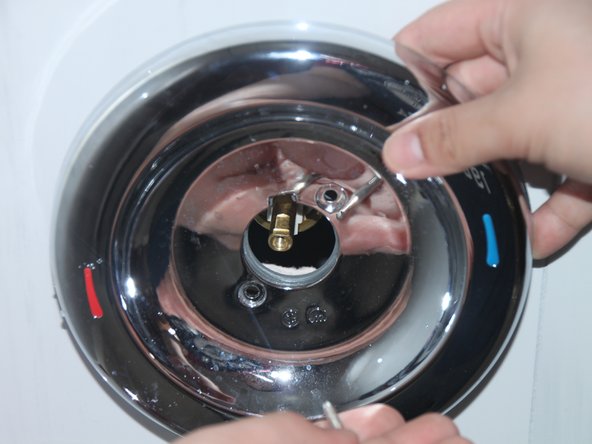
Using the Phillips head screwdriver, remove the two screws located at the top right corner and bottom left corner.
-
Remove the metal plate.
-
-
-
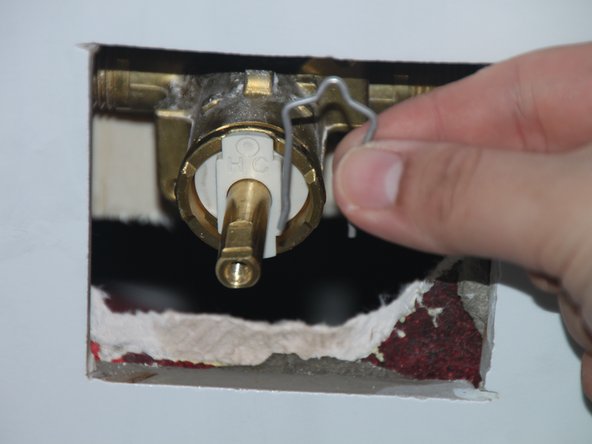
Slide the tip of needle-nose pliers under the notch of the retaining clip and pull the clip upwards.
-
-
-
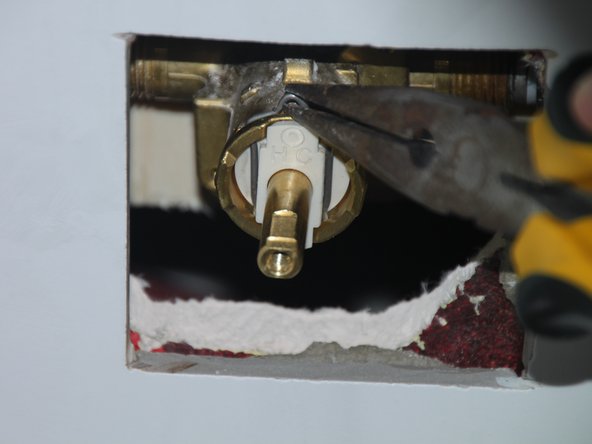
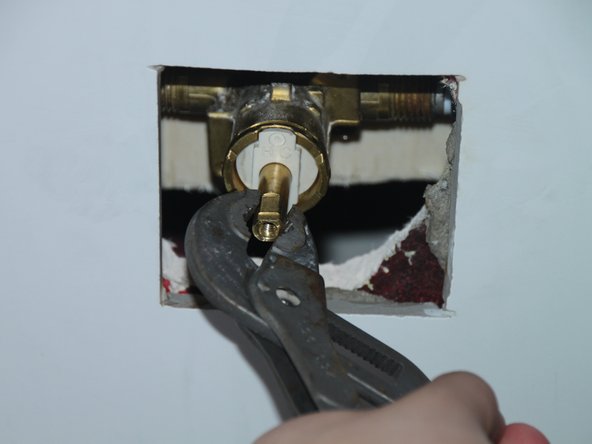
Clamp firmly onto the brass tube with a pair of vice grips and gently but firmly pull out the cartridge.
-
-
-
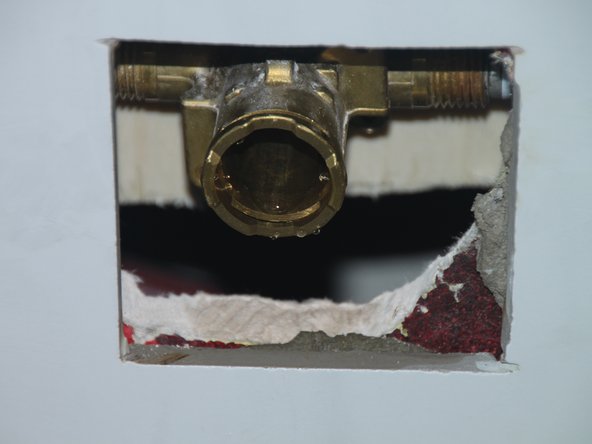
Insert the new cartridge into the valve assembly.
-
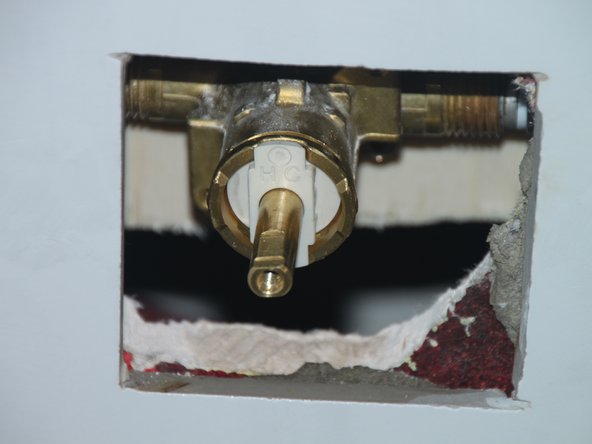
Ensure that the H/C symbols are facing up.
-
Ensure that the notch on the brass tube is also facing up.
-


To reassemble your device, follow these instructions in reverse order.
To reassemble your device, follow these instructions in reverse order.
Team

York University, Team S3-G57, Melo-Thaiss Fall 2020 Mitglied von York University, Team S3-G57, Melo-Thaiss Fall 2020
YORK-MELO-THAISS-F20S3G57
1 Mitglied
1 Anleitung geschrieben