Einleitung
If the screen on your Motorola C168 is damaged or if it isn’t working then this is the guide for you. In this guide we will walk you through how to replace your Motorola's screen. A phone's screen is a major part of its user interface. You may need to replace your screen if the screen has been damaged in any way (cracks, parts of the screen or the whole screen being unresponsive). Make sure you switch off the phone before you begin.
Was du brauchst
-
-
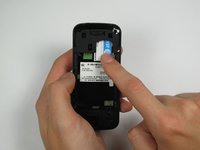
Turn the phone so its back is facing you.
-
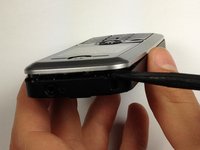
Press the release button on the back cover, while simultaneously pulling the cover down.
-
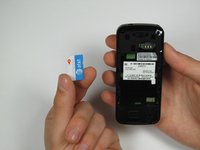
Remove the back cover.
-
-
-
-
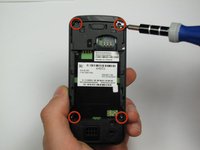
Orient the phone so its back is facing you.
-
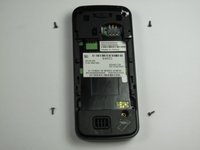
Using a Torx T-4 screwdriver, carefully remove the 4 screws located at the corners of the phone.
-
-
In diesem Schritt verwendetes Werkzeug:Spudger$3.99
-
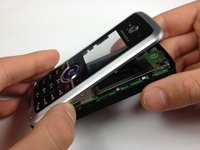
Lodge a spudger in between the front panel and the main frame of the phone.
-
Using a good amount of torque, pry the front panel from the phone.
-
-
In diesem Schritt verwendetes Werkzeug:Spudger$3.99
-
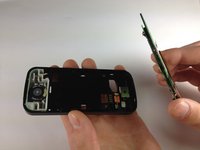
Place the phone on its back.
-
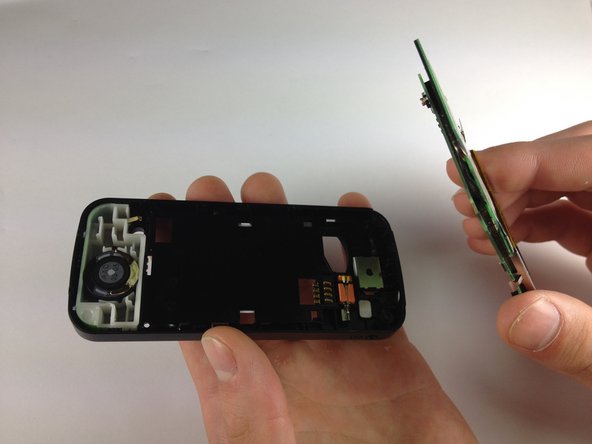
Insert the spudger at the bottom of the phone, between the phone's frame and the circuit board.
-
Remove the circuit board from the frame.
-
-
-
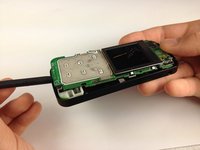
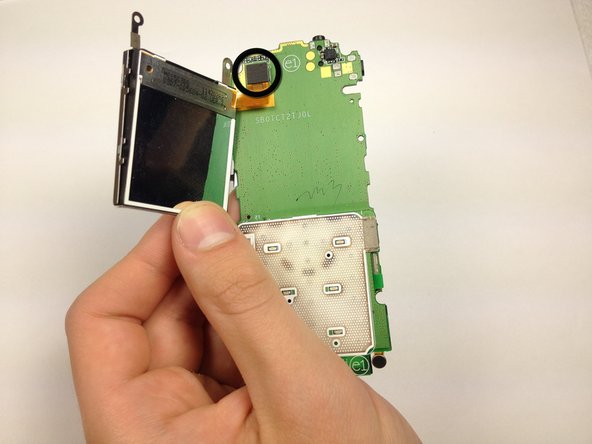
Bend the screen clamps outward so they are no longer underneath the circuit board.
-
Pull the screen encasing away from the circuit board.
-
-
-
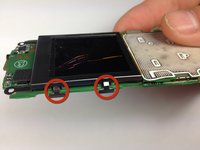
Unplug the screen-to-phone interface.
-
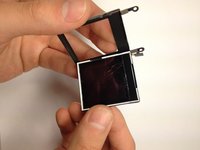
Remove the screen from its encasing by pushing it out.
-


To reassemble your device, follow these instructions in reverse order.
To reassemble your device, follow these instructions in reverse order.
Rückgängig: Ich habe diese Anleitung nicht absolviert.
Eine weitere Person hat diese Anleitung absolviert.
Team

Cal Poly, Team 12-40, Regan Spring 2012 Mitglied von Cal Poly, Team 12-40, Regan Spring 2012
CPSU-REGAN-S12S12G40
4 Mitglieder
10 Anleitungen geschrieben